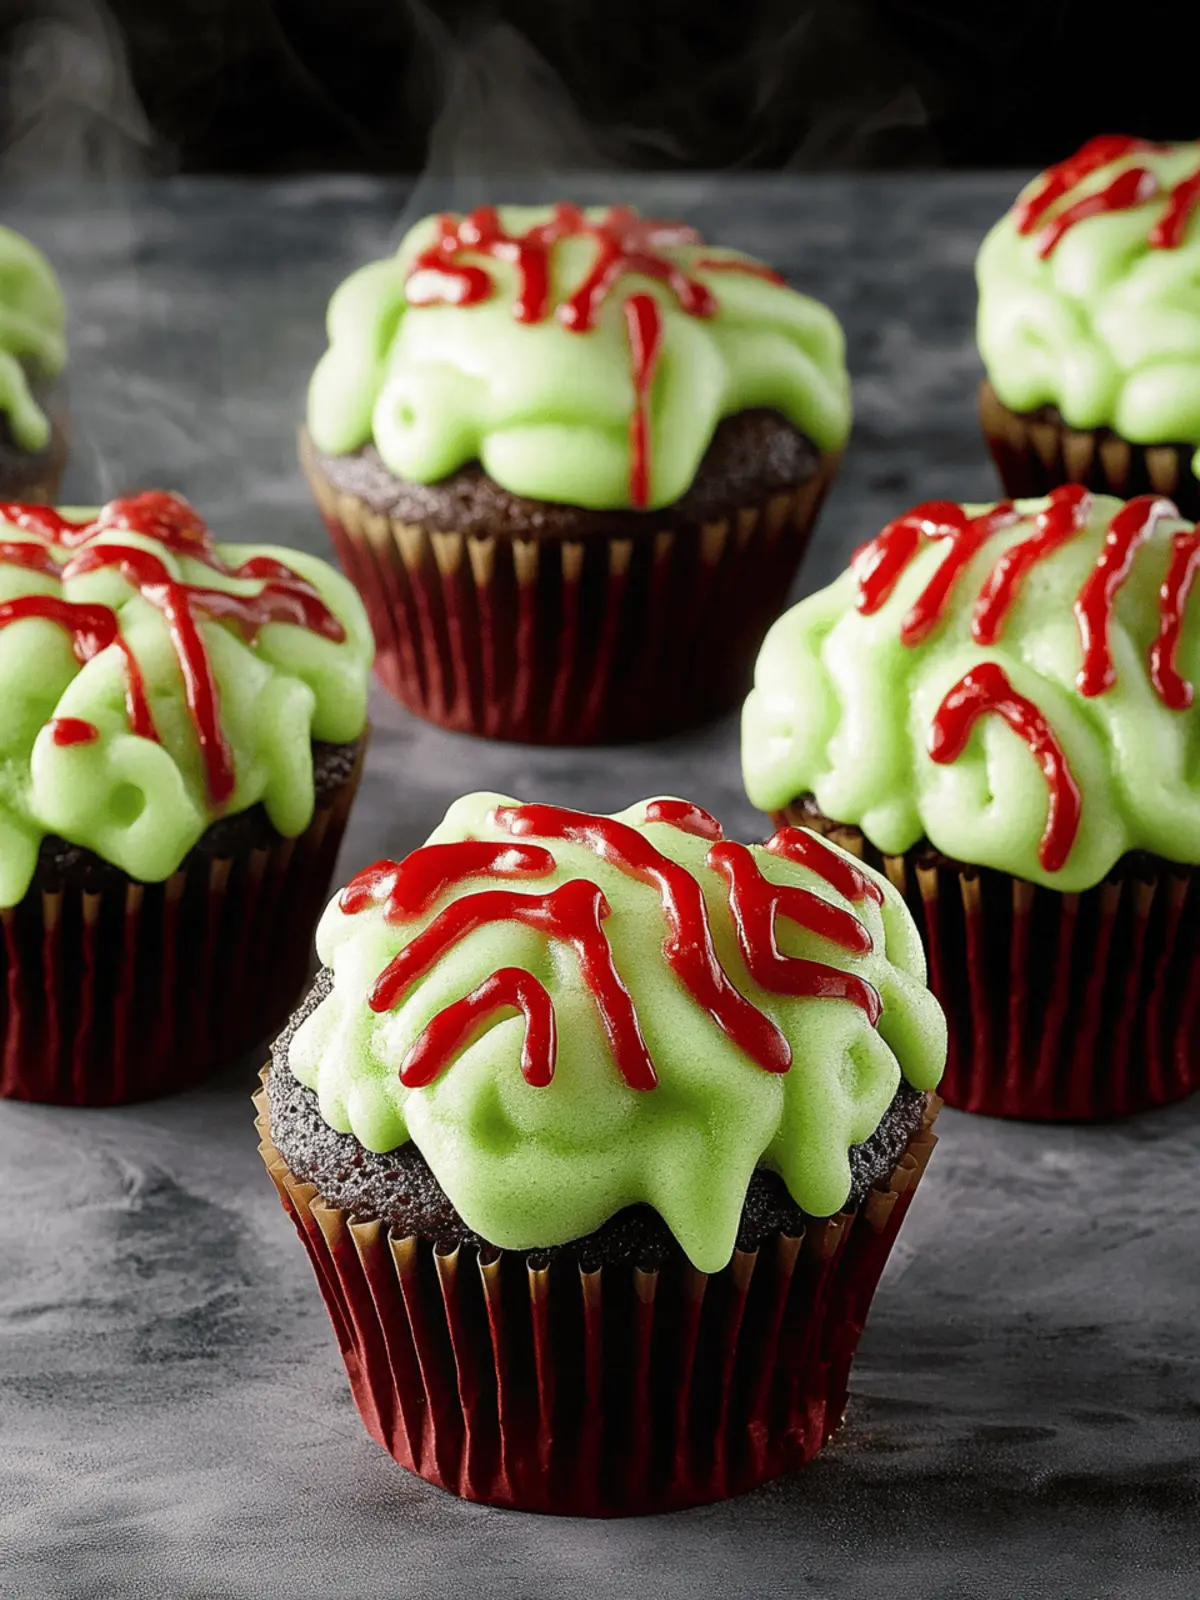
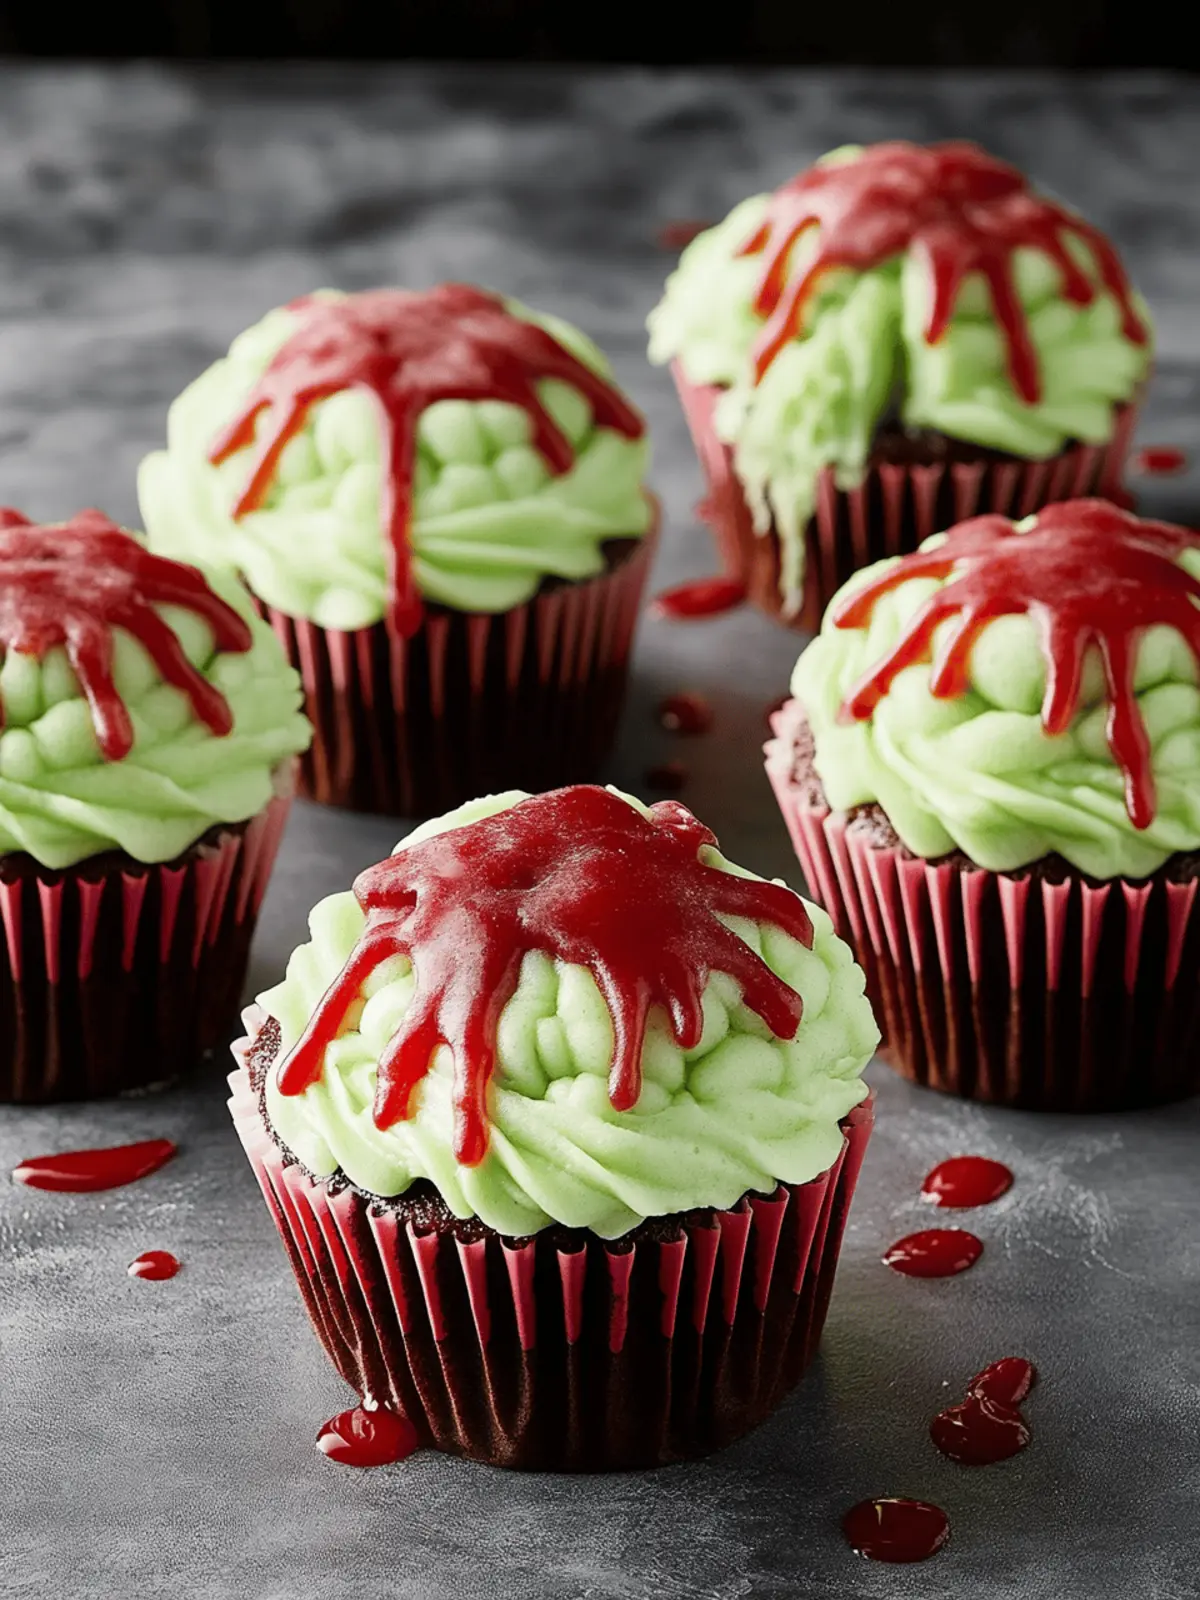
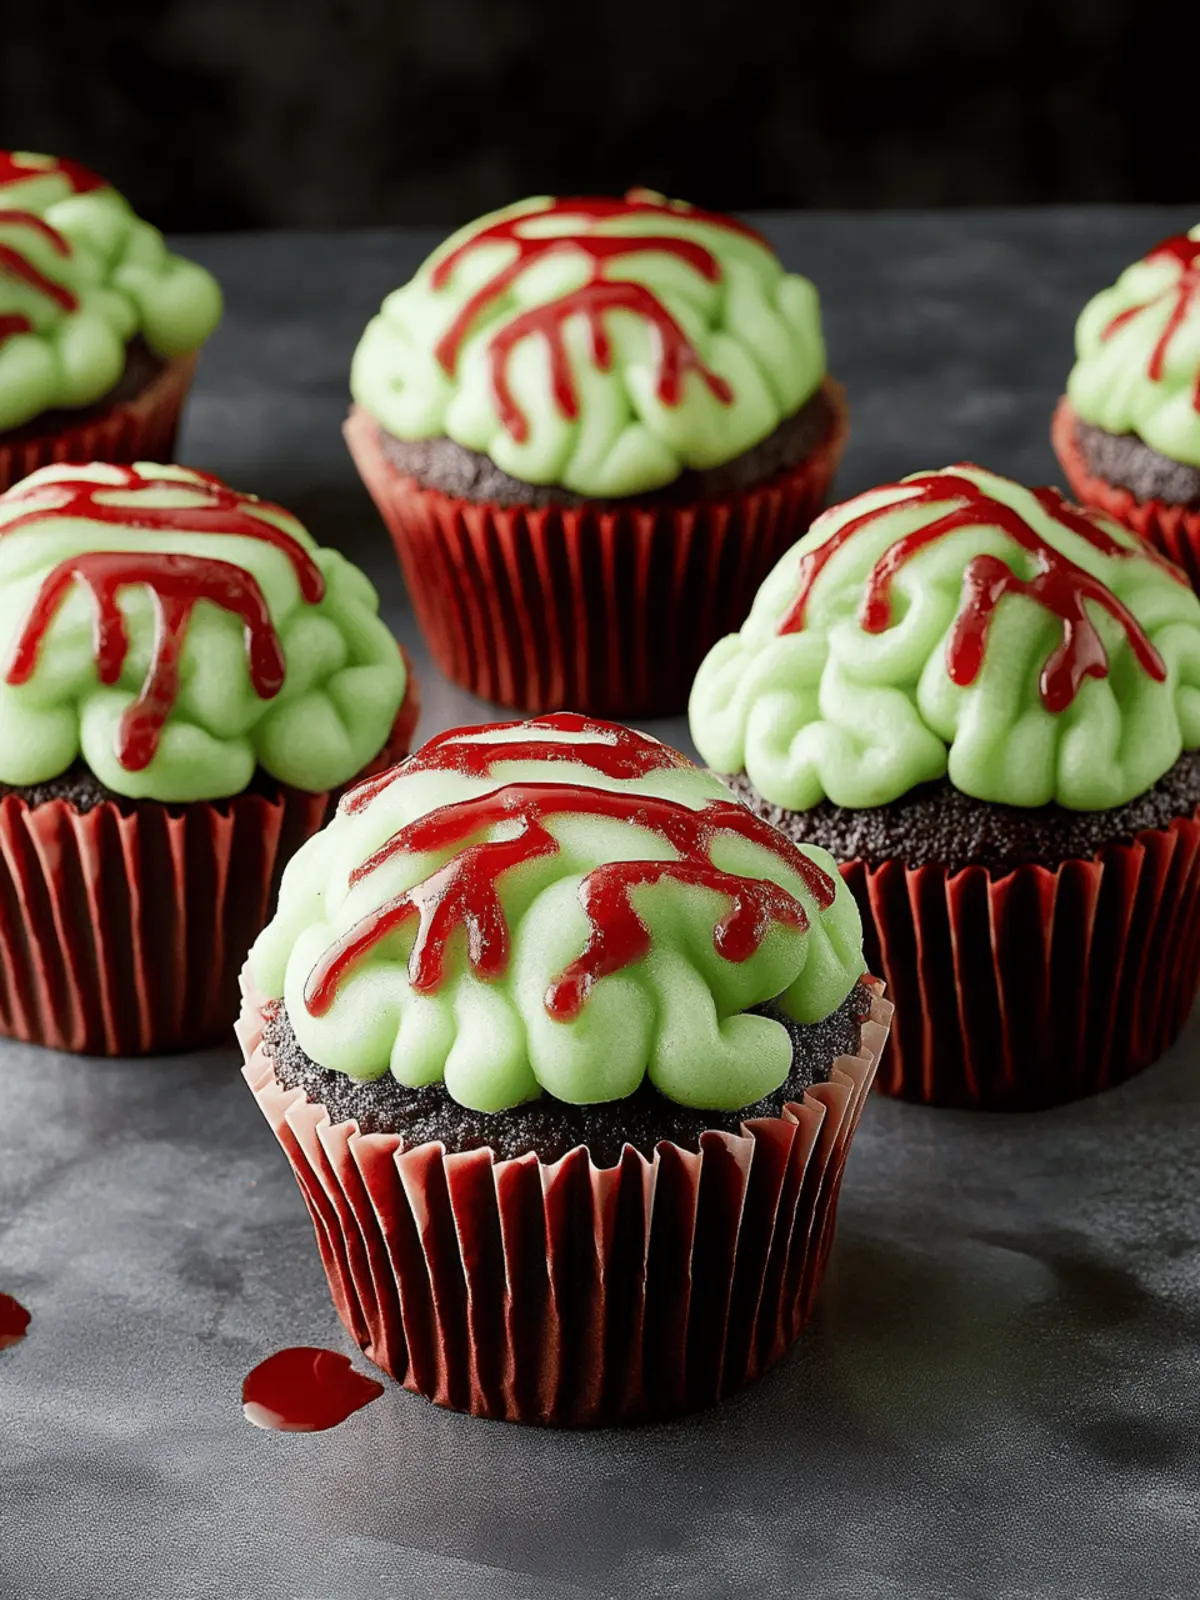
As Halloween approaches, the excitement in the air is almost palpable. I found myself reminiscing about the spooktacular celebrations filled with laughter, playful scares, and, of course, delicious treats. This year, I wanted to add a twist to my party repertoire, and that’s when I stumbled upon the idea for these Zombie Brain Cupcakes. With rich chocolate bases that are wonderfully moist and topped with creamy vanilla frosting, they are sure to make your spooky gatherings a hit!
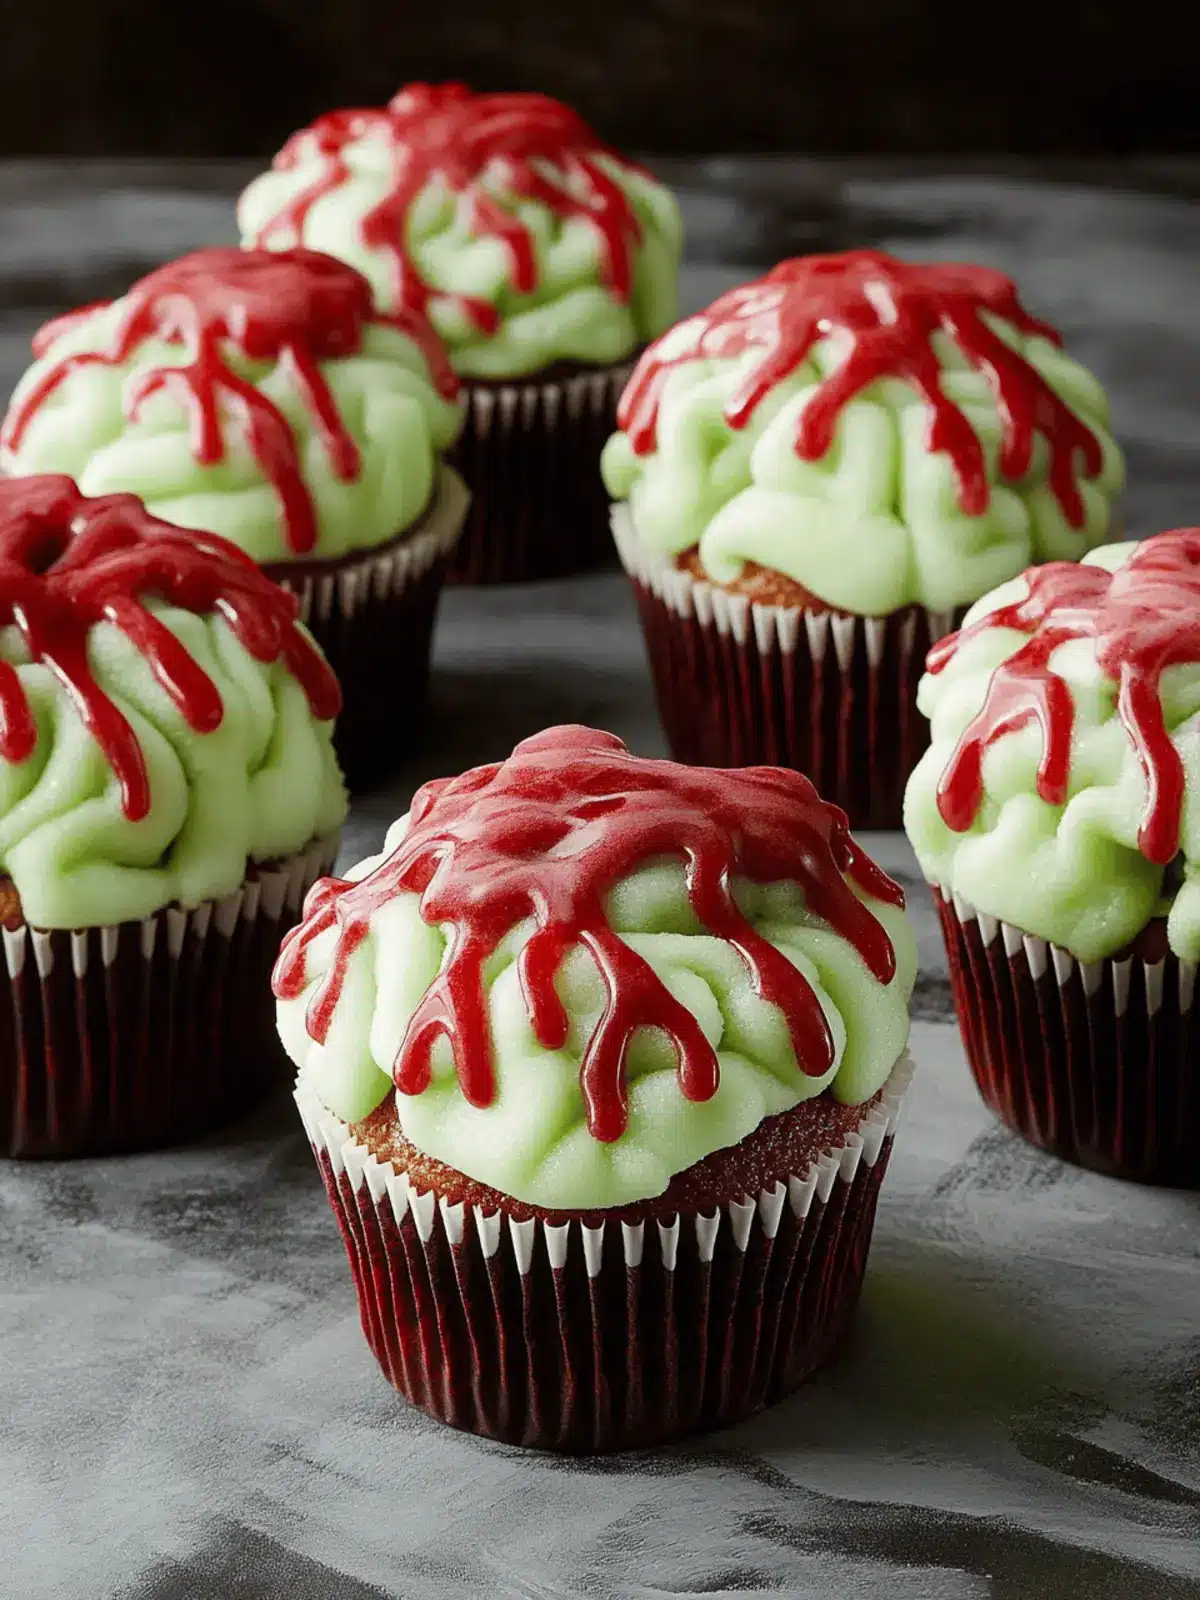
Imagine the look on your guests’ faces when they see these vibrant, neon green cupcakes that resemble a playful take on something a little ghoulish. Perfect for Halloween parties, school events, or themed birthdays, these cupcakes are not just visually striking; they’re also easy to whip up, ensuring you can impress without being overwhelmed. Let’s dive into the fun of creating these creepy yet delicious treats that will have everyone cheering for seconds!
Why are Zombie Brain Cupcakes a must-try?
Spooktacular Fun: These cupcakes are not just any dessert; they bring a playful, creepy vibe to your Halloween festivities that will have everyone talking.
Easy to Make: The simple process means you can whip them up without any fuss, making it perfect for home bakers of all levels.
Vibrant Presentation: With their eye-catching green frosting and dramatic red gel, they are a feast for the eyes as much as they are for the taste buds!
Flavorful Delight: Moist chocolate cake paired with creamy vanilla frosting creates a harmonious balance that will satisfy any sweet tooth.
Versatile Options: You can easily tweak the colors or flavors, like adding almond extract for a unique twist, so your creativity can shine!
Crowd-Pleasing Treat: Excite your friends and family with these spooky delights, ensuring they leave with a smile and a satisfied craving at your next gathering!
Zombie Brain Cupcake Ingredients
For the Cupcake Batter
• All-purpose flour – Provides structure; substitute with gluten-free flour for a gluten-free option.
• Granulated sugar – Adds the perfect sweetness; no substitutions needed here.
• Unsweetened cocoa powder – Delivers rich chocolate flavor; try Dutch-process cocoa for extra depth.
• Baking powder – Essential leavening agent; critical for a delightful rise.
• Baking soda – Balances acidity; don’t skip this for the best outcome!
• Kosher salt – Enhances overall flavor; you can swap it with table salt if necessary.
• Buttermilk/whole milk – Keeps the cupcakes moist; opt for plant-based milk for a dairy-free version.
• Neutral oil – Adds moisture and richness; melted butter can elevate the flavor.
• Large egg – Binds the ingredients together; for a vegan option, use a flax egg.
• Pure vanilla extract – Infuses delicious flavor; always choose high-quality vanilla for the best taste.
• Boiling water – Helps activate cocoa for that moist texture; don’t skip this step!
For the Frosting
• Powdered sugar – Contributes sweetness and structure; no major substitutions here.
• Unsalted butter – Adds richness; you can use vegan butter as a wonderful substitute.
• Additional vanilla extract – Enhances the frosting flavor; it’s worth the extra splash!
• Kosher salt – Balances the sweetness in frosting; no substitutes needed here.
• Neon green liquid food coloring – Provides visual flair; feel free to omit for a classic look.
• Red decorating gel – Creates a spooky “blood” effect; no substitutes for this dramatic touch.
Get ready to impress your guests with these eye-catching Zombie Brain Cupcakes—perfect for any Halloween celebration!
How to Make Zombie Brain Cupcakes
-
Preheat the Oven: Begin by preheating your oven to 350°F (175°C) and lining your muffin tin with cupcake liners. This sets the stage for a perfect bake!
-
Mix Dry Ingredients: In a large mixing bowl, combine the all-purpose flour, granulated sugar, unsweetened cocoa powder, baking powder, baking soda, and kosher salt. Stir until everything is well mixed for a balanced flavor.
-
Combine Wet Ingredients: In another bowl, whisk together the buttermilk, neutral oil, egg, and vanilla extract until blended. This mixture brings moisture and richness to your cupcakes.
-
Blend Mixtures Together: Gradually pour the wet mixture into the dry ingredients, mixing until just combined. Be cautious not to overmix, as you want your cupcakes to be tender and light.
-
Add Boiling Water: Carefully stir in the boiling water; this will activate the cocoa and create a moist batter. It may seem thin, but that’s exactly what you want!
-
Fill Cupcake Liners: Using a measuring cup or ice cream scoop, fill each cupcake liner about two-thirds full with batter. Bake in the preheated oven for 20-25 minutes or until a toothpick comes out clean.
-
Cool Completely: Once baked, remove the cupcakes from the oven and allow them to cool in the tin for 5 minutes before moving them to a wire rack to cool completely.
-
Make the Frosting: In a large bowl, beat the unsalted butter and powdered sugar until creamy. Mix in the vanilla extract, salt, and just enough neon green food coloring to achieve your desired hue.
-
Pipe the Frosting: Once the cupcakes are cool, pipe the frosting generously onto each cupcake to resemble spooky brains. Use a circular motion for that creepy effect!
-
Add the Finishing Touch: Drizzle the red decorating gel over the frosted cupcakes for a realistic “blood” effect.
Optional: Sprinkle some edible glitter for a magical Halloween touch!
Exact quantities are listed in the recipe card below.
What to Serve with Zombie Brain Cupcakes?
These spooky treats are perfect for a festive Halloween spread that delights and entertains all ages.
-
Witch’s Brew Punch: A bubbling green punch brings a refreshing, tantalizing drink to pair with your cupcakes, adding to the eerie atmosphere.
-
Freaky Fruit Skewers: Juicy strawberries and grapes on sticks create a fun and healthy balance to the sweets, providing a burst of freshness.
-
Monster Marshmallow Dip: A gooey, chocolatey dip served with vanilla wafers and strawberries makes for a playful, indulgent pairing that guests will love.
-
Graveyard Dirt Cups: These chocolate pudding cups layered with crushed cookies and gummy worms create a deliciously themed dessert that complements the Zombie Brain Cupcakes perfectly!
-
Spooky Cheese Board: A mix of festive cheeses, crackers, and charcuterie adds a savory contrast to the sweet treats while providing sophisticated snacking options.
-
Chilling Halloween Cookies: Decorate sugar cookies with spooky designs for a festive treat that adds variety and aesthetic appeal to your dessert table.
-
Pumpkin Spice Hot Chocolate: Serve this warm, delightfully spiced drink as an extra cozy touch, making the entire Halloween gathering special and inviting.
Each of these suggestions will elevate your Halloween gathering, ensuring your guests enjoy a delightful feast alongside those creep-tastic Zombie Brain Cupcakes!
Zombie Brain Cupcakes Variations & Substitutions
Feel free to unleash your creativity and personalize your Zombie Brain Cupcakes for a spookier delight or unique twist!
- Gluten-Free: Substitute all-purpose flour with a 1:1 gluten-free flour blend for a gluten-free version that’s just as delicious.
- Dairy-Free: Use almond milk or coconut milk instead of buttermilk for a delightful dairy-free treat that maintains moisture.
- Sugar-Free: Replace granulated sugar with a sugar substitute like erythritol to reduce the sweetness while keeping the cupcakes rich.
- Flavor Twist: Add a teaspoon of peppermint or orange extract to the batter for a fun and unexpected flavor profile that surprises the palate.
- Cream Cheese Frosting: Swap the butter in the frosting for cream cheese for a tangy alteration that pairs perfectly with the chocolate.
- Pumpkin Surprise: Mix in pureed pumpkin to the batter for an autumnal vibe that adds moistness and a hint of spice.
- Naughty Nuts: Fold in chopped walnuts or pecans into the batter for a delightful crunch that contrasts with the soft cupcake texture.
- Berry Blood: Top your cupcakes with a raspberry or strawberry compote for a fresh, fruity “blood” effect that’s both eye-catching and tasty.
Mix and match these variations to create a batch that’s uniquely yours! Enjoy experimenting while keeping the spooky fun alive!
How to Store and Freeze Zombie Brain Cupcakes
Room Temperature: Keep unfrosted cupcakes in an airtight container at room temperature for up to 2 days. This preserves their moisture while maintaining their delightful texture.
Fridge: If you’ve frosted your Zombie Brain Cupcakes, store them in an airtight container in the refrigerator for up to 3 days. This helps the frosting stay fresh and intact.
Freezer: For longer storage, freeze the unfrosted cupcakes wrapped tightly in plastic wrap for up to 2 months. Thaw at room temperature before frosting and serving.
Reheating: If you’re storing extras, you can reheat individual cupcakes in the microwave for about 10-15 seconds to enjoy them warm. Be careful not to overheat, or the frosting may melt!
Make Ahead Options
These Zombie Brain Cupcakes are perfect for busy home cooks looking to save time during the hectic Halloween season! You can bake the cupcakes up to 24 hours in advance and store them in an airtight container to maintain their moisture. For even easier prep, the frosting can be made ahead and refrigerated for up to 3 days; just be sure to re-whip it to restore its fluffy texture. When you’re ready to serve, simply frost the cooled cupcakes, drizzle with red decorating gel to create that spooky effect, and watch the delight on your guests’ faces. Preparing ahead makes it stress-free, ensuring you enjoy the festivities just as much as the treats!
Helpful Tricks for Zombie Brain Cupcakes
-
Room Temperature Butter: Ensure your unsalted butter for frosting is at room temperature. This helps create a smooth, fluffy consistency for your frosting.
-
Color Adjustment: When adding neon green food coloring, start with a small amount and gradually increase until you achieve the desired vibrancy for your Zombie Brain Cupcakes.
-
Avoid Overmixing: Mix the cupcake batter just until combined. Overmixing can lead to dense cupcakes, while a gentle hand keeps them light and airy.
-
Cool Completely: Let the baked cupcakes cool completely before frosting. This prevents the frosting from melting and helps maintain that brain-like shape.
-
Store Wisely: Any extra frosting can be stored in the fridge for up to a week or frozen for four months. Just re-whip before using to bring it back to life!
Zombie Brain Cupcakes Recipe FAQs
What type of food coloring should I use for Zombie Brain Cupcakes?
I recommend using neon green liquid food coloring to achieve that spooky brain effect. If you’re looking for an alternative appearance, you can omit it entirely and still enjoy delicious chocolate cupcakes!
How do I store leftover Zombie Brain Cupcakes?
After frosting, place your cupcakes in an airtight container in the refrigerator where they will stay fresh for up to 3 days. If you want to keep them longer, unfrosted cupcakes can be stored at room temperature for 2 days, or you can freeze them for up to 2 months.
Can Zombie Brain Cupcakes be frozen?
Absolutely! To freeze your Zombie Brain Cupcakes, wrap them tightly in plastic wrap while unfrosted and place them in a freezer-safe bag. When you’re ready to enjoy them, simply thaw them at room temperature and frost as desired.
What can I substitute for buttermilk in this recipe?
If you don’t have buttermilk on hand, you can create a quick substitute by adding 1 tablespoon of vinegar or lemon juice to a measuring cup and filling it with milk until it reaches the 1-cup line. Let it stand for about 5-10 minutes, and it will work wonders for your cupcakes!
How can I troubleshoot overmixing my cupcake batter?
To avoid overmixing, mix your dry and wet ingredients separately before combining them just until they come together. If you notice that the batter is too thick after adding the boiling water, this is normal. Just be gentle and mix until there are no dry spots—this ensures a tender, light cupcake!
Are there any dietary modifications I can make for Zombie Brain Cupcakes?
Yes! These cupcakes can be made gluten-free by substituting all-purpose flour with gluten-free flour. For a vegan option, replace the egg with a flax egg (1 tablespoon of flaxseed meal mixed with 3 tablespoons of water, allowed to sit for 5 minutes) and use plant-based milk and vegan butter in the frosting. Enjoy creating your spooky treats for everyone!
Zombie Brain Cupcakes: Deliciously Spooky Halloween Treats
Ingredients
Equipment
Method
- Preheat the Oven: Preheat your oven to 350°F (175°C) and line your muffin tin with cupcake liners.
- Mix Dry Ingredients: In a large bowl, combine the flour, sugar, cocoa powder, baking powder, baking soda, and salt. Stir until mixed.
- Combine Wet Ingredients: In another bowl, whisk the buttermilk, oil, egg, and vanilla until blended.
- Blend Mixtures: Gradually pour the wet mixture into the dry ingredients, mixing until just combined.
- Add Boiling Water: Stir in the boiling water carefully; it will activate the cocoa.
- Fill Cupcake Liners: Fill each cupcake liner about two-thirds full with batter and bake for 20-25 minutes or until a toothpick comes out clean.
- Cool Completely: Allow cupcakes to cool in the tin for 5 minutes before transferring to a wire rack to cool completely.
- Make the Frosting: In a bowl, beat the butter and powdered sugar until creamy. Mix in vanilla, salt, and food coloring until desired hue.
- Pipe the Frosting: Once cupcakes are cool, pipe the frosting onto each cupcake to resemble spooky brains.
- Add Final Touch: Drizzle red gel over the frosted cupcakes for a realistic 'blood' effect.

