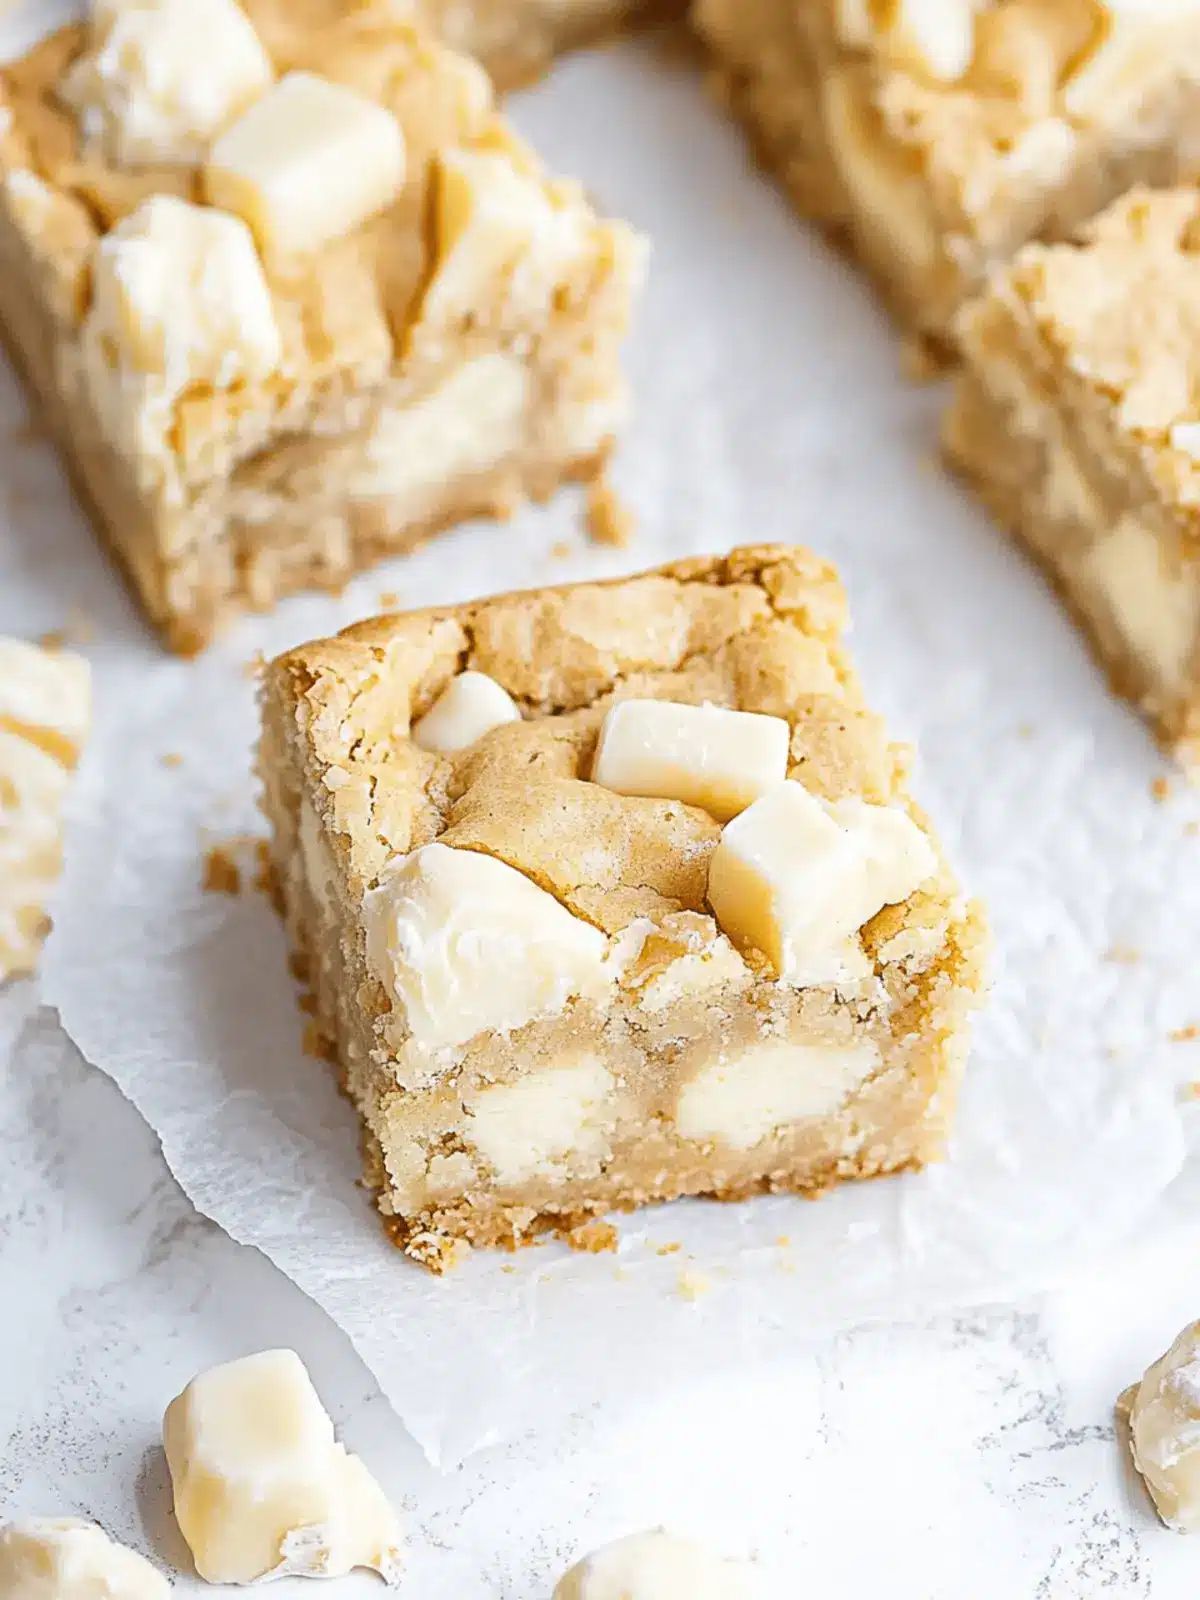
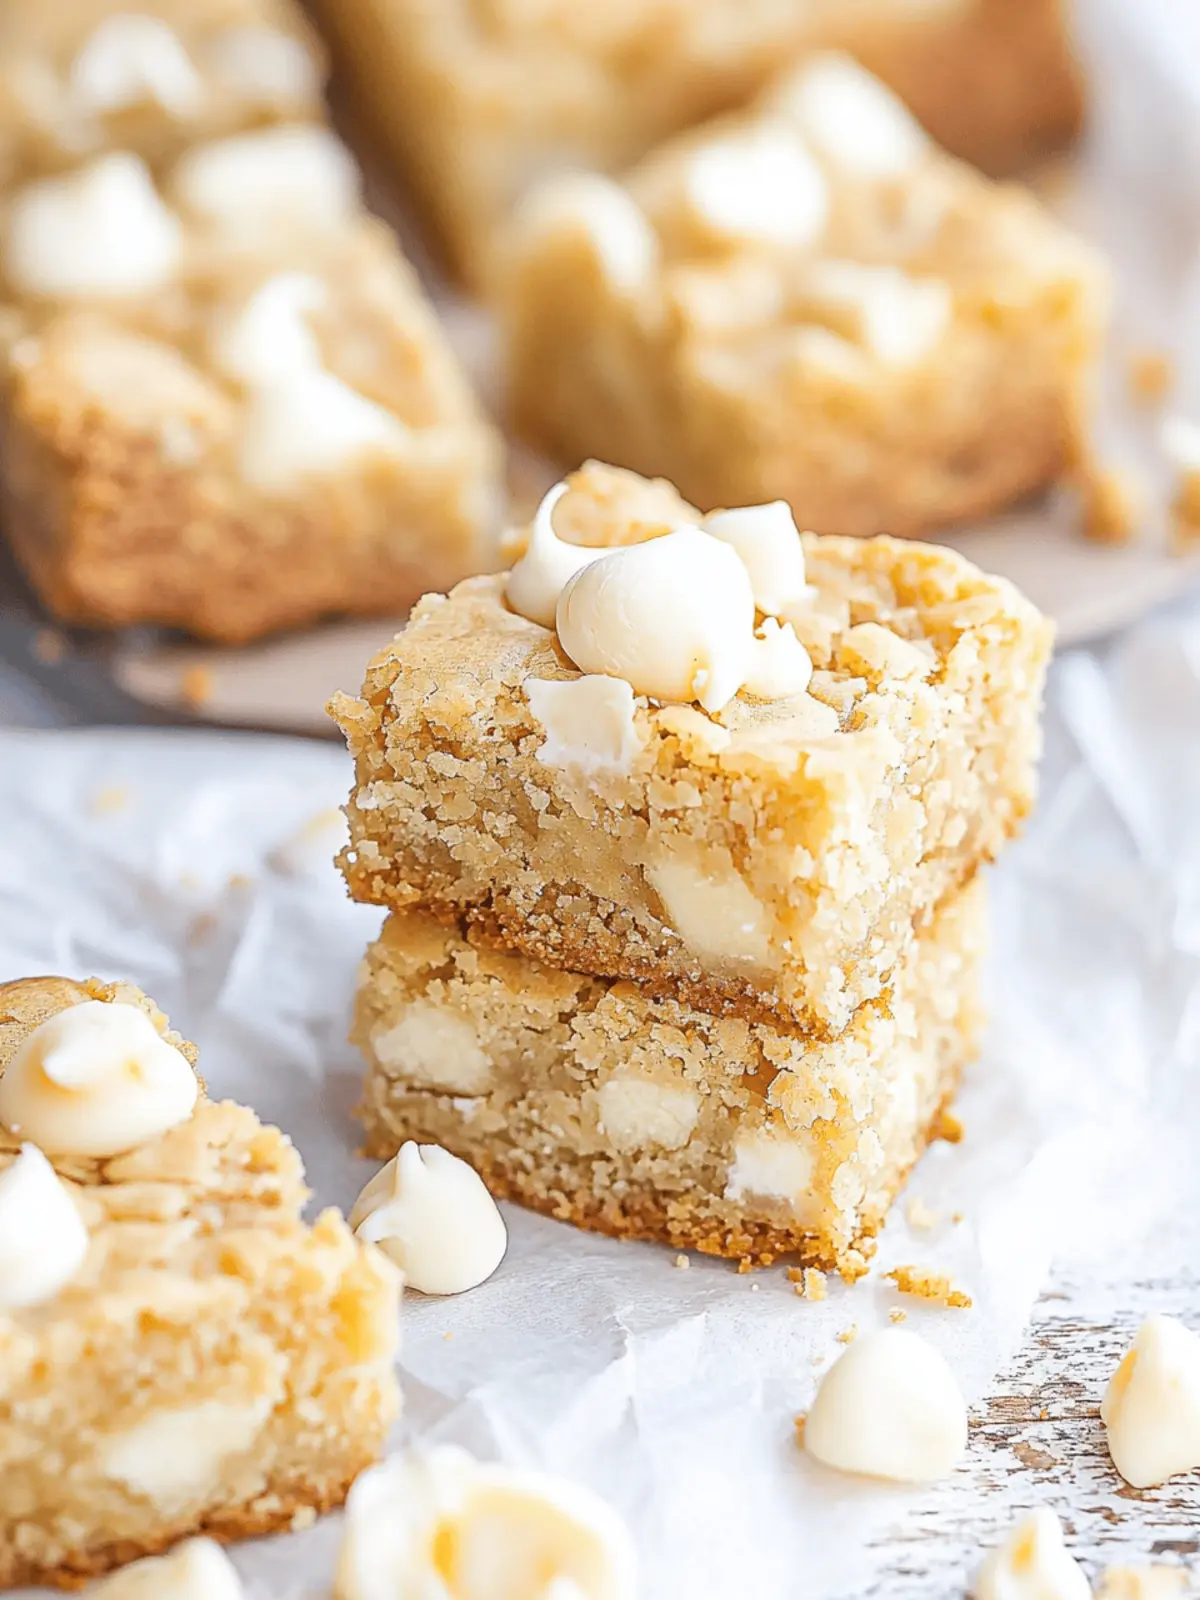
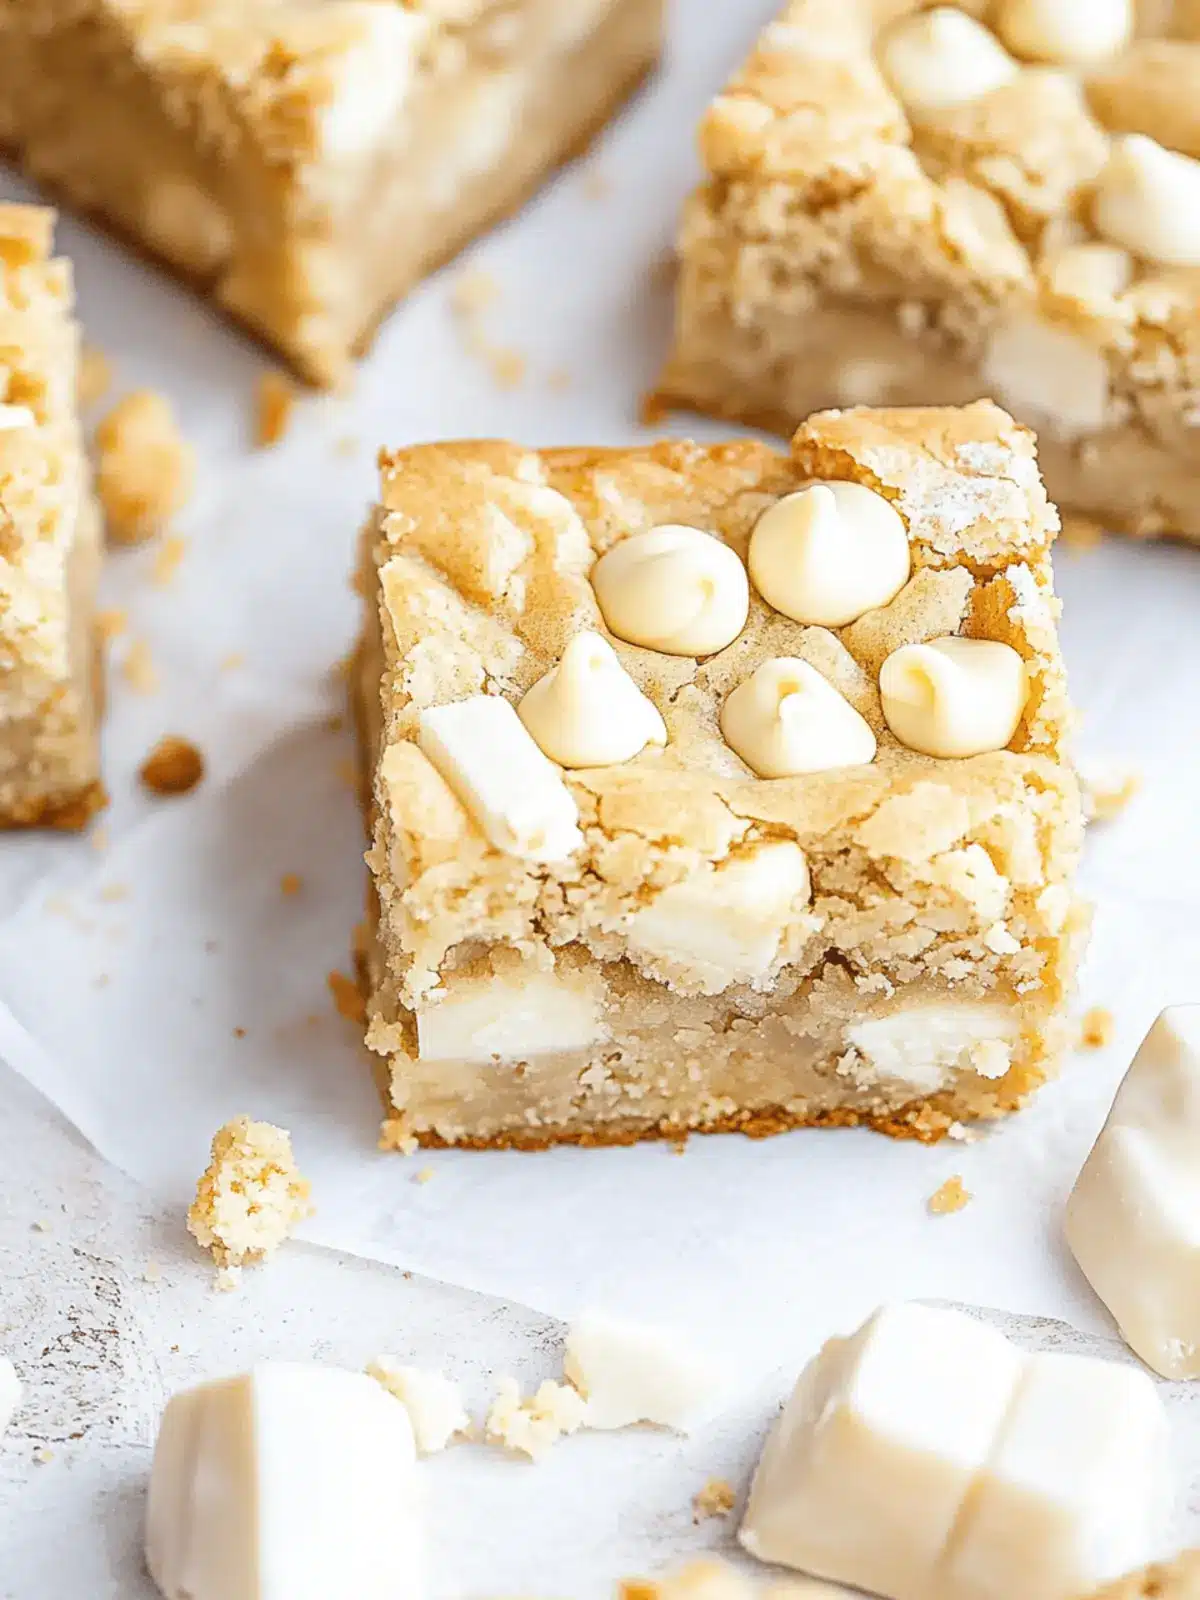
When life hands you a craving for something sweet, these Ultra Chewy White Chocolate Blondies are the answer you’ve been looking for. I remember the first time I took a bite; the rich, buttery flavor mixed with the creamy bursts of white chocolate was pure bliss. What truly sets this recipe apart is how effortlessly it comes together—perfect for those last-minute celebrations or simply when you need a dessert fix. In just under 10 minutes of prep time, you can have a warm, gooey treat that is sure to impress friends and family alike. Whether it’s birthday parties, holiday gatherings, or even cozy nights in, these blondies are the perfect crowd-pleaser that will leave everyone reaching for seconds. Trust me, once you try them, you’ll understand why they’re destined to become a staple in your dessert repertoire.
Why Are White Chocolate Blondies a Must-Make?
Simplicity: This recipe is a breeze to whip up, even for novice bakers! Just mix, bake, and indulge.
Chewy Texture: The perfect balance of chewy and gooey, these blondies create a satisfying bite that keeps you coming back for more.
Impressive Flavor: With buttery notes and sweet white chocolate bursts, they deliver pure dessert bliss that everyone will rave about.
Versatility: Dress them up with your favorite add-ins like nuts or caramel for a fun twist!
Perfect for Celebrations: From birthdays to casual gatherings, these blondies are a guaranteed crowd-pleaser. If you’re looking for an easy yet delicious dessert, you cannot go wrong with these heavenly treats!
White Chocolate Blondies Ingredients
For the Blondies
- All-purpose flour – Provides structure to the blondies; remember to spoon and level when measuring to avoid excess flour.
- Baking soda – Acts as a leavening agent, helping the blondies rise and stay fluffy.
- Baking powder – Works with baking soda to give extra lift for that perfect chewy texture.
- Salt – Enhances flavor; if you’re using salted butter, be sure to reduce the amount added for balance.
- Unsalted butter – Creates a rich, buttery flavor while ensuring a moist texture; use softened for easy mixing.
- Granulated sugar – Adds sweetness and aids in that chewy texture synonymous with classic White Chocolate Blondies.
- Brown sugar – Deepens the sweetness and flavor profile, contributing significantly to the chewiness.
- Vanilla extract – Infuses that classic dessert flavor that we all know and love.
- Almond extract – Provides a subtle nutty undertone; feel free to omit or substitute with more vanilla if desired.
- White chocolate chips – The star ingredient that provides the signature sweetness and creamy bursts in every bite!
- Eggs – Essential for binding the ingredients together; using them at room temperature yields better blending results.
Optional Toppings
- Extra white chocolate chips – Sprinkle on top before baking if you want that extra bit of melty goodness.
- Caramel drizzle – Adds a decadent finish; simply melt caramel and drizzle over cooled blondies.
How to Make White Chocolate Blondies
-
Prepare the Oven and Pan: Preheat your oven to 350°F (175°C). Line a square baking pan (9×9 or 8×8 inches) with parchment paper, ensuring you leave some overhang to easily lift out the blondies later.
-
Mix Dry Ingredients: In a medium bowl, whisk together the all-purpose flour, baking powder, baking soda, and salt. This will help ensure a light and fluffy texture in your blondies.
-
Cream Wet Ingredients: In a large mixing bowl, beat the softened unsalted butter along with the granulated and brown sugars until the mixture is light and fluffy. Gradually incorporate the eggs, one at a time, then mix in the vanilla and almond extracts for that delightful flavor boost.
-
Combine Mixtures: Carefully fold the dry ingredients into the wet mixture, mixing just until you see a thick batter form. Then, gently fold in the white chocolate chips, making sure they are evenly distributed.
-
Bake: Pour the batter into the prepared pan, spreading it evenly. For an extra gooey treat, sprinkle some additional white chocolate chips on top. Bake for 30-35 minutes, or until the blondies are golden brown and a toothpick inserted in the center comes out clean.
-
Cool and Slice: Let the blondies cool in the pan for about 10 minutes before using the parchment paper to lift them out. Slice into 16 generous squares and enjoy!
Optional: Serve warm with a scoop of vanilla ice cream for an added indulgence.
Exact quantities are listed in the recipe card below.
Make Ahead Options
These ultra chewy white chocolate blondies are perfect for meal prep! You can prepare the batter up to 24 hours in advance by mixing the wet and dry ingredients separately and storing them in the refrigerator. Just keep them in airtight containers to maintain freshness and avoid drying out. When you’re ready to bake, simply combine the mixtures, fold in the white chocolate chips, and pour into the prepared pan. Remember to check for doneness to keep them just as delicious and chewy as intended. You can also bake and cool the blondies up to 3 days ahead of time; simply store them in an airtight container at room temperature for easy access whenever a sweet craving strikes!
What to Serve with White Chocolate Blondies?
These delightful blondies are perfect for creating a memorable dessert experience that everyone will love!
-
Vanilla Ice Cream: The creamy richness of vanilla ice cream beautifully contrasts with the chewy blondies, enhancing their sweetness.
-
Fresh Berries: A handful of strawberries or raspberries adds a refreshing burst of flavor, cutting through the richness of the dessert.
-
Chocolate Sauce: Drizzling warm chocolate sauce over your blondies adds an indulgent touch, complementing the white chocolate flavors with more depth.
-
Caramel Sauce: A drizzle of salted caramel sauce elevates the sweetness and adds a luxurious finish that’s simply irresistible.
-
Coffee or Espresso: Pairing your blondies with a cup of coffee creates a delightful balance; the warmth enhances the white chocolate’s creamy notes.
-
Whipped Cream: A dollop of lightly sweetened whipped cream adds a light, airy texture that brings a delightful contrast to each rich bite.
-
Nut Toppings: Walnuts or pecans, either sprinkled on top or mixed in, add a satisfying crunch and a nutty flavor that rounds out the dish perfectly.
-
Chocolate Milkshake: For a truly decadent treat, serving your blondies alongside a chocolate milkshake creates the ultimate dessert combo sure to satisfy any sweet tooth.
These pairings allow you to enjoy the white chocolate blondies in a multitude of delicious ways!
White Chocolate Blondies Variations
Treat your taste buds to a delightful twist on the classic recipe!
- Dark Chocolate: Swap white chocolate chips for rich dark chocolate chips for a bold flavor contrast.
- Nutty Delight: Add chopped walnuts or pecans for a delicious crunchy texture that complements the softness of the blondies.
- Caramel Swirl: Drizzle warm caramel into the batter before baking for a blissful, gooey surprise in every bite.
- Coconut Bliss: Mix in shredded coconut to give your blondies a tropical flair that adds both flavor and texture.
- Spiced Up: Sprinkle in a dash of cinnamon or nutmeg to create a warm, cozy flavor perfect for fall celebrations.
- Minty Twist: Add a few drops of peppermint extract to the batter for a refreshing mint flavor that pairs beautifully with white chocolate.
- Fruit Fusion: Fold in dried cranberries or cherries for a fruity burst of flavor and a chewy texture that contrasts nicely with the blondies.
- Extra Gooey: Increase the amount of white chocolate chips beyond the standard measure for an ultra-creamy and decadent treat.
How to Store and Freeze White Chocolate Blondies
Room Temperature: Store your blondies in an airtight container at room temperature for up to 3 days to maintain their chewy texture and flavor.
Fridge: For longer freshness, refrigerate blondies in an airtight container for up to a week. Just allow them to come to room temperature before serving.
Freezer: Freeze blondies wrapped well in plastic wrap and then in aluminum foil for up to 3 months. Thaw at room temperature before enjoying these delectable treats again.
Reheating: To enjoy warm blondies, reheat them in the microwave for about 10-15 seconds, or until just warm, ensuring they retain their chewy goodness.
Expert Tips for White Chocolate Blondies
-
Room Temperature Ingredients: Make sure the butter and eggs are at room temperature; this ensures a smooth and well-blended batter, avoiding lumps.
-
Avoid Over-Mixing: Gently fold the dry ingredients into the wet mixture until just combined. Over-mixing can lead to tough blondies instead of the soft, chewy texture you desire.
-
Check for Doneness: Keep an eye on the blondies towards the end of baking. A toothpick should come out clean, and the top should be golden; this prevents over-baking.
-
Cool for Perfect Slices: Let the blondies cool in the pan for about 10 minutes before lifting them out. This cooling time helps in achieving clean, square cuts.
-
Add a Flavor Twist: Feel free to swap white chocolate chips for dark or butterscotch chips to create your own spin on these delicious White Chocolate Blondies.
White Chocolate Blondies Recipe FAQs
What is the best way to select ripe ingredients?
Absolutely! For the best results, use fresh, high-quality ingredients. When it comes to butter, choose unsalted to have control over the saltiness. Always check eggs to ensure they’re fresh; the best eggs are those that feel heavy and are not past the sell-by date. For chocolate chips, look for creamy, high-quality white chocolate to enhance the flavor of your blondies.
How should I store my White Chocolate Blondies?
Very simply! Leave your blondies in an airtight container at room temperature for up to 3 days. If you’d like to keep them longer, pop them in the refrigerator where they’ll last up to a week; just remember to let them come to room temperature again before enjoying! This helps retain their delicious chewy texture.
Can I freeze White Chocolate Blondies, and if so, how?
Absolutely! To freeze your blondies, wrap each piece tightly in plastic wrap, then place them in a freezer-safe bag or container. They can be stored in the freezer for up to 3 months. When you’re ready to indulge again, simply thaw them at room temperature for a couple of hours or warm them briefly in the microwave for that fresh-baked taste!
What common mistakes should I avoid when making these blondies?
To maintain that perfect texture, avoid over-mixing once the dry ingredients are added. Mix just until you no longer see any flour pockets. Also, keep a close eye towards the end of baking; you’re looking for a light golden color, and a toothpick inserted should come out clean but not overly dry. If undercooked, they’ll remain fudgy and chewy!
Are there any dietary considerations for these blondies?
Indeed! If you have a nut allergy, you can easily omit the almond extract without compromising the flavor of your blondies. Additionally, keep in mind that these treats should be kept away from pets, specifically dogs, as chocolate can be toxic to them. Always store baked goods securely to avoid accidental snacking by furry friends!
How can I make my blondies more flavorful?
To elevate the flavor, consider adding a pinch of cinnamon or a teaspoon of espresso powder to your dry ingredients. You can also mix in chopped nuts or dried fruits for added texture and taste. Alternatively, drizzle homemade caramel or chocolate sauce on top for an indulgent finish. Get creative—there are endless possibilities!
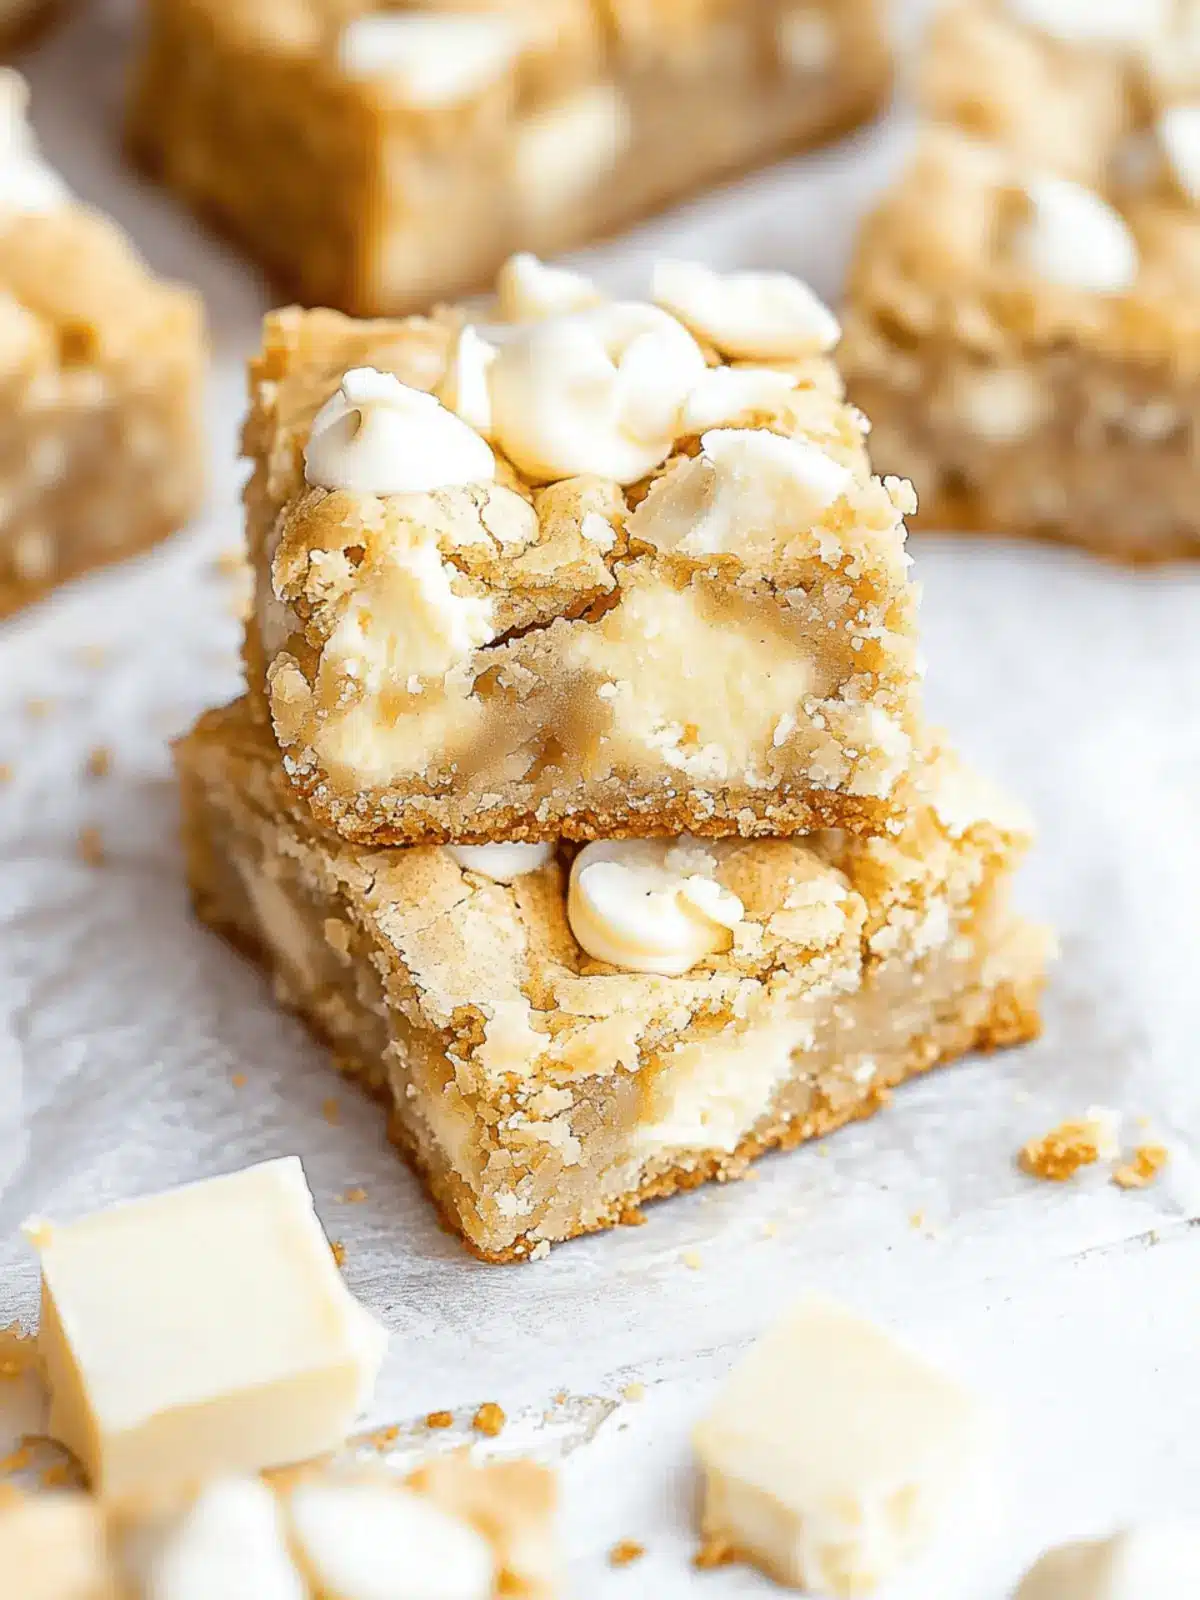
Chewy White Chocolate Blondies That Wow Every Sweet Tooth
Ingredients
Equipment
Method
- Preheat your oven to 350°F (175°C) and line a baking pan with parchment paper.
- In a medium bowl, whisk together the flour, baking powder, baking soda, and salt.
- In a large bowl, cream together the butter and sugars until light and fluffy. Add eggs one at a time, mixing in extracts.
- Fold the dry ingredients into the wet mixture until a thick batter forms, then fold in the white chocolate chips.
- Spread the batter evenly in the prepared pan, sprinkle additional chips on top, and bake for 30-35 minutes.
- Cool for about 10 minutes before lifting out and slicing into 16 squares.

