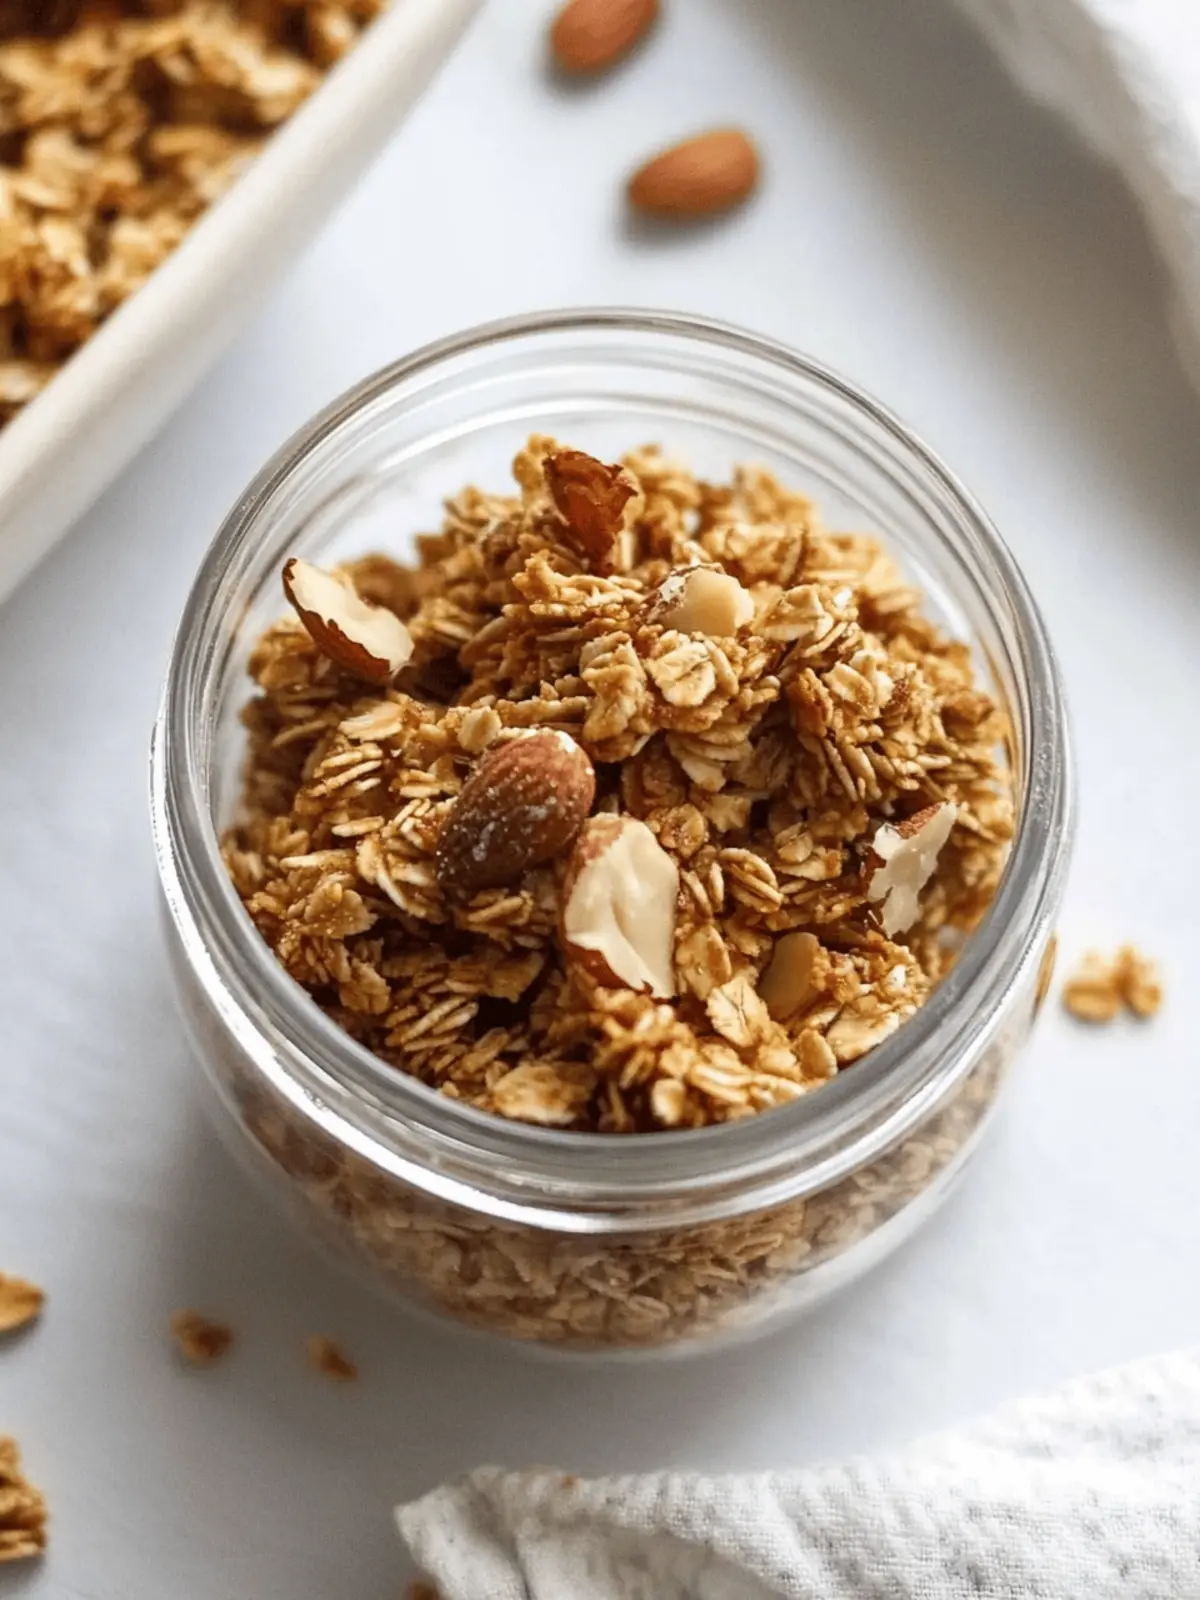
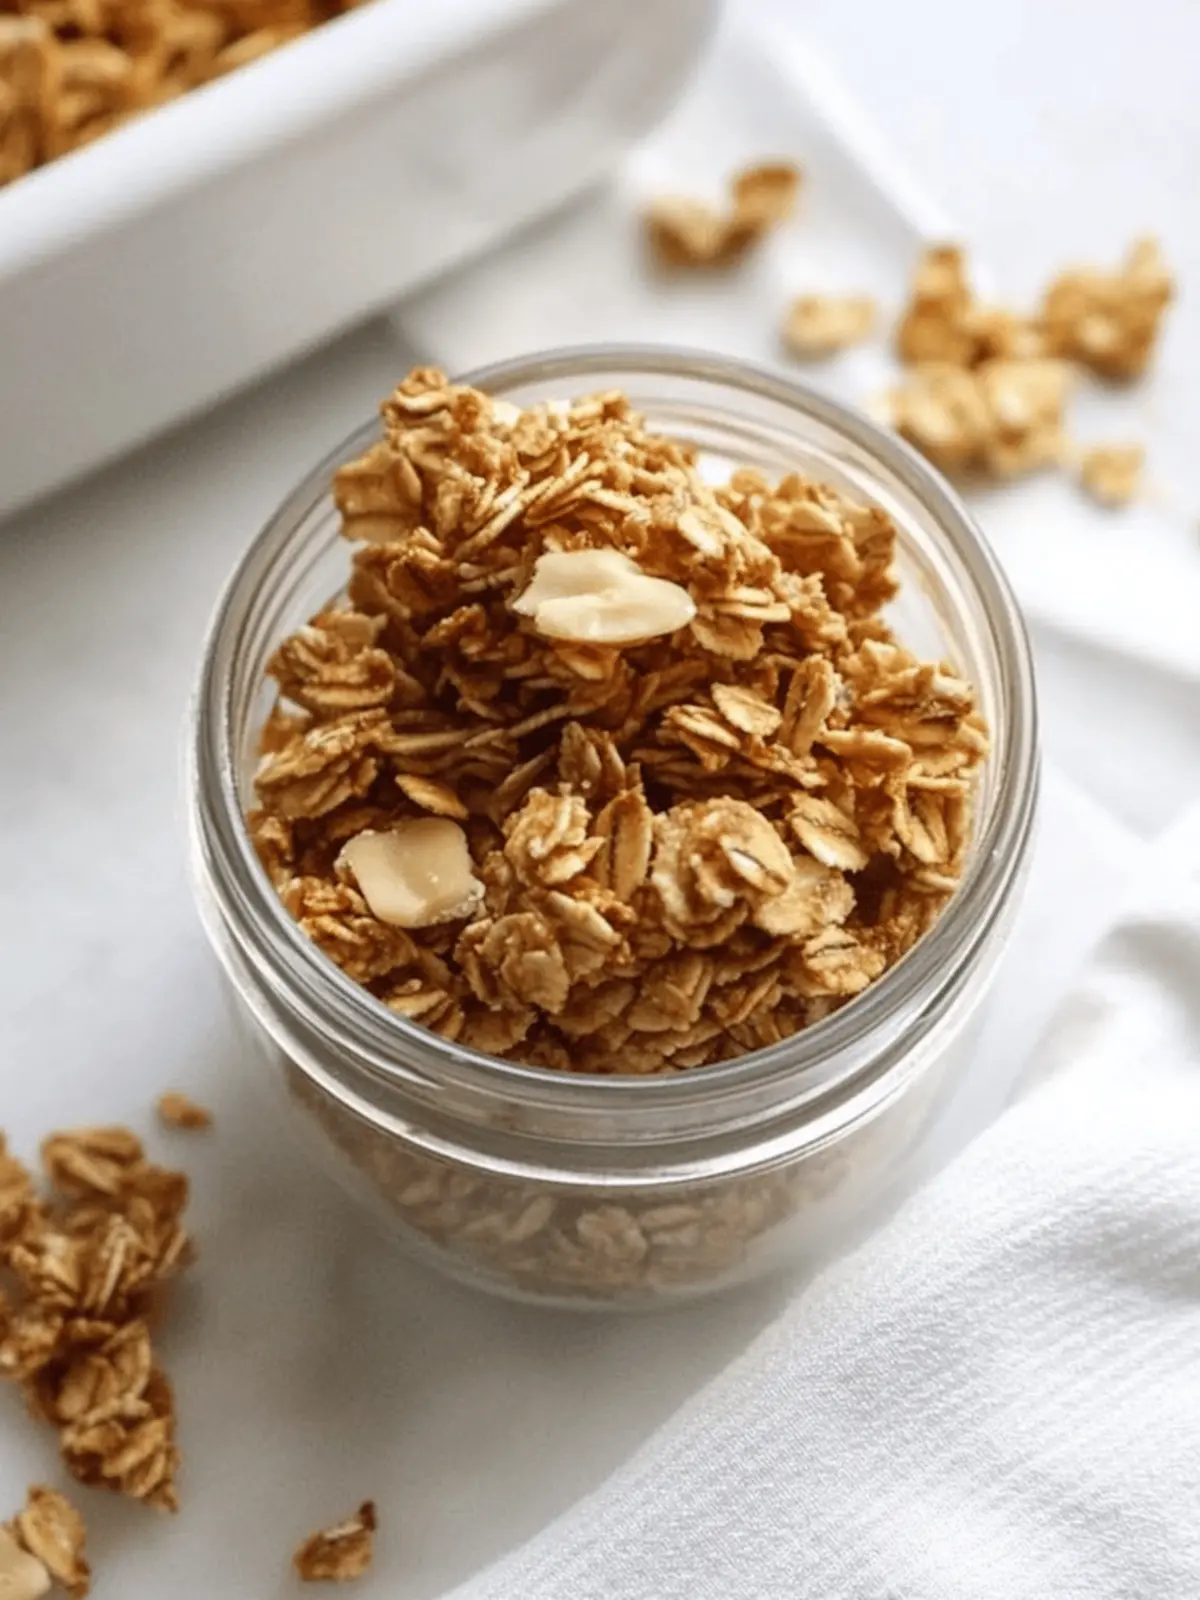
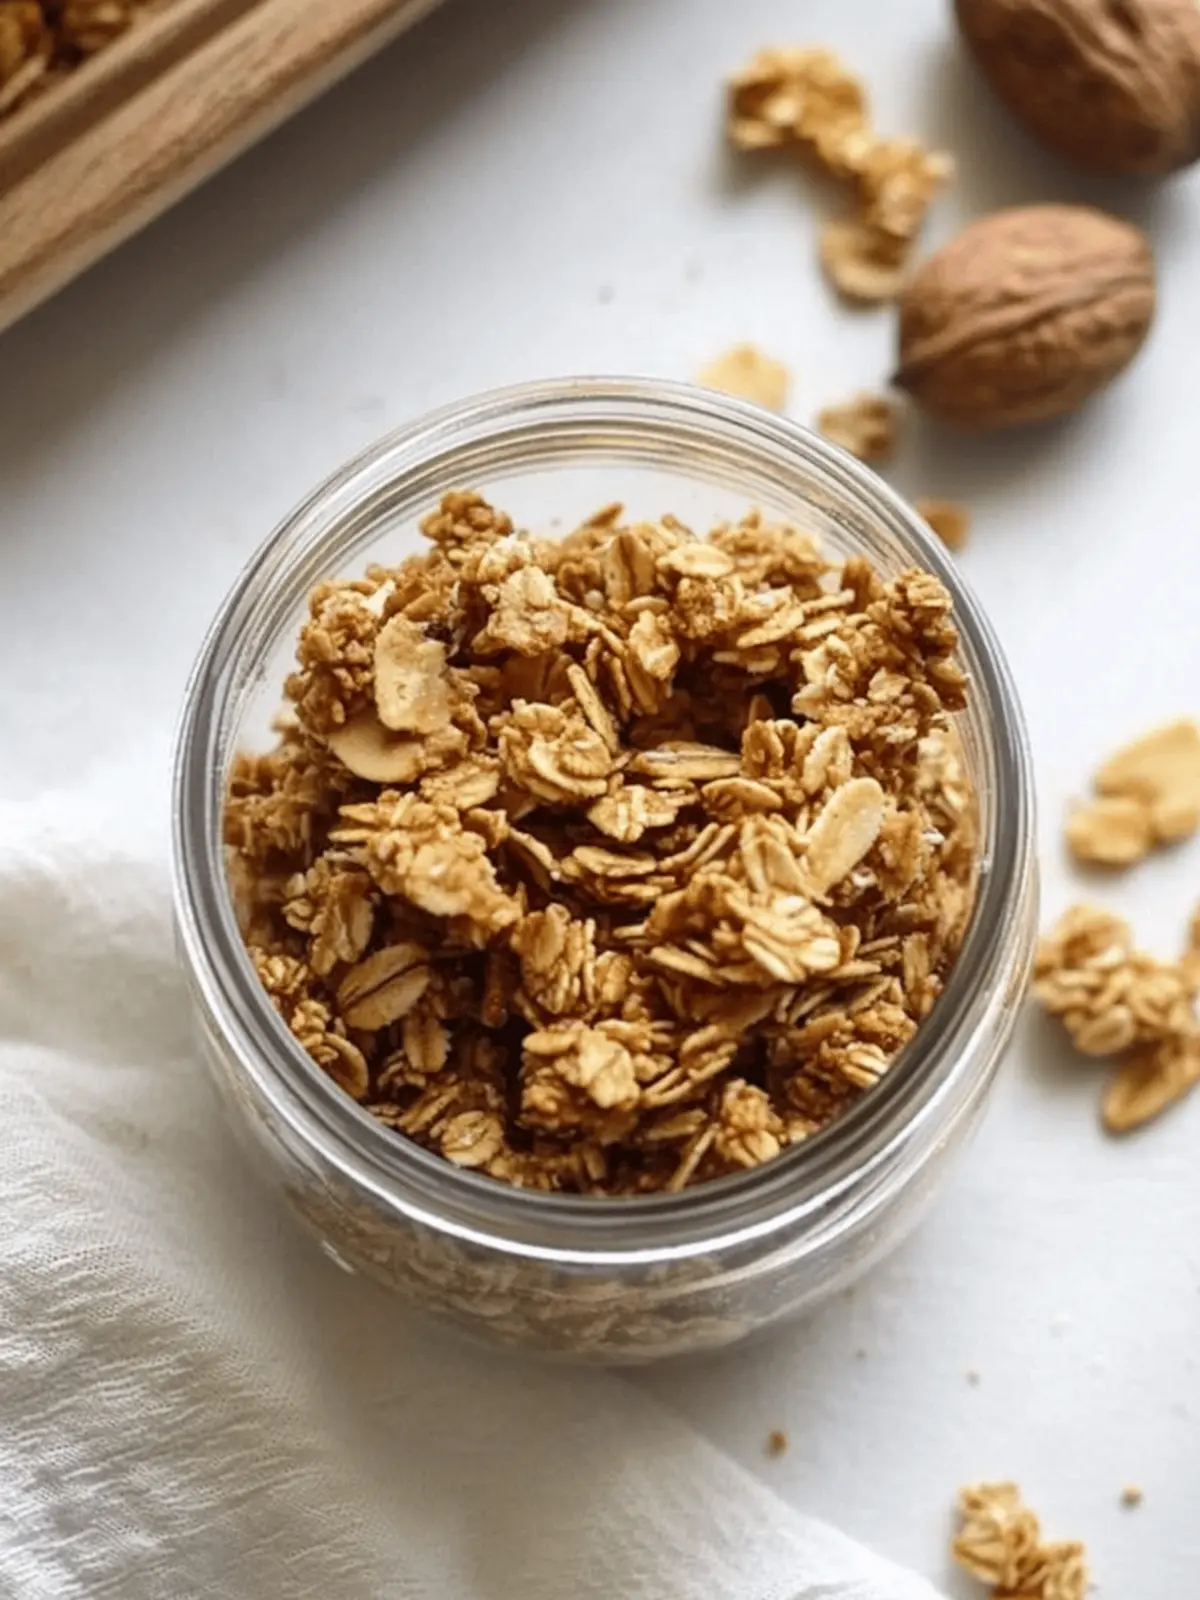
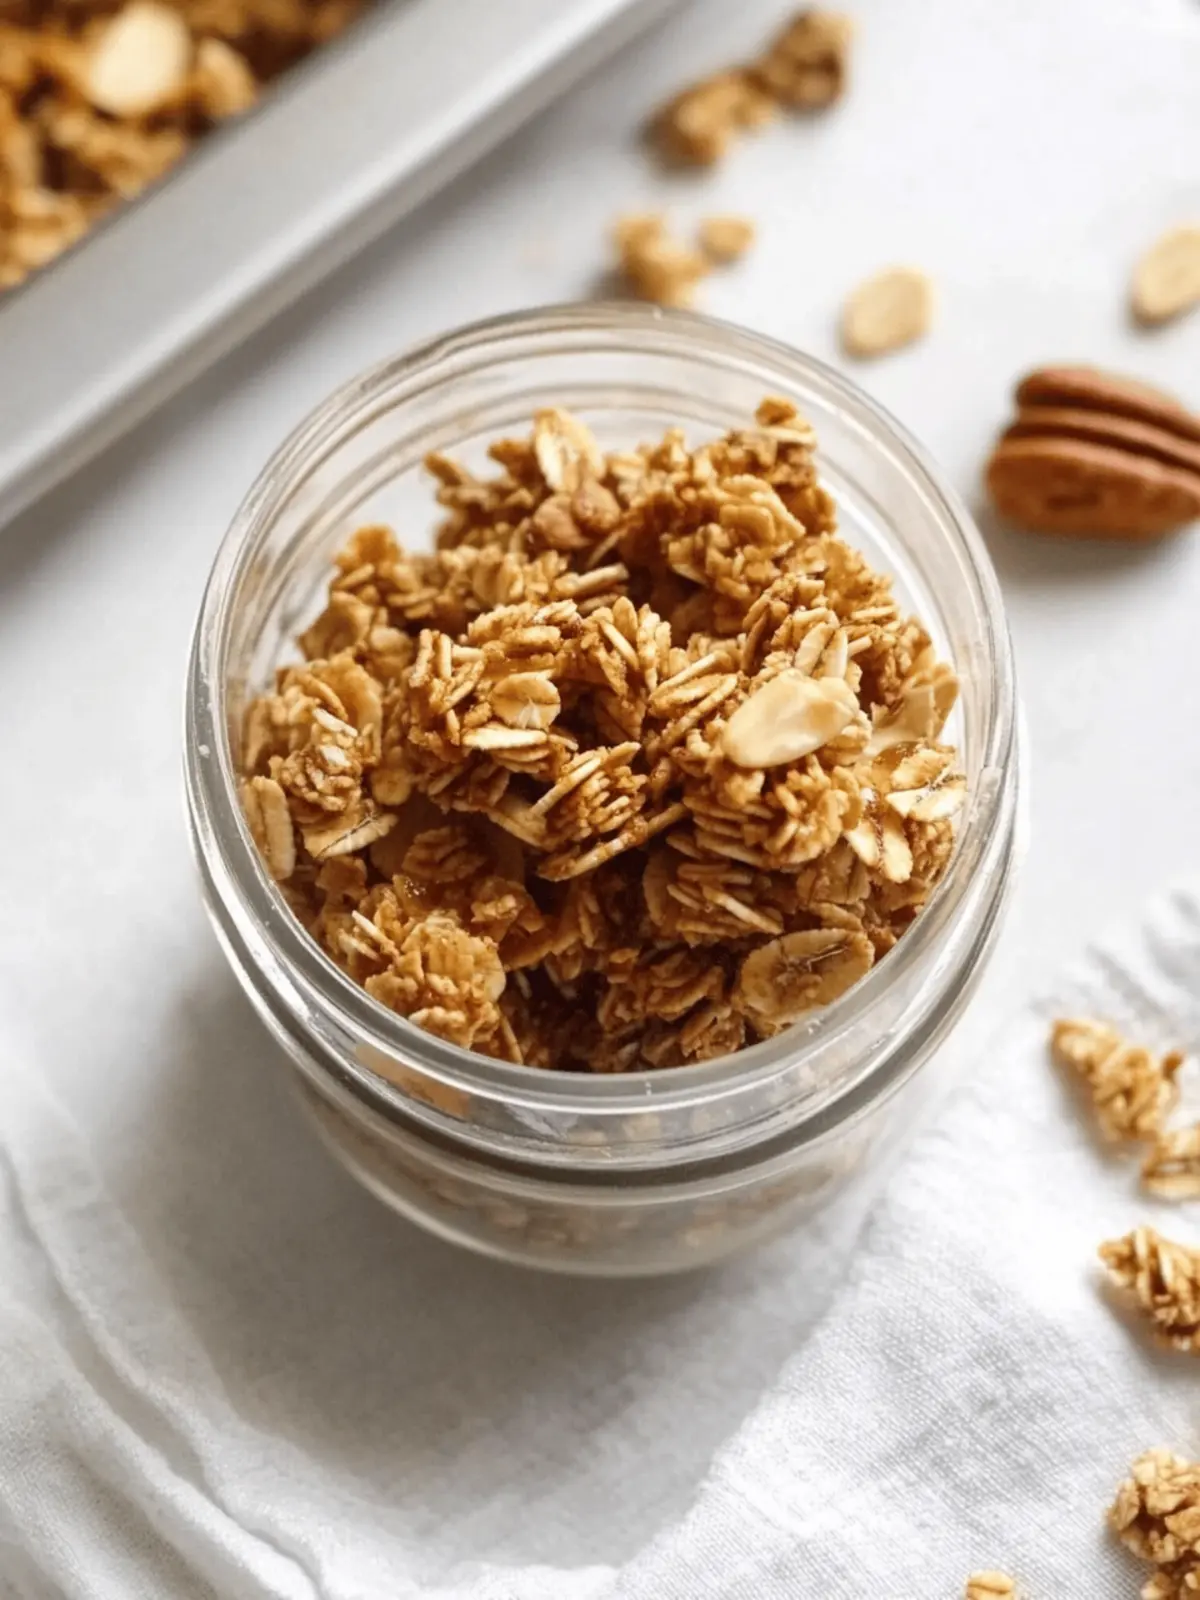
When I first whipped up a batch of Salted Honey Nut Granola, I was on a quest to banish the monotony of store-bought breakfasts. Little did I know, this delightful blend of flavors and textures would become a staple in my kitchen. The moment I combined the rich olive oil with the sweet honey and aromatic cinnamon, I felt a wave of excitement—this was going to be something special!
As the granola baked, the irresistible scent wafted through my home, drawing everyone in like moths to a flame. In just 30 minutes, my simple pantry ingredients transformed into crunchy, toasty goodness that was not only satisfying but packed full of nutritious ingredients like nuts and seeds.
Whether enjoyed as a topping for yogurt, a quick snack on the go, or even straight out of the jar, this granola is as versatile as it is delicious. So, if you’re ready to elevate your breakfast game and indulge in a bowl of homemade joy, join me in creating this mouthwatering Salted Honey Nut Granola!
Why is Salted Honey Nut Granola a must-try?
Irresistible crunch: This granola delivers a satisfying texture that will keep you coming back for more.
Flavor explosion: The combination of sweet honey and nutty flavors creates a delicious harmony that enhances every bite.
Quick and easy: With just a few simple steps, you can whip up a batch in about 30 minutes, making it perfect for busy mornings.
Versatile delight: Use it in yogurt, on top of smoothie bowls, or as a snack right out of the jar—it’s delightful in every way!
Nutritious goodness: Packed with healthy nuts, seeds, and fiber, this granola caters to your cravings while keeping your health goals in check.
Why not take a look at some other delicious granola recipes for inspiration?
Salted Honey Nut Granola Ingredients
Unlock the secrets to this delicious treat!
For the Granola Base
- Olive oil – Provides a rich flavor and helps bind the ingredients.
- Honey – The perfect natural sweetener that also adds a delightful chewiness.
- Vanilla extract – Adds depth and complexity to the flavor profile.
- Cinnamon – Gives that warm, comforting spice that complements the nuts beautifully.
- Salt – A touch of salt enhances the sweetness and balances flavors.
For the Oats
- Old fashioned oats – McInclude these for a hearty texture that holds up during baking.
- Quick oats – Adds a slight chew, making every bite satisfying.
For the Nuts and Seeds
- Raw whole nuts – I used pecans and almonds for healthy fats and crunch; feel free to substitute for your favorites!
- Raw seeds – I opted for pepitas, which provide a delightful nutty taste and extra nutrients.
To Finish
- Flaky sea salt – A generous sprinkle on top adds that delicious salty punch and elevates the flavor of your granola.
This Salted Honey Nut Granola is just a mix away, promising delicious mornings and satisfying snacks!
How to Make Salted Honey Nut Granola
-
Preheat the Oven: Start by adjusting your oven rack to the middle position and preheating to 325°F. Line a half sheet pan with parchment paper, ensuring a simple cleanup afterward.
-
Mix the Ingredients: In a large mixing bowl, whisk together the olive oil, honey, vanilla extract, cinnamon, and salt until everything is beautifully combined and smooth.
-
Combine Oats, Nuts, and Seeds: Add the old fashioned oats, quick oats, nuts, and seeds to the bowl. Stir gently but thoroughly until every oat is coated in the sweet mixture.
-
Prepare for Baking: Transfer your mixture to the prepared sheet pan. Using a spatula, press it down firmly into an even layer. Top it off with a generous sprinkle of flaky sea salt for that extra flavor kick.
-
Bake the Granola: Place your sheet pan in the oven and bake for about 25-30 minutes. Flip the mixture halfway through the baking time, using the spatula to press it back down into an even layer.
-
Check for Doneness: Keep an eye on your granola until it turns a lovely medium golden brown. Feel free to add a few extra minutes if needed for that perfect crunch!
-
Cool and Break: Once done, remove the granola from the oven and let it cool in the pan for at least an hour. Afterward, break it up with your hands into your desired consistency—crunchy clusters or smaller bits!
Optional: Top with dried fruits for added sweetness and texture.
Exact quantities are listed in the recipe card below.
Expert Tips for Salted Honey Nut Granola
-
Even Coating: Ensure oats are thoroughly coated: Stir gently but adequately to avoid dry patches, ensuring the Salted Honey Nut Granola bakes uniformly.
-
Adjust Sweetness: Taste before baking: If you prefer a sweeter granola, add a touch more honey or maple syrup to balance the flavors.
-
Storage Matters: Keep it crispy: Store in an airtight container at room temperature to maintain Crunchy Bliss for your mornings.
-
Nuts & Seeds Swap: Personalize your mix: Feel free to swap pecans and almonds for your favorite nuts and seeds, but keep the ratios similar for the best texture.
-
Check for Doneness: Avoid burning: Keep a close eye as it bakes, as oven temperatures can vary; aim for a golden brown color for that perfect crunch.
How to Store and Freeze Salted Honey Nut Granola
Room Temperature: Store your granola in an airtight container at room temperature for up to 2 weeks. This helps maintain its crunchy texture while keeping it fresh.
Fridge: For longer shelf life, keep the granola in the fridge for up to 1 month. Make sure it’s in a tightly sealed container to prevent moisture from affecting its crispness.
Freezer: Store in a freezer-safe bag or container for up to 3 months. When you’re ready to enjoy, simply thaw at room temperature or pop it in the oven for a few minutes to regain that fresh-baked taste.
Reheating: If your granola loses its crunch after storage, reheat it in the oven at 300°F for about 10 minutes, stirring occasionally. This step will refresh your Salted Honey Nut Granola, making it as delightful as the day you made it!
What to Serve with Salted Honey Nut Granola?
Create a delightful breakfast spread that brings joy to your mornings with these delicious pairings.
-
Creamy Yogurt: This smooth base perfectly balances the crunch of the granola, creating a heavenly texture in every bite. Swirl in some fresh fruit for added flavor!
-
Fresh Berries: Juicy strawberries, blueberries, or raspberries introduce a burst of color and natural sweetness, enhancing each spoonful of granola bliss. Their vibrant taste is a refreshing contrast!
-
Banana Slices: Topped with sliced bananas, your granola transforms into a filling meal, providing a combination of flavors and nutrients that’ll keep you energized all day.
-
Milk or Plant-Based Milk: Whether you choose dairy or almond milk, the creamy pour creates a comforting bowl, softening the granola just a bit while retaining that satisfying crunch.
-
Nut Butter Drizzle: A touch of almond or peanut butter adds a rich depth of flavor and creaminess that complements the nutty elements of the granola beautifully. It’s pure indulgence!
-
Chia Seed Pudding: Layer it with chia seed pudding for a gourmet breakfast experience. The pudding’s creaminess and subtle sweetness pair superbly, making each bite a little celebration.
-
Smoothie Bowls: Use your granola as a topping for a vibrant smoothie bowl, adding crunch on top of a deliciously thick and fruity base for those mornings when you need something extra special.
-
Coffee or Herbal Tea: Complete your breakfast with a warm cup of coffee or a soothing herbal tea. The warm drink pairs wonderfully with the textures and flavors of the granola, enriching the overall experience!
Each of these pairings will elevate your Salted Honey Nut Granola, making every breakfast a delightful moment worth savoring.
Salted Honey Nut Granola Variations
Get ready to explore scrumptious twists on your granola that will tickle your taste buds!
-
Nut-Free: Swap nuts for more seeds, like sunflower or chia, to keep the crunch without the allergy risk. You’ll still enjoy a deliciously textured granola!
-
Chocolate Lover’s: Add 1/2 cup of dark chocolate chips after baking for a hint of sweetness that pairs beautifully with the honey flavor. It’s an indulgent treat for chocolate fans!
-
Dried Fruits: Mix in 1/2 cup of chopped dried fruits like cranberries, apricots, or raisins after baking for a chewy contrast to the crunchy granola. This adds both sweetness and a burst of color!
-
Spicy Kick: Include a pinch of cayenne pepper or chili powder with your cinnamon for a spicy-sweet flavor that surprises and delights. It’s a unique twist that adds warmth to every bite!
-
Coconut Twist: Incorporate 1 cup of unsweetened shredded coconut into the mix before baking for a tropical taste that pairs perfectly with the sweetness of the honey.
-
Maple Variation: Replace honey with maple syrup for a distinct flavor profile that enhances the natural sweetness—and gives it a deliciously unique twist.
-
Crunchy Clusters: For clumpier granola, squeeze the mixture together tightly before baking. This results in delightful clusters that are perfect for snacking!
-
Savory Version: Leave out the sweeteners and add a pinch of garlic powder and some parmesan cheese for a savory granola that’s perfect as a topping for salads or soups. This unexpected take offers a delightful umami flavor!
With these variations, you can create a love letter to your taste buds, customizing your Salted Honey Nut Granola just the way you like it!
Make Ahead Options
These Salted Honey Nut Granola bars are perfect for meal prep enthusiasts! You can mix together the dry ingredients—oats, nuts, and seeds—up to 3 days in advance, storing them in an airtight container to maintain freshness. Meanwhile, the wet ingredients (olive oil, honey, vanilla, cinnamon, and salt) can be whisked and refrigerated for up to 24 hours. When you’re ready to enjoy this delicious granola, simply combine the stored dry and wet mixtures and bake as instructed. This method not only saves time but also ensures your granola turns out just as delicious and crunchy, perfect for busy mornings or a quick snack!
Salted Honey Nut Granola Recipe FAQs
How do I choose the right nuts and seeds for my granola?
Absolutely! Opt for raw whole nuts like almonds, pecans, or walnuts, which provide healthy fats and a satisfying crunch. For seeds, consider pepitas (pumpkin seeds) or sunflower seeds, which add additional taste and nutrition. Feel free to combine various types to suit your taste preferences!
What’s the best way to store my Salted Honey Nut Granola?
To keep your granola fresh, store it in an airtight container at room temperature for up to 2 weeks. This helps maintain its delightful crunch. If you need it to last longer, it can be kept in the fridge for up to a month, but ensure it’s tightly sealed to avoid moisture.
Can I freeze Salted Honey Nut Granola? How?
Yes, you can freeze it! Place your cooled granola in a freezer-safe bag or container for up to 3 months. To enjoy, simply thaw it at room temperature or reheat it in the oven at 300°F for about 10 minutes. This method will help refresh its crunchy texture, just like the first time you made it!
How can I adjust the sweetness of the granola if it’s too bland?
If you find your granola isn’t sweet enough for your taste, it’s easy to adjust! Before baking, add a touch more honey or maple syrup to the mixture, thoroughly mixing until well-combined. This small adjustment can make a big difference in flavor!
What should I do if my granola is too crunchy or hard?
If your granola turns out too hard, consider reheating it in the oven at 300°F for about 10 minutes with a bit of water sprinkled over the top, covered with foil. This steam helps soften it a bit while still keeping the crunch intact. Enjoy your delightful Salted Honey Nut Granola!
Can I share this with my pets?
It’s best to keep this granola to yourself! Ingredients like honey can be harmful to pets, especially dogs. Always consult your vet before sharing any homemade treats with furry friends, as some nuts and sweeteners may pose risks.

Salted Honey Nut Granola: Crunchy Bliss for Your Mornings
Ingredients
Equipment
Method
- Preheat your oven to 325°F and line a half sheet pan with parchment paper.
- In a large bowl, whisk together olive oil, honey, vanilla, cinnamon, and salt.
- Add old fashioned oats, quick oats, nuts, and seeds to the bowl. Stir gently until coated.
- Transfer mixture to the sheet pan and press down firmly. Top with flaky sea salt.
- Bake for 25-30 minutes, flipping halfway through until golden brown.
- Let the granola cool in the pan for at least an hour before breaking up.


