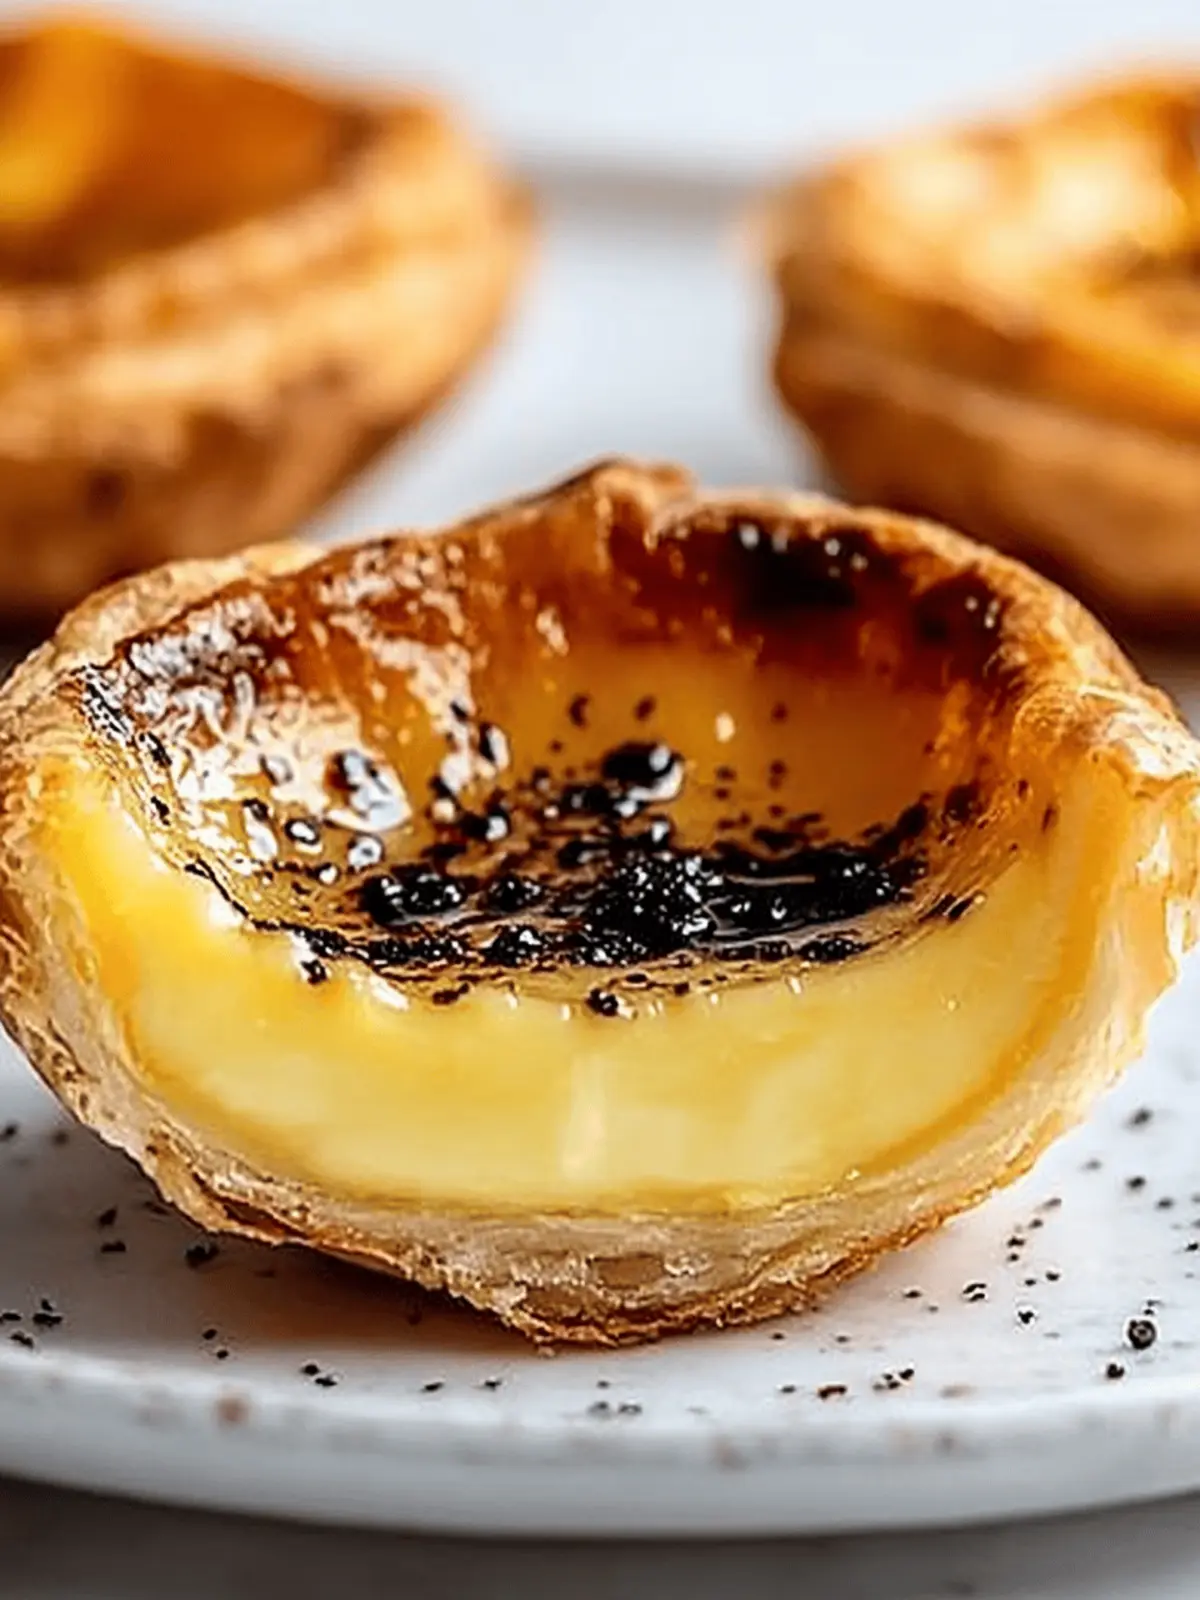
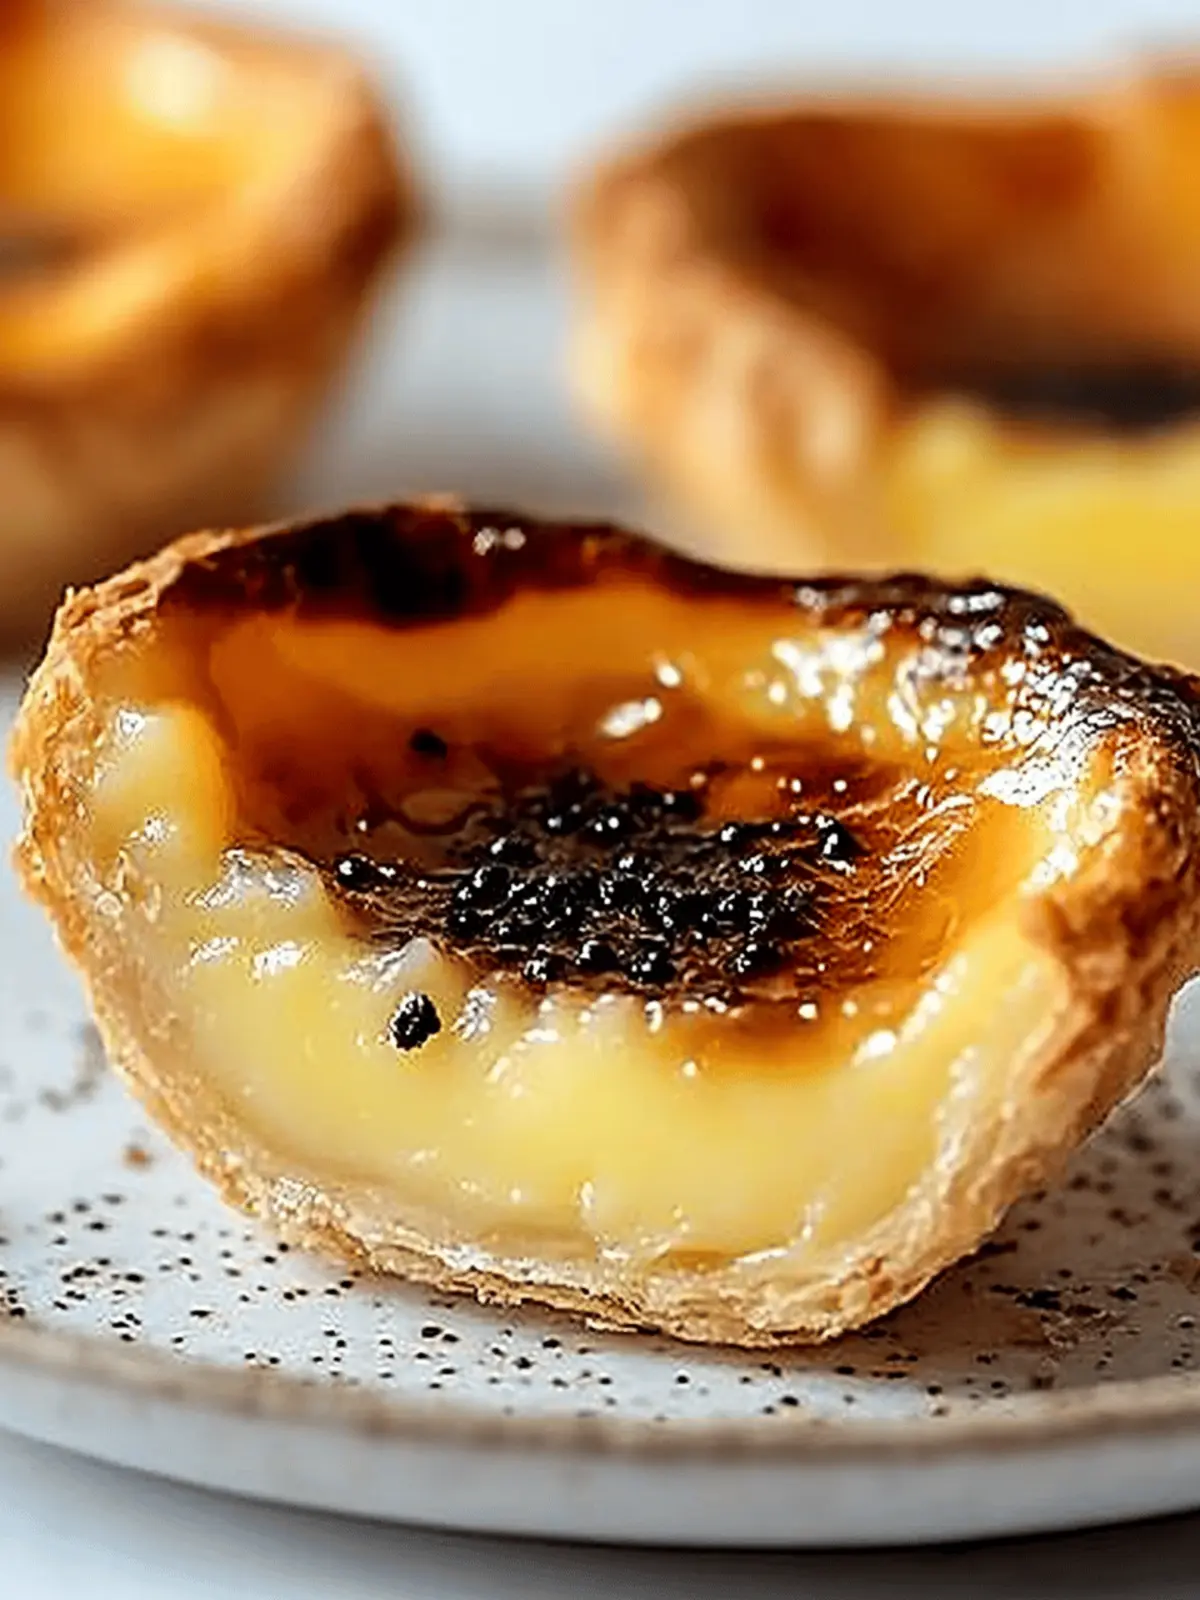
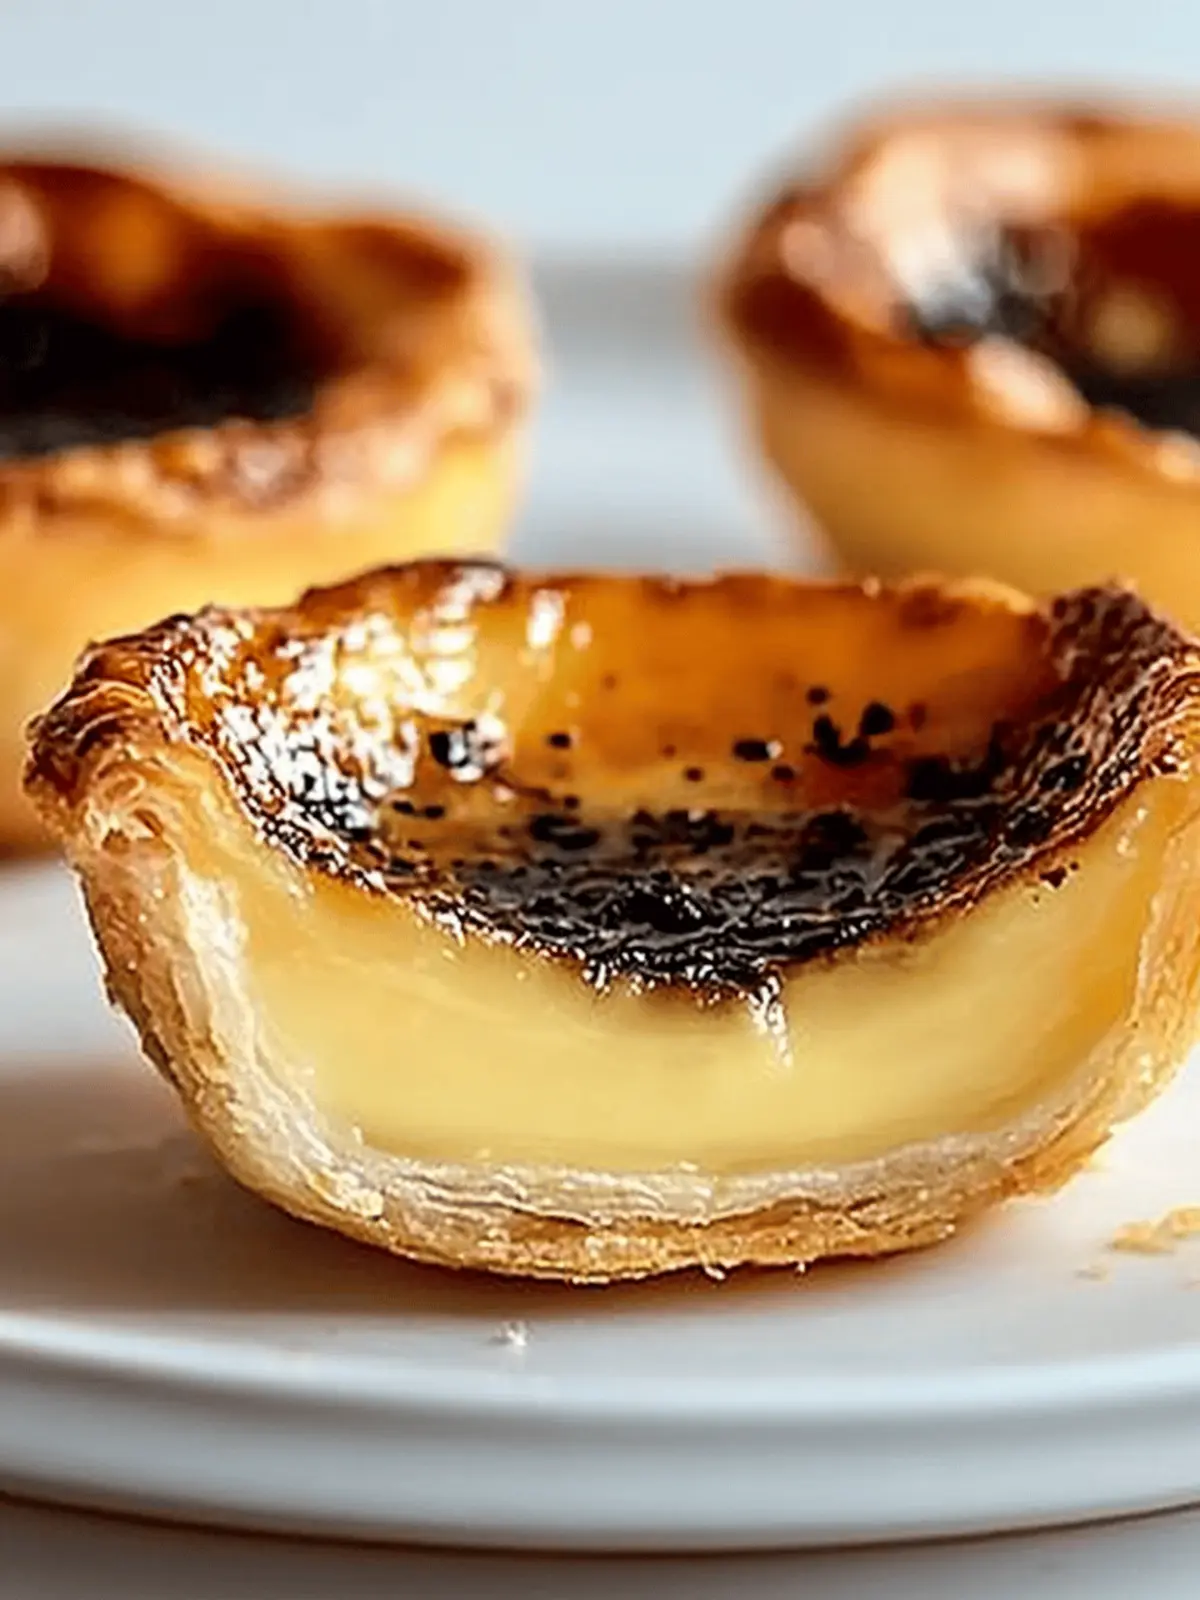
There’s something truly enchanting about the aroma of baked pastries wafting through the house, instantly whisking me away to a quaint café in Lisbon. During a recent afternoon spent yearning for a taste of nostalgia, I decided to recreate the beloved Pastel de Nata, or Puff Pastry Custard Tarts, that have won the hearts of so many. With a deceptively easy blend of ingredients and a simple method that promises stunning results, these little treasures are perfect for casual snacking or an elegant dessert.
As I set out my ingredients, memories flooded back—sharing laughter with friends over warm, crispy tarts dusted with cinnamon and powdered sugar. What’s truly delightful about this recipe is not just its incredible flavor but also its versatility; they can elevate any gathering or simply serve as a comforting treat after a long day. So, let’s dive into making these delectable custard tarts that are sure to impress even the pickiest eaters—and bring a touch of Portugal right to your kitchen!
Why is this Pastel de Nata Recipe special?
Unforgettable Flavors: The blend of warm cinnamon and zesty lemon elevates every bite of these delightful tarts.
Quick and Easy: With only a few simple steps, you can whip up an impressive dessert in under 30 minutes!
Versatile Treat: Perfect for brunches, parties, or cozy nights in—these tarts are always a crowd-pleaser.
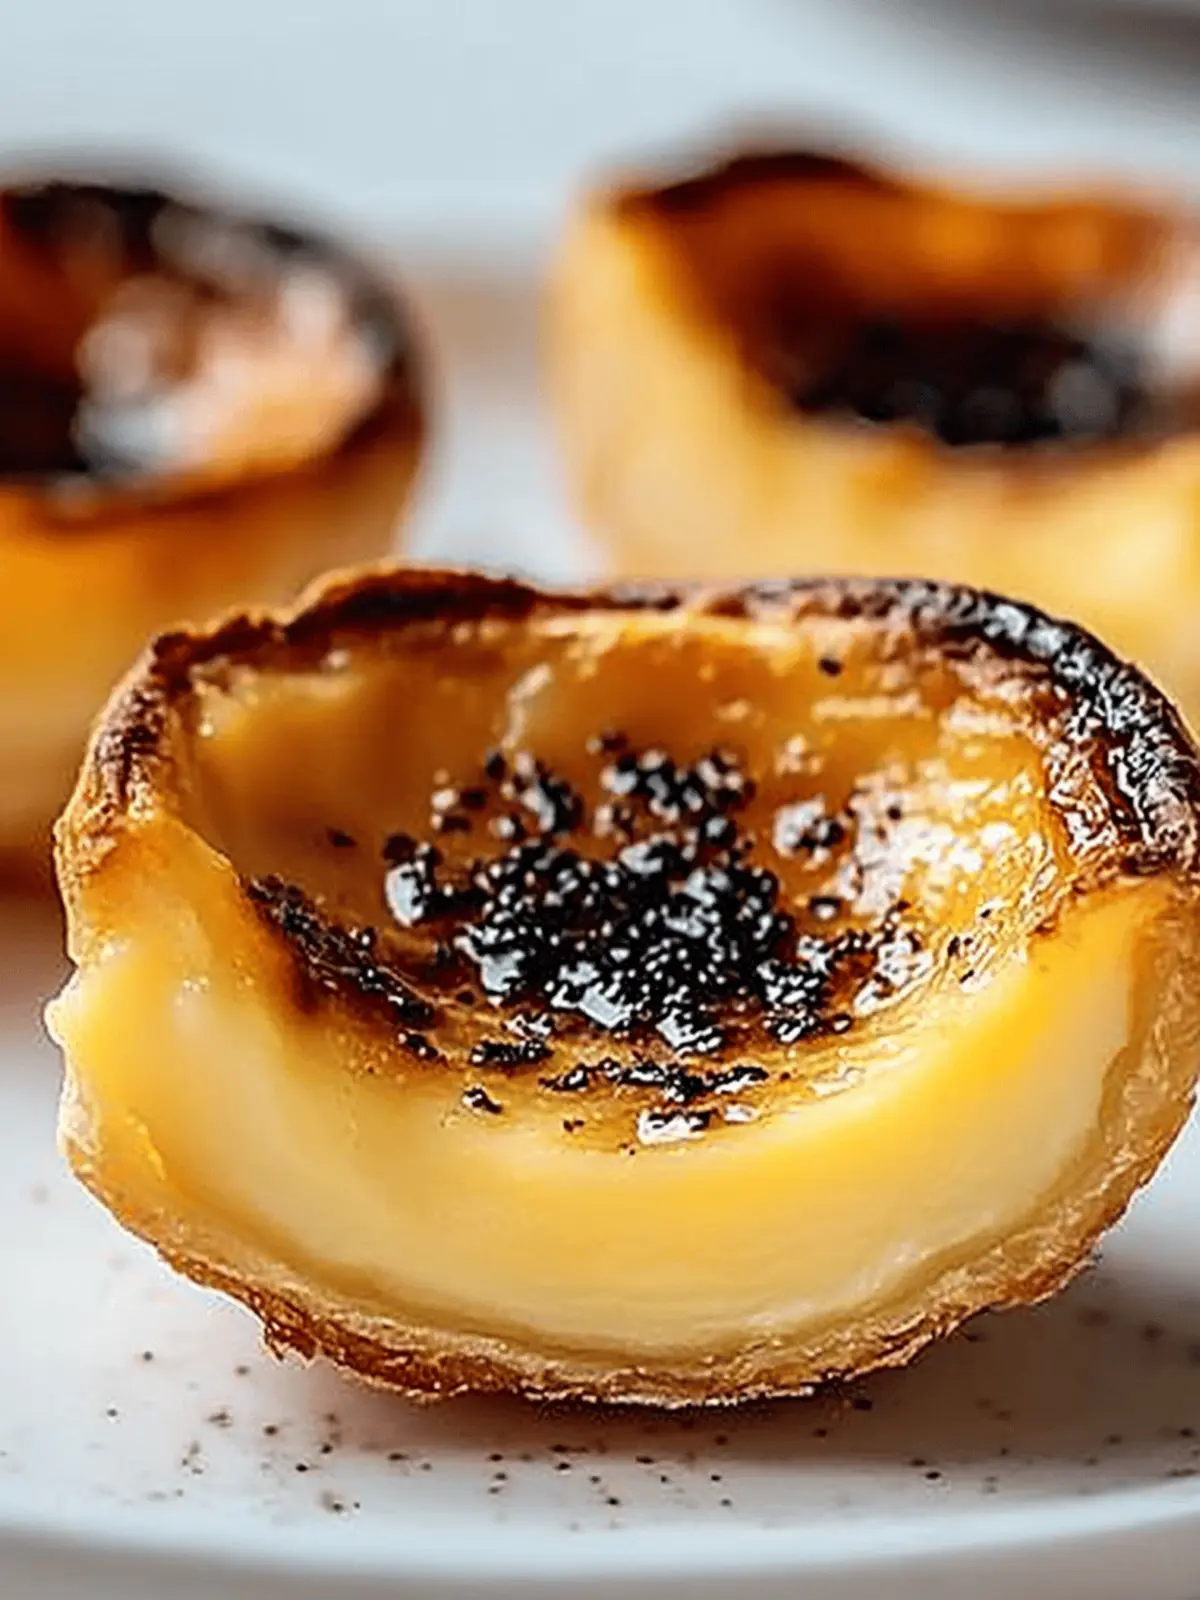
Dazzling Appearance: The golden-brown pastry and creamy custard create a stunning presentation, sure to impress.
Nostalgic Experience: Enjoy a slice of Portugal at home with each indulgent bite of these classic pastries.
Pastel de Nata Recipe Ingredients
A delightful treat awaits you!
For the Pastry
- Frozen puff pastry – a key ingredient that creates those flaky layers everyone loves.
- Flour for dusting – helps prevent sticking and makes rolling out the pastry easier.
For the Custard Filling
- Granulated sugar – balances the richness and adds just the right amount of sweetness to your Pastel de Nata.
- All-purpose flour – thickens the custard for that perfect creamy texture.
- Whole milk – provides a rich, smooth base; you can use almond or oat milk for a dairy-free option.
- Cinnamon stick – infuses the custard with warm, aromatic flavor during cooking.
- Lemon peel – adds a bright, zesty note that complements the custard beautifully.
- Large egg yolks – create a velvety custard that is the heart of these tarts.
For Dusting
- Ground cinnamon (optional) – sprinkle on top for an extra touch of warmth.
- Powdered sugar (optional) – adds a lovely sweetness and stunning finish to your tarts.
Gather these ingredients, and let the magic of your Pastel de Nata Recipe begin!
How to Make Pastel de Nata
-
Roll out the puff pastry on a lightly floured surface until it’s a thin rectangle. Roll it tightly from one short end to the other like a jelly roll. Slice into 12 equal pieces.
-
Press each piece into a muffin tin cup, cut-side down. Stretch the dough evenly into the base and up the sides of the cups, making sure it’s well-fitted.
-
Whisk together the sugar, flour, and a small amount of the milk in a saucepan to form a smooth paste. Add the remaining milk, cinnamon stick, and lemon peel. Cook over medium heat, whisking constantly, until it just starts to simmer and thicken.
-
Remove from heat and let the mixture steep for 10 minutes, allowing those lovely flavors to meld.
-
Whisk the egg yolks in a separate bowl. Once steeped, remove the lemon peel and cinnamon stick from the milk mixture, then slowly whisk the warm milk into the egg yolks until thoroughly combined.
-
Strain the custard through a fine mesh sieve into a bowl for a smooth filling. Let it cool slightly—this step is crucial for that perfect texture.
-
Preheat the oven to 500°F (260°C) or as high as your oven can safely go, ensuring those tarts get beautifully crispy.
-
Pour the custard into the prepared pastry cups, filling each about 3/4 full. Bake for 12–15 minutes, until the custard puffs up and the tops begin to blister and brown.
-
Cool the tarts in the tin for 5 minutes before transferring them to a wire rack. Let them cool completely—if you can resist!
Optional: Dust with ground cinnamon or powdered sugar just before serving for an extra touch of sweetness.
Exact quantities are listed in the recipe card below.
What to Serve with Pastel de Nata?
Delight in the experience of pairing these flavorful pastries with complimentary sides that elevate your homemade masterpiece!
-
Fresh Berries: The tartness of mixed berries like raspberries and strawberries enhances the sweet custard, balancing the flavors beautifully.
-
Rich Coffee: A strong espresso or cappuccino perfectly contrasts the creamy texture of the tarts, creating an indulgent treat. A little sweetness from the coffee can bring out the nuances in the custard.
-
Vanilla Ice Cream: Serving a scoop alongside offers a delightful temperature contrast, making every bite feel like a special occasion. The creamy texture of the ice cream complements the crispy pastry.
-
Whipped Cream: A dollop of lightly sweetened whipped cream adds an airy texture, elevating each bite with fluffy sweetness. This pairing makes the tarts feel even more luxurious!
-
Citrus Salad: A light citrus salad, with its refreshing zest, provides a bright counterpoint to the rich flavors of the tarts. Think oranges and grapefruits with a drizzle of honey for added sweetness.
-
Mint Tea: An aromatic mint tea can cleanse your palate and enhance the buttery richness of the pastries, making it a lovely relaxing drink option.
-
Chocolate Sauce: Drizzling a bit of chocolate sauce over the tarts adds decadence and a delightful twist—don’t be shy to indulge!
Pastel de Nata Recipe Variations
Elevate your culinary adventure by making these delightful tweaks to your Pastel de Nata!
-
Almond Milk: Swap whole milk with almond or other plant-based milk for a nutty flavor. It adds creaminess while catering to dairy-free diets.
-
Spiced Twist: Incorporate nutmeg or cardamom into the custard for an aromatic spin. These spices will warm up your tarts with enchanting flavors.
-
Fruit Infusion: Add a layer of fresh fruit, like berries or diced peaches, at the bottom of the pastry cups before pouring in the custard. This adds a refreshing burst of flavor!
-
Coconut Cream: Replace the egg yolks with thick coconut cream for a vegan version. Your tarts will remain rich and silky while being entirely plant-based.
-
Chocolate Delight: Drizzle melted dark chocolate on top just before serving. This luscious addition brings a sweet contrast to the creamy custard.
-
Zesty Citrus: For a more vibrant flavor, add lime or orange zest along with the lemon peel. The result is a bright, citrusy kick that pairs beautifully.
-
Honey Drizzle: Swap granulated sugar with honey in the filling for a floral sweetness. Plus, it adds a subtle depth to each delicious bite.
-
Caramel Swirl: Stir some homemade or store-bought caramel into the custard for a sweet surprise. Your guests will love discovering those lovely swirls!
Enjoy experimenting and creating your extra-special version of this classic Pastel de Nata!
How to Store and Freeze Pastel de Nata
Room Temperature: Enjoy your Pastel de Nata fresh! They can be left out for up to 2 hours—and that’s when they taste their best.
Fridge: For longer storage, keep the tarts in an airtight container in the refrigerator for up to 3 days. This keeps them fresh and ready to serve!
Freezer: If you want to enjoy your Pastel de Nata later, freeze them in an airtight container for up to 1 month. Allow to thaw overnight in the fridge before reheating.
Reheating: To bring back that crispiness, warm the tarts in a preheated oven at 350°F (175°C) for about 10 minutes. Enjoy them just like freshly baked!
Make Ahead Options
These Pastel de Nata Recipe tarts are an excellent choice for busy home cooks looking to save time during the week! You can prepare the puff pastry cups up to 24 hours in advance; simply fill each muffin tin with the pastry and refrigerate them until you’re ready to use. Additionally, you can make the custard filling up to 3 days ahead. Just be sure to cool the custard completely before storing it in an airtight container to maintain its creamy texture. When ready to bake, pour the custard into the pastry cups and bake at 500°F (260°C) for 12–15 minutes. With these make-ahead tips, you’ll enjoy fresh-baked treats with minimal effort!
Expert Tips for Perfect Pastel de Nata
- Keep It Cold: Make sure the puff pastry is chilled before working with it; this ensures maximum flakiness when baked.
- Avoid Overfilling: Fill the custard cups only 3/4 full to prevent overflow while baking, ensuring a clean finish and beautiful presentation.
- Whisk Constantly: When cooking the milk mixture, whisk consistently to prevent lumps and ensure a smooth custard filling for your Pastel de Nata.
- Let It Cool Gradually: Allow the tarts to cool slightly in the tin before transferring them to a wire rack; this helps maintain their structure.
- Experiment with Toppings: Don’t shy away from personalizing your tarts with extra flavor—consider adding nutmeg or a drizzle of caramel for a twist!
Pastel de Nata Recipe FAQs
What type of puff pastry should I use?
I recommend using high-quality frozen puff pastry for the best flaky texture. Look for brands that have butter as a primary ingredient for extra richness and flavor!
How do I store leftover Pastel de Nata?
Store your tarts in an airtight container in the fridge for up to 3 days. This keeps them fresh. Just remember, they’re at their best when served fresh, so enjoy them within a couple of days!
Can I freeze Pastel de Nata?
Absolutely! To freeze, place the cooled tarts in an airtight container and store them for up to 1 month. When you’re ready to enjoy them, let them thaw in the fridge overnight. To reheat, serve them warm by placing them in a preheated oven at 350°F (175°C) for about 10 minutes.
How do I prevent my custard from curdling?
To avoid curdling, make sure to whisk the egg yolks separately before slowly incorporating the warm milk mixture. This process tempers the yolks gently. Additionally, remove the milk mixture from heat before adding the egg yolks, and whisk constantly to create a smooth custard.
Can I make adjustments for dietary restrictions?
Of course! You can easily make these tarts dairy-free by using almond or oat milk in place of whole milk. For a gluten-free option, consider using gluten-free puff pastry and a suitable flour blend for the custard filling. Always check your ingredient labels to ensure they meet your dietary needs.
Are there any substitutions I can make for the filling?
Certainly! If you want to switch things up, try adding vanilla extract instead of lemon peel for a different flavor profile or swap out the cinnamon stick for a few pinches of nutmeg. The more the merrier, so feel free to experiment with flavors that you love!
Delicious Pastel de Nata Recipe: A Sweet Home Adventure
Ingredients
Equipment
Method
- Roll out the puff pastry on a lightly floured surface until it's a thin rectangle. Roll it tightly from one short end to the other like a jelly roll. Slice into 12 equal pieces.
- Press each piece into a muffin tin cup, cut-side down. Stretch the dough evenly into the base and up the sides of the cups, making sure it's well-fitted.
- Whisk together the sugar, flour, and a small amount of the milk in a saucepan to form a smooth paste. Add the remaining milk, cinnamon stick, and lemon peel. Cook over medium heat, whisking constantly, until it just starts to simmer and thicken.
- Remove from heat and let the mixture steep for 10 minutes, allowing those lovely flavors to meld.
- Whisk the egg yolks in a separate bowl. Once steeped, remove the lemon peel and cinnamon stick from the milk mixture, then slowly whisk the warm milk into the egg yolks until thoroughly combined.
- Strain the custard through a fine mesh sieve into a bowl for a smooth filling. Let it cool slightly—this step is crucial for that perfect texture.
- Preheat the oven to 500°F (260°C) or as high as your oven can safely go, ensuring those tarts get beautifully crispy.
- Pour the custard into the prepared pastry cups, filling each about 3/4 full. Bake for 12–15 minutes, until the custard puffs up and the tops begin to blister and brown.
- Cool the tarts in the tin for 5 minutes before transferring them to a wire rack. Let them cool completely—if you can resist!
- Optional: Dust with ground cinnamon or powdered sugar just before serving for an extra touch of sweetness.

