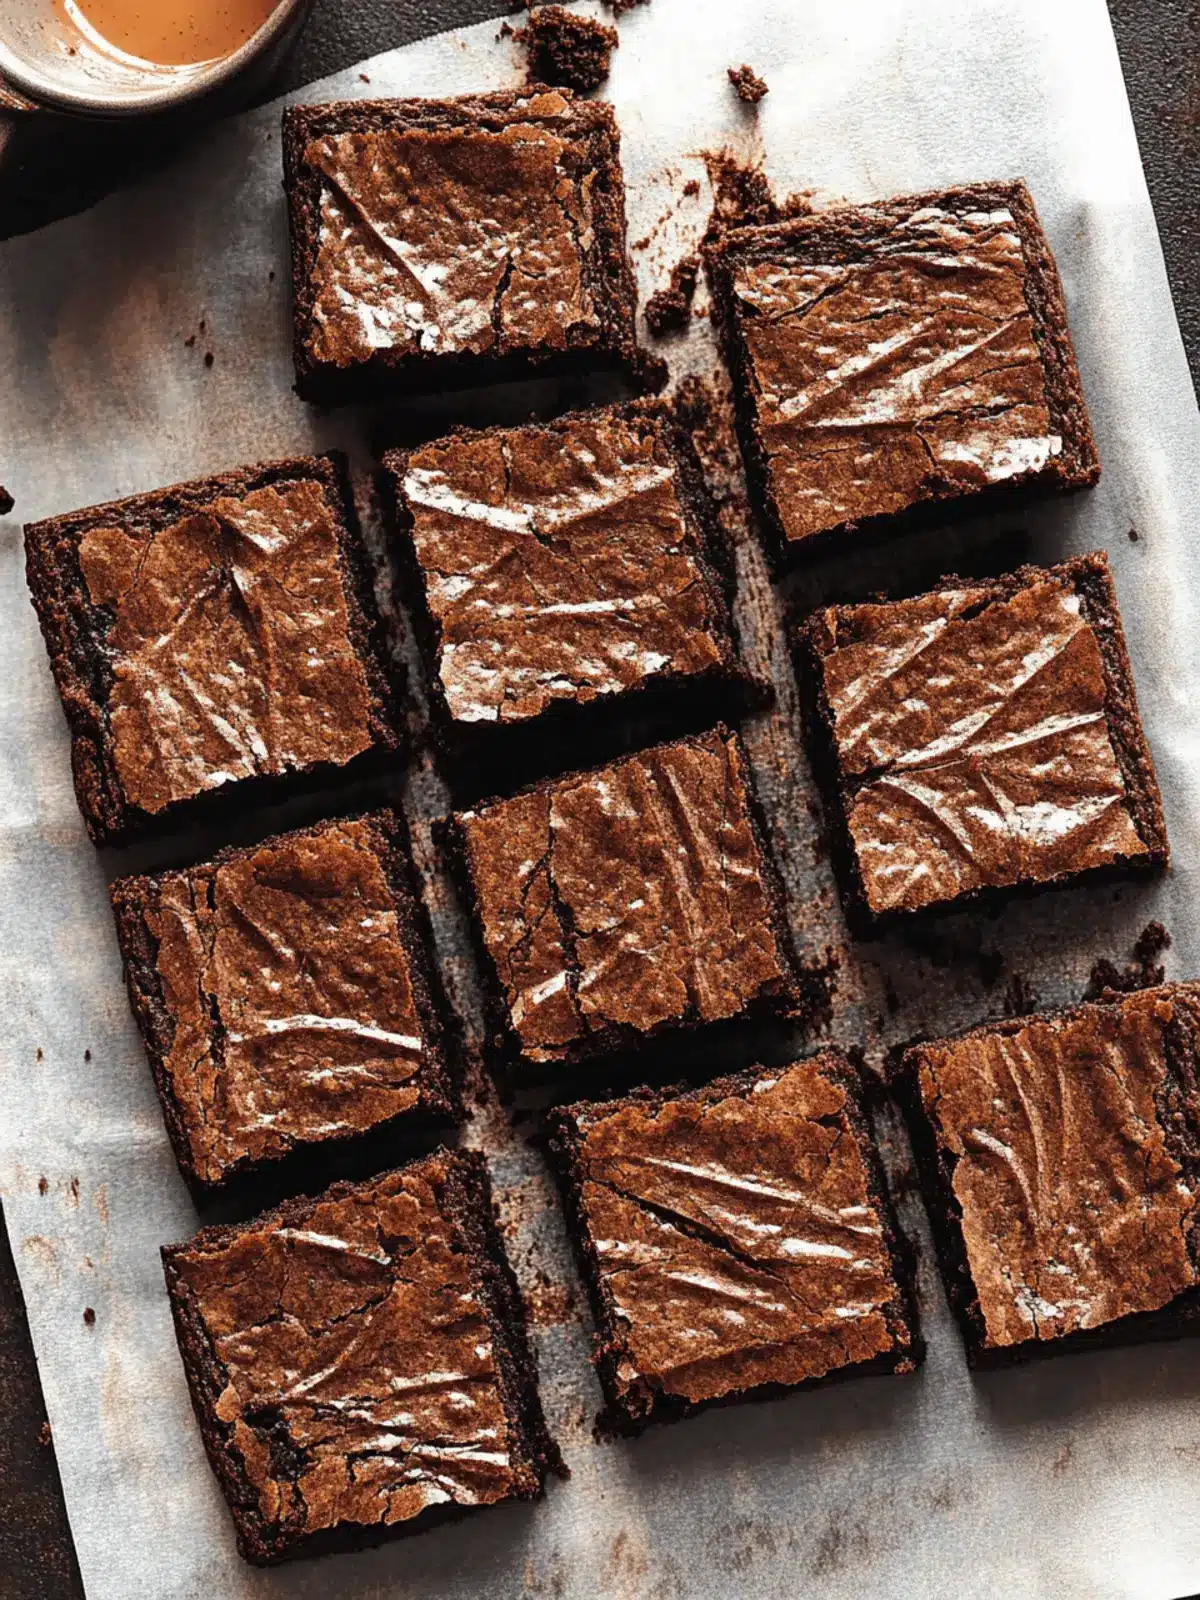
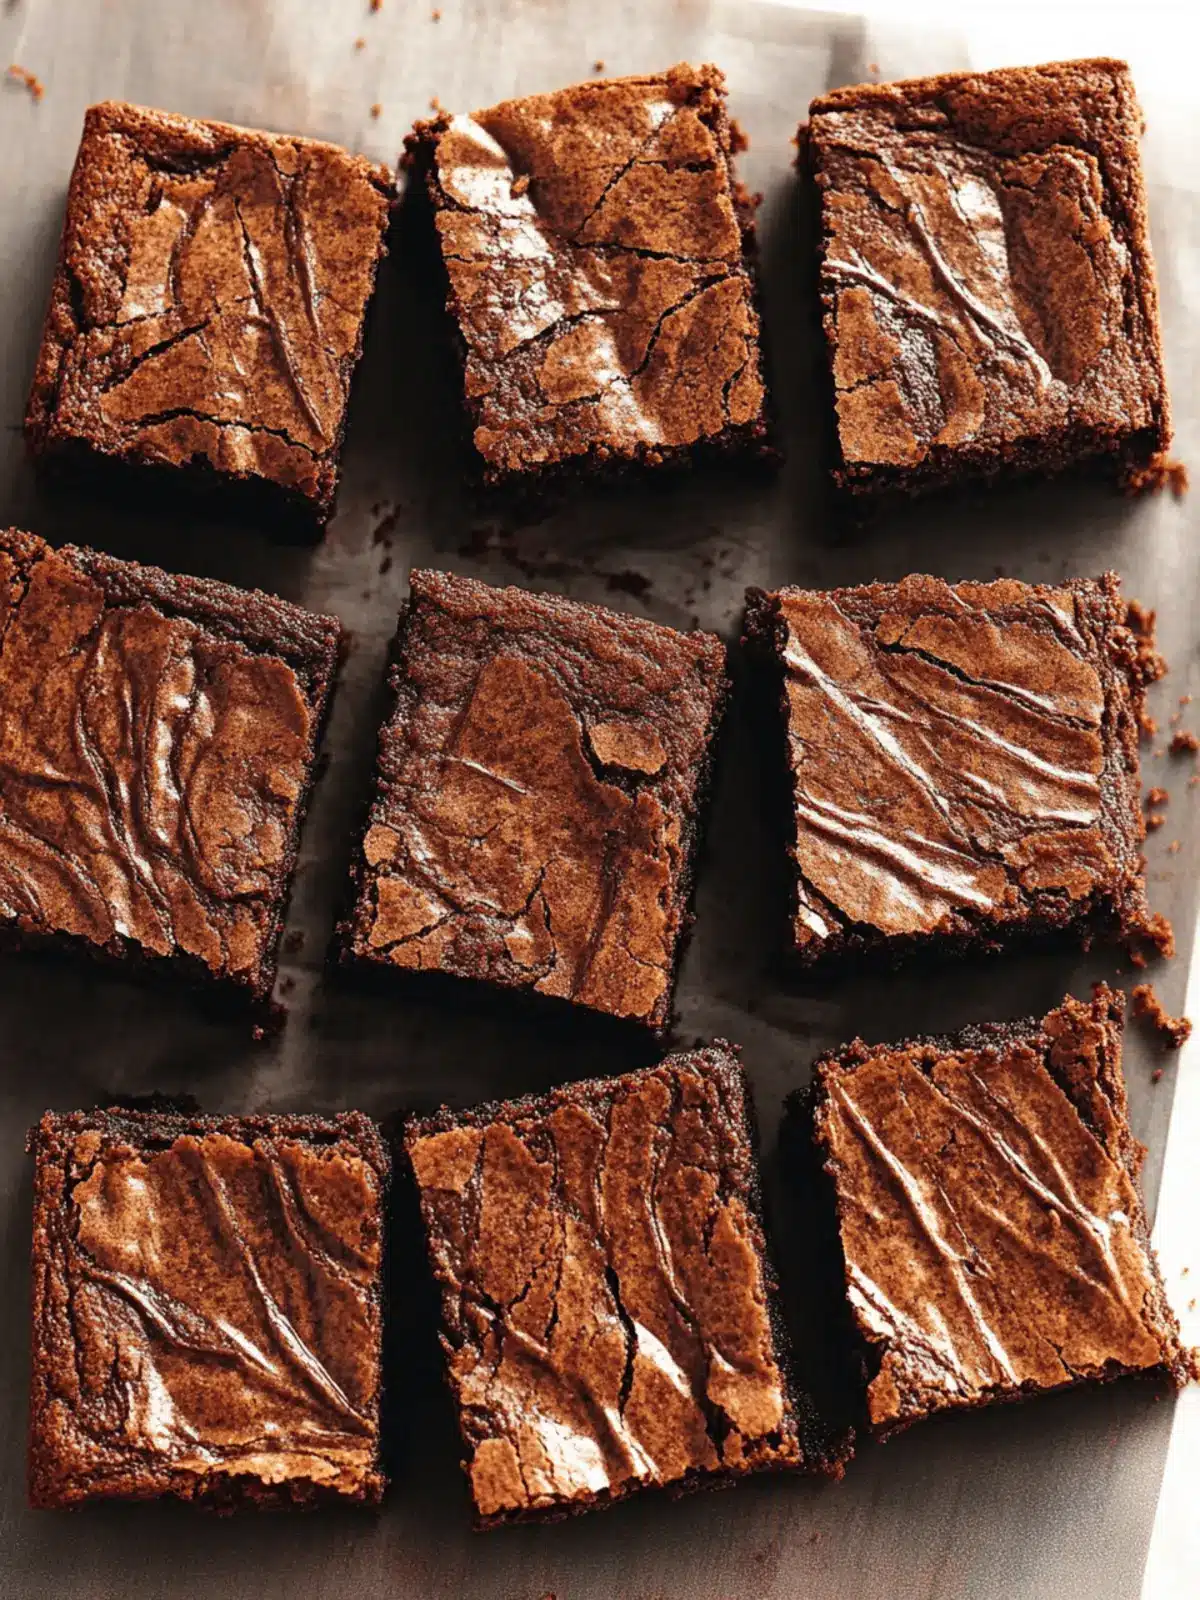
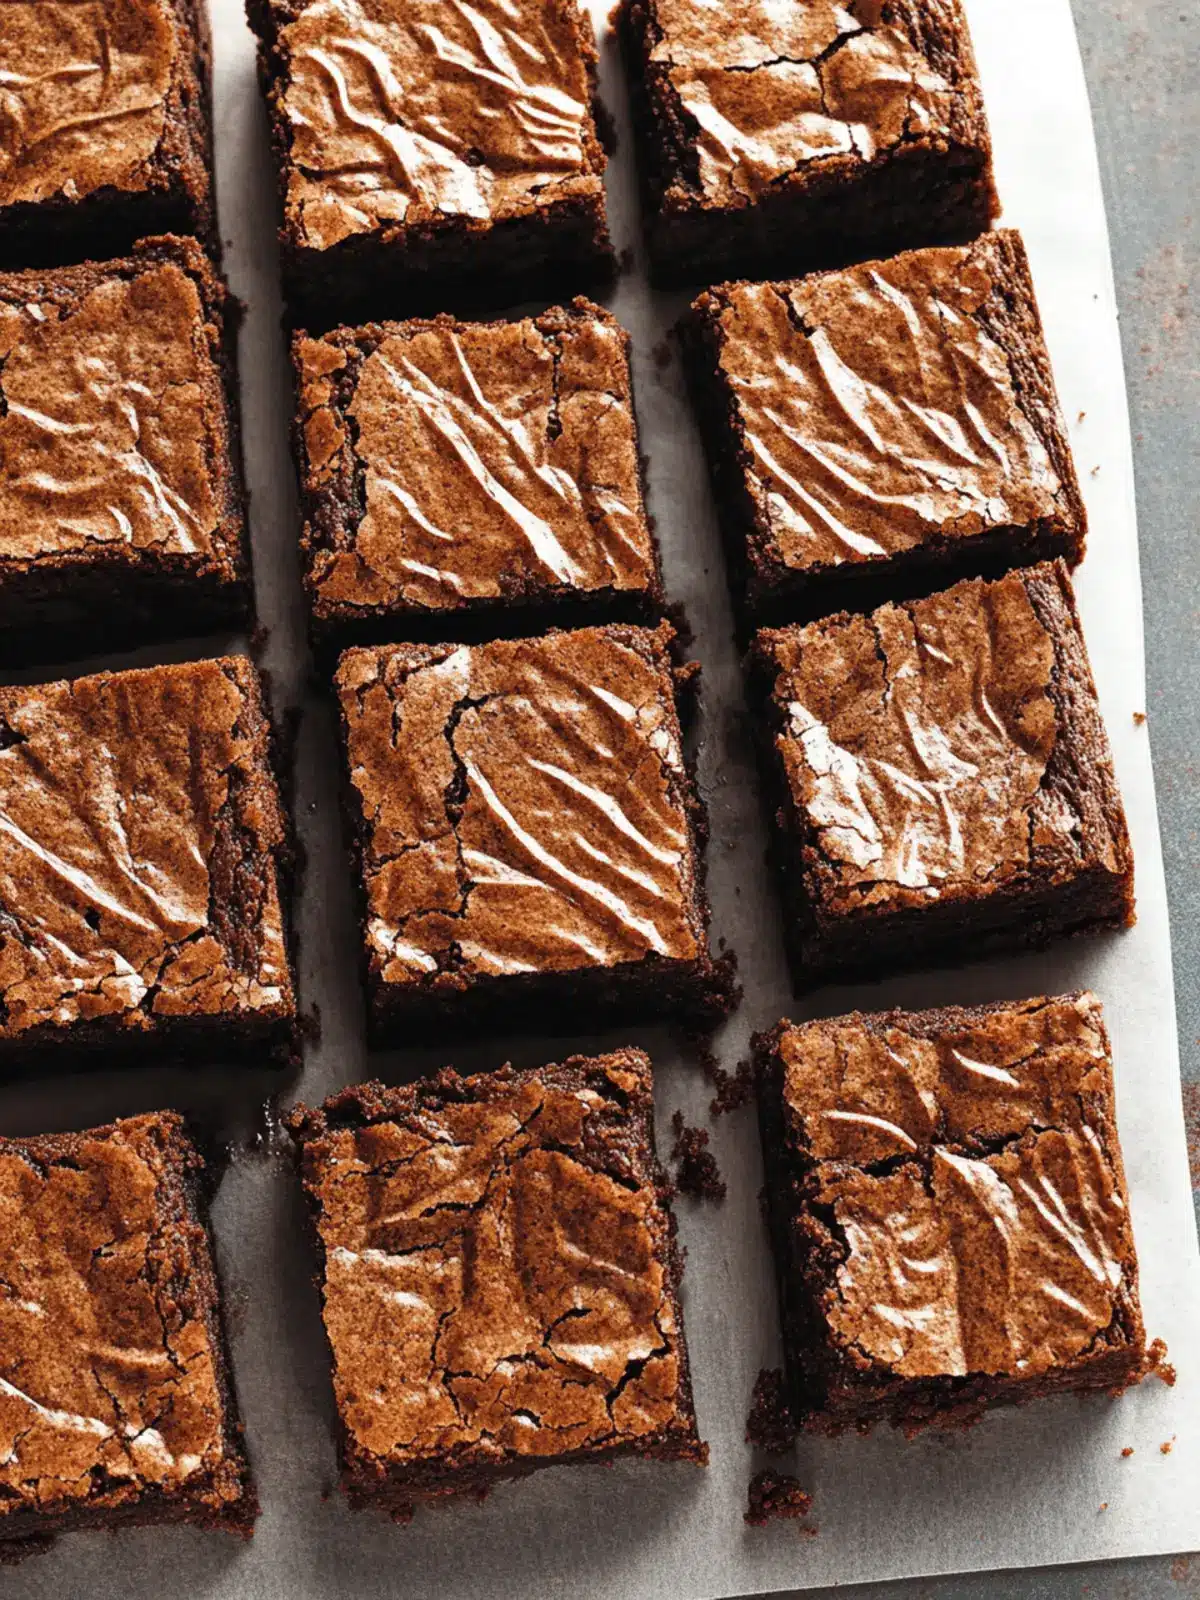
There’s something irresistibly intriguing about the fusion of sweet and savory in desserts, and that’s precisely what these Miso Brownies bring to the table. Inspired by a recent craving for something different, I decided to elevate classic fudgy brownies by incorporating white miso paste. The result? A rich, dark chocolate treat with an unexpected umami twist that leaves your taste buds dancing.
The luscious brownie base is beautifully complemented by a glossy, crackly crust that beckons you to take that first indulgent bite. Whether you’re hosting a gathering or simply wanting to treat yourself after a long day, these brownies come together effortlessly. Imagine the delight on your friends’ faces when they discover this unique dessert—perfect for those who tire of ordinary sweet snacks. Join me as I guide you through the steps to create these mouthwatering Miso Brownies that promise to redefine your dessert game!
Why Are Miso Brownies So Special?
Unforgettable flavor: These miso brownies combine rich chocolate with the surprising depth of umami, creating a dessert that’s anything but ordinary.
Quick & Easy: Made with simple ingredients, you’ll whip up these brownies in no time, perfect for spontaneous cravings or last-minute guests.
Crowd-pleaser: The unique flavor profile piques curiosity and impresses friends and family, making them the star of your next gathering.
Versatile Baking: Feel free to customize with nuts or different types of miso for a unique twist each time.
Perfectly Fudgy: The browning butter technique ensures a moist texture that melts in your mouth! For more delightful desserts, check out my easy brownie variations.
Ingredients for Miso Brownies
For the Brownie Batter
- Dark Chocolate – Provides rich flavor and moisture; opt for semi-sweet or bittersweet for varied sweetness.
- Natural Cocoa Powder – Adds depth to the chocolate flavor; ensure it’s unsweetened for the best results.
- Espresso Powder – Enhances the dark chocolate flavor; it’s optional, but I recommend using it for that extra oomph!
- Unsalted Butter – Creates a tender, fudgy texture; browning the butter adds a nutty flavor that elevates the taste.
- Large Eggs – Provide structure and moisture; using them at room temperature helps achieve a better emulsion.
- Granulated Sugar – Sweetens the brownies and contributes to their luscious texture.
- Brown Sugar – Adds moisture and complexity to the flavor profile.
- White Miso Paste – Infuses umami richness into your brownies; can be substituted with tahini for a different twist.
- All-Purpose Flour – Gives structure to the batter; take care not to overmix to maintain that delightful fudgy texture.
Optional Add-Ins
- Chopped Nuts (e.g., walnuts, pecans) – For a nutty crunch; they pair wonderfully with the fudgy brownie base.
- Additional Chocolate Chips – For extra chocolatey goodness; mix them in just before baking for a delicious surprise in every bite.
These Miso Brownies are not just a sweet treat—they offer an unforgettable experience! Enjoy the delightful combination of sweet and savory as you dive into this fudgy sensation.
How to Make Miso Brownies
-
Prepare Chocolate Mixture: In a medium bowl, combine the chopped dark chocolate, unsweetened cocoa powder, and espresso powder, if using. Let this sit while you work on the next step; it’ll create a rich base.
-
Brown the Butter: In a small saucepan over medium heat, melt the unsalted butter. Keep cooking until the milk solids turn golden brown and emit a nutty aroma—about 5 minutes—then pour it into the chocolate mixture. Stir until smooth and glossy.
-
Preheat and Prepare Pan: Preheat your oven to 350°F (175°C). Line a 9×9-inch baking pan with parchment paper, allowing some overhang for easy removal later. This will ensure your brownies come out perfectly!
-
Whip Egg Mixture: In a large bowl, whisk together the large eggs, granulated sugar, brown sugar, and white miso paste. Use an electric mixer to beat the mixture for about 5 minutes until it’s thick, pale, and fluffy.
-
Combine Mixtures: Slowly add the melted chocolate mixture into the egg mixture while mixing gently—isn’t that aroma wonderful? Fold in the all-purpose flour until just combined; be careful not to overmix!
-
Fill and Bake: Pour your brownie batter into the prepared pan, smoothing the top. Bake for 23-25 minutes, or until the top has a shiny finish and barely jiggles when shaken. Once baked, let them cool completely before lifting them out and slicing.
Optional: Dust with powdered sugar for a sweet finish!
Exact quantities are listed in the recipe card below.

Expert Tips for Miso Brownies
- Room Temperature Eggs: Use eggs at room temperature to help achieve a better emulsion, ensuring your miso brownies are perfectly moist.
- Perfectly Browned Butter: Watch the butter carefully while browning it; burnt butter can overpower your brownies’ delicate flavor profiles.
- Don’t Overmix: Gently fold the flour into the batter; overmixing can lead to tough brownies, so stop as soon as you see no dry flour!
- Cooling Time: Allow brownies to cool completely in the pan before slicing; this helps maintain their fudgy texture and keeps them from falling apart.
- Taste Adjustments: Feel free to experiment with different miso pastes or chocolate types for a unique twist on your miso brownies!
Make Ahead Options
These Miso Brownies are perfect for busy weeknights, allowing you to indulge in homemade goodness with minimal fuss. You can prepare the brownie batter up to 24 hours in advance by mixing all the ingredients except the flour and transferring it to an airtight container. To maintain their rich texture and prevent drying, refrigerate the mixture. When you’re ready to bake, simply fold in the flour and pour the batter into your prepared pan. Bake as instructed for warm, fudgy brownies just as delicious as if made fresh that day. This approach not only saves time but also ensures you have a delightful dessert on hand whenever the craving strikes!
What to Serve with Miso Brownies?
Indulging in these uniquely fudgy treats opens the door to delightful pairings that will elevate your dessert game.
-
Vanilla Ice Cream: The creamy, cold sweetness perfectly balances the rich umami flavors, creating a heavenly contrast in every bite.
-
Whipped Cream: A dollop of airy whipped cream adds a light, fluffy texture that complements the dense fudginess of the brownies beautifully.
-
Fresh Berries: Raspberries or strawberries bring a tart freshness that cuts through the sweetness, enhancing the overall experience and keeping your palate refreshed.
-
Espresso or Coffee: The bold flavors of a good espresso beautifully complement the chocolate and miso, making every bite feel even more luxurious.
-
Chocolate Sauce: Drizzling rich chocolate sauce on top intensifies the chocolate experience, giving you an extra layer of indulgence that true chocoholics will adore.
-
Mint Chocolates: For a refreshing twist, pair with mint chocolates to elevate the taste experience, providing a sweet contrast with a hint of herbal freshness.
-
Coconut Whipped Cream: For a dairy-free option, this keeps the dessert luscious while adding a tropical flair to your fudgy brownies.
-
Nutty Alternatives: Consider serving alongside roasted nuts to introduce a crunch and enhance the overall texture and flavor profile of your dessert.
Pairing these Miso Brownies with imaginative sides and toppings sets the stage for a memorable dessert experience.
Miso Brownies Variations & Substitutions
Feel free to get creative with this recipe—there’s so much potential for delicious twists!
-
Nutty Bliss: Add chopped walnuts or pecans for a delightful crunch that beautifully complements the fudgy texture.
-
Different Miso: Swap white miso for red or yellow miso for a deeper, more robust flavor. It transforms the taste while keeping that umami edge.
-
Tahini Twist: For a nut-free version, replace the miso paste with tahini. This offers a unique flavor while maintaining creaminess.
-
Flavor Boost: Incorporate a teaspoon of vanilla extract. This simple addition elevates the aroma and rounds out the chocolate flavor beautifully.
-
Extra Chocolate: Fold in chocolate chips before baking for a gooey surprise in every bite. Perfect for any chocolate lover!
-
Spicy Kick: Add a pinch of cayenne pepper or chili powder for an unexpected heat that contrasts with the sweetness.
-
Fruit Fusion: Enhance the flavor with orange or mint zest. Just a bit brightens the overall experience and adds freshness.
-
Gluten-Free: Substitute all-purpose flour with almond or oat flour for a gluten-free option, keeping the texture delightfully fudgy.
These variations invite you to explore and make the recipe your own—enjoy the adventure of baking!
Storage Tips for Miso Brownies
Room Temperature: Keep your miso brownies in an airtight container at room temperature for up to 3 days to preserve their fudgy texture and delicious flavor.
Fridge: If you wish to extend their freshness, store them in the fridge for up to 5 days. Ensure they are covered to prevent them from drying out.
Freezer: For longer storage, freeze brownies in an airtight container or wrapped in plastic wrap for up to 1 month. Thaw overnight in the fridge or at room temperature before enjoying.
Reheating: To enjoy your fudgy brownies warm, microwave individual pieces for about 10-15 seconds. This will revive their soft, melt-in-your-mouth goodness!

Miso Brownies Recipe FAQs
How do I select the right miso paste for my Miso Brownies?
Choosing a high-quality white miso paste is essential for achieving the perfect balance of sweetness and umami in your brownies. Look for a paste that is creamy and has a slightly sweet taste; avoid any that have too strong of a pungent flavor. If you want to experiment, you can try using yellow or red miso for a more robust flavor, but keep in mind that it may alter the overall taste of your brownies.
What’s the best way to store Miso Brownies?
To maintain their fudgy texture, store Miso Brownies in an airtight container at room temperature for up to 3 days. If you prefer to keep them longer, they can be refrigerated for up to 5 days. Just make sure they’re covered to prevent them from drying out, and allow them to come to room temperature before serving for the best taste.
Can I freeze Miso Brownies, and how?
Absolutely! You can freeze your Miso Brownies for up to 1 month. To freeze, first allow the brownies to cool completely. Then, wrap them tightly in plastic wrap or place them in an airtight container. For best results, layer parchment paper between the brownies to prevent sticking. When you’re ready to enjoy them, thaw overnight in the fridge or at room temperature.
What should I do if my brownies come out too dry?
If your brownies turn out dry, it may be due to overbaking or too much flour being incorporated during mixing. To prevent this next time, ensure you measure ingredients accurately, avoid overmixing the batter after adding flour, and check for doneness a few minutes before the recommended baking time. A toothpick inserted should come out with a few moist crumbs, not clean.
Can I make these brownies gluten-free?
Yes, you can make gluten-free Miso Brownies by substituting all-purpose flour with a 1:1 gluten-free baking blend. Make sure to choose a blend that contains xanthan gum for structure. Follow the rest of the recipe as instructed, and enjoy your delicious fudgy brownies without gluten!
Are there any dietary considerations for pets or allergies?
It’s important to note that chocolate is toxic to dogs and should never be given to pets. If you’re serving these Miso Brownies to a group, be sure to inform anyone with chocolate allergies about the main ingredient, which could lead to adverse reactions. For safer alternatives, you can explore using carob powder in place of chocolate, but the flavor will differ significantly.

Miso Brownies: Fudgy Bliss with a Savory Twist
Ingredients
Equipment
Method
- Prepare Chocolate Mixture: In a medium bowl, combine the chopped dark chocolate, unsweetened cocoa powder, and espresso powder, if using. Let this sit while you work on the next step.
- Brown the Butter: In a small saucepan over medium heat, melt the unsalted butter. Cook until the milk solids turn golden brown and emit a nutty aroma, about 5 minutes. Pour it into the chocolate mixture and stir until smooth.
- Preheat and Prepare Pan: Preheat your oven to 350°F (175°C). Line a 9x9-inch baking pan with parchment, allowing overhang for easy removal.
- Whip Egg Mixture: In a large bowl, whisk together eggs, granulated sugar, brown sugar, and white miso paste, using an electric mixer to beat for about 5 minutes until thick and fluffy.
- Combine Mixtures: Slowly add the melted chocolate mixture to the egg mixture while mixing gently. Fold in the all-purpose flour until just combined; do not overmix.
- Fill and Bake: Pour the batter into the prepared pan, smoothing the top. Bake for 23-25 minutes, until the top is shiny and barely jiggles. Let cool completely before slicing.


