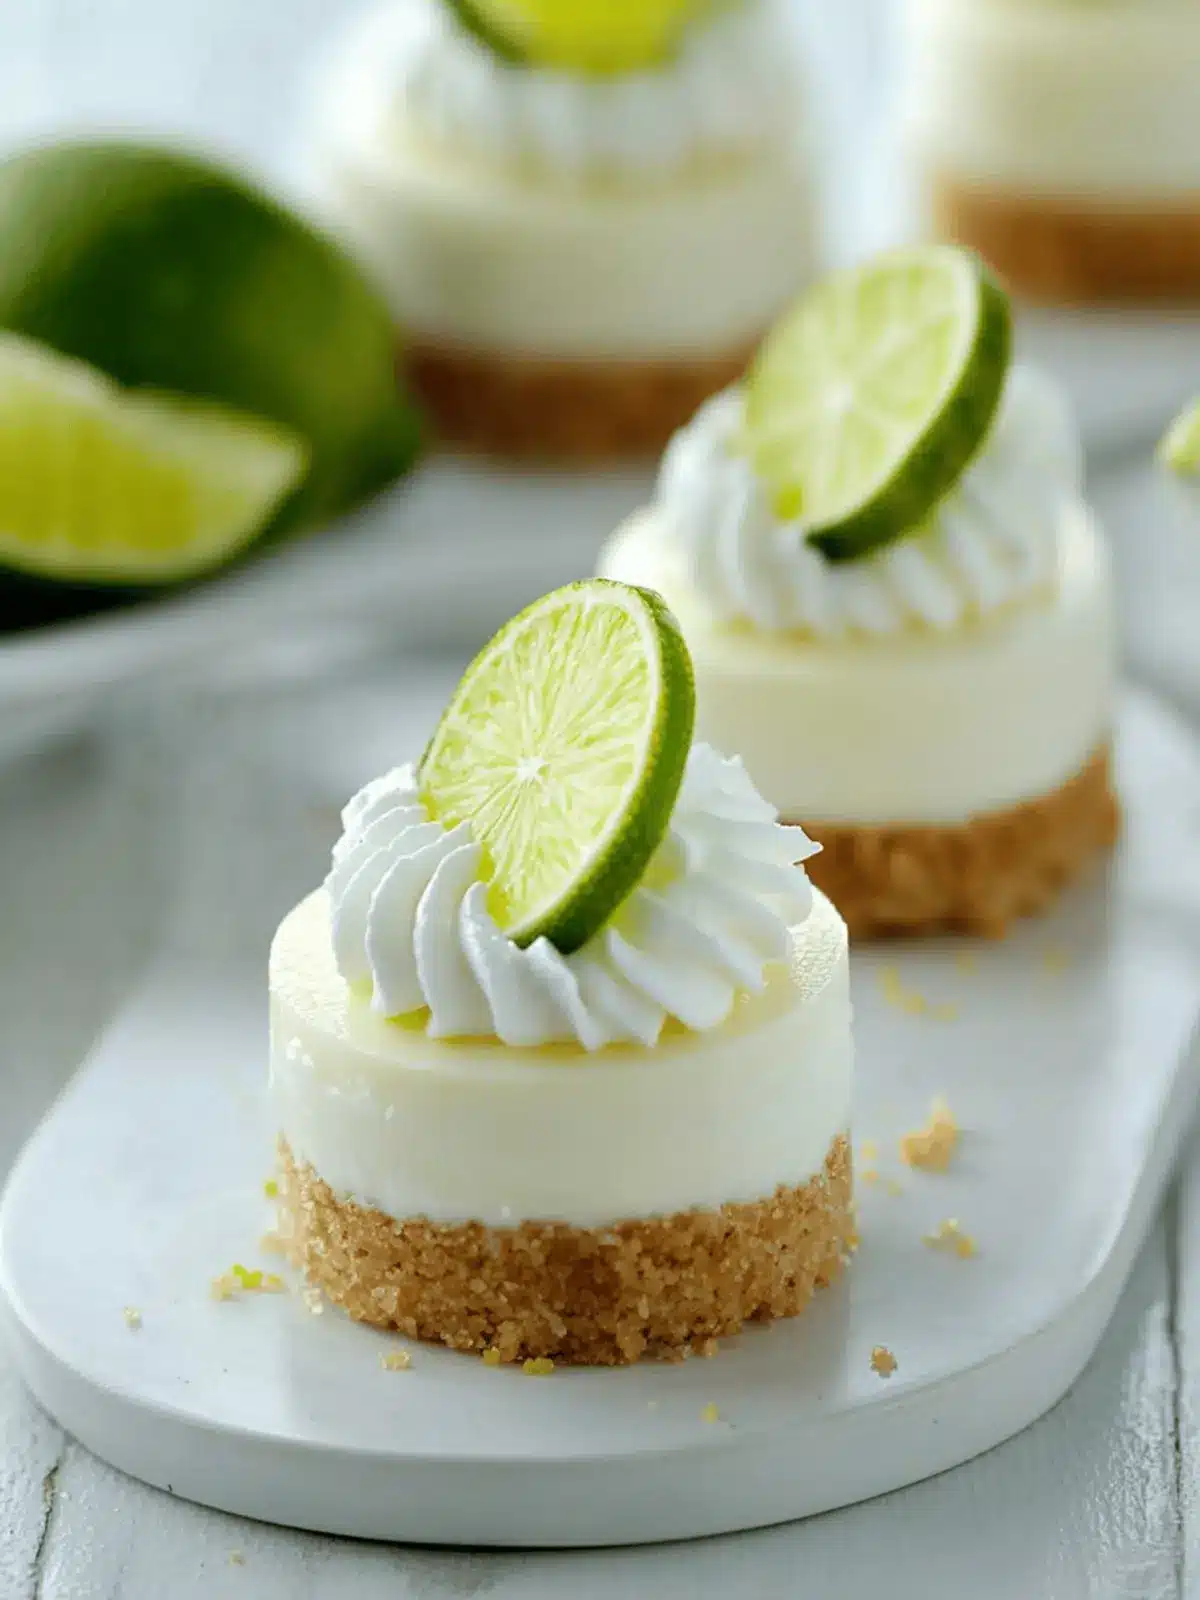
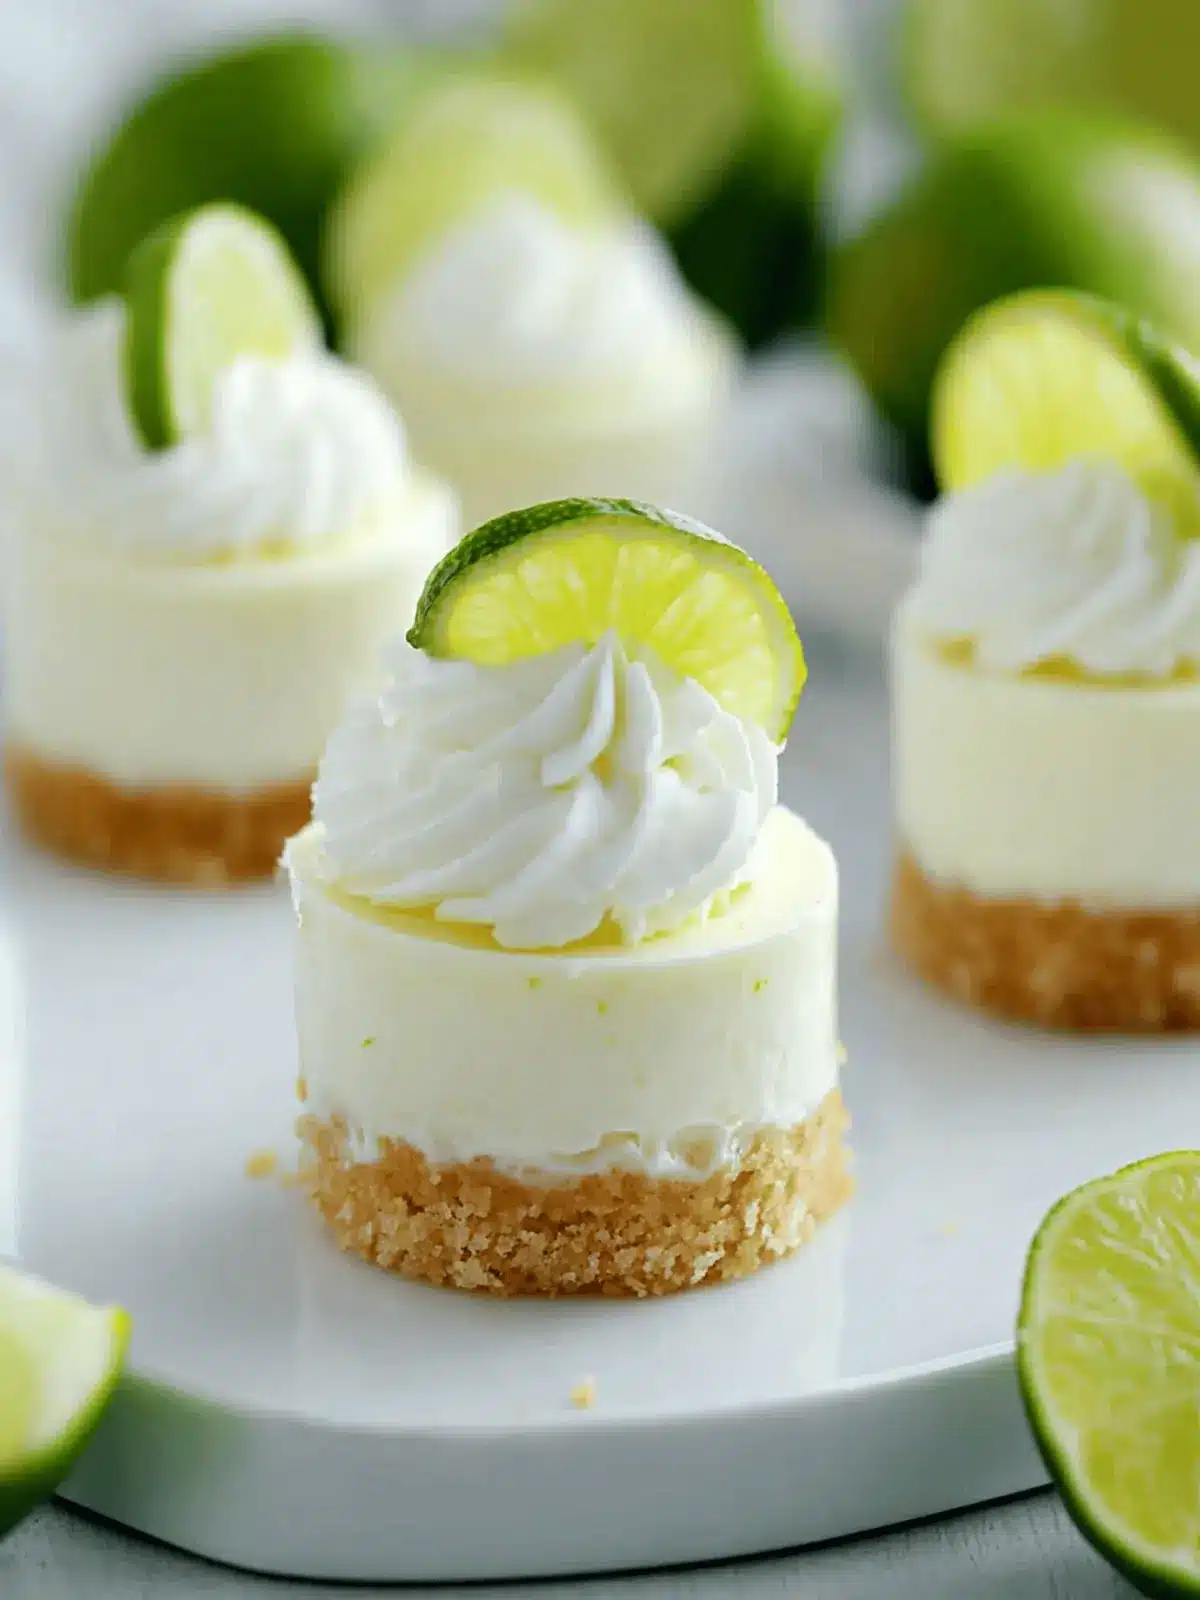
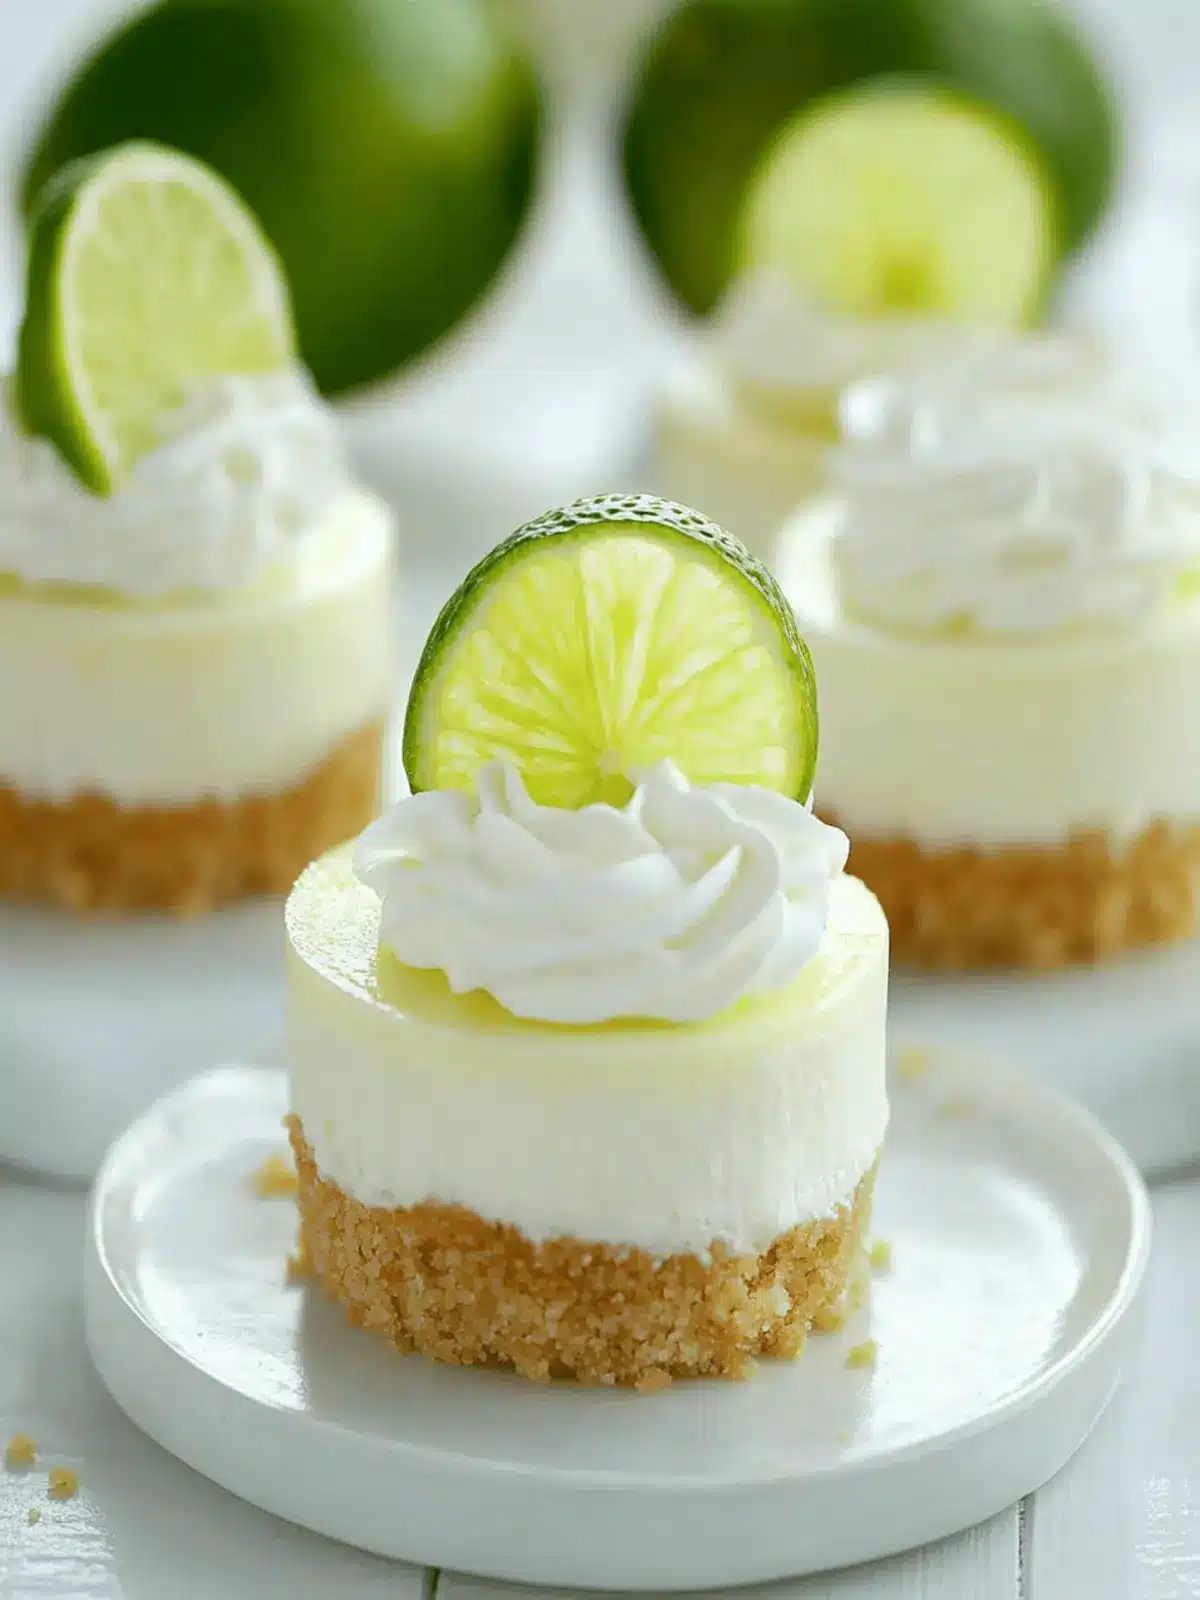
The sun-kissed days of summer call for delightful, no-bake desserts, and there’s nothing quite like biting into a Mini Key Lime Pie Cheesecake to awaken your taste buds. The first zing of tart key lime juice mingling with a creamy, sweet filling instantly transports me to a beachside getaway, where the ocean breeze dances through the air. When temperatures rise and the idea of turning on the oven feels unbearable, this refreshing treat shines bright.
These individual cheesecakes are not only super easy to whip up but also a visually stunning addition to any gathering. Just imagine serving them at your next barbecue or garden party, where their vibrant color and creamy texture spark lively conversations and satisfied smiles. Let’s dive into this simple yet elegant recipe, perfect for impressing guests or simply indulging yourself—because you deserve it!
Why Love Mini Key Lime Pie Cheesecakes?
Deliciousness in Every Bite: These Mini Key Lime Pie Cheesecakes pack a punch of flavor with their zesty key lime and creamy filling, creating a dessert that’s refreshingly delightful on hot days.
No-Bake Convenience: You can whip up these beauties without breaking a sweat—perfect for quick summer entertaining!
Individual Servings: Their mini size makes them an ideal portion for sharing at gatherings or enjoying solo.
Visual Appeal: With their vibrant colors and whipped topping, they become the centerpiece of your dessert table.
Versatile Twist: Feel free to customize with your favorite toppings, or even experiment with flavors to impress your guests!
Time-Saving Treat: Prep ahead of time and store them in the fridge, ready for when sweet cravings strike!
Mini Key Lime Pie Cheesecakes Ingredients
For the Crust
• Graham Cracker Crumbs – A buttery base that holds your cheesecake together. Substitution: Can replace with digestives for a different flavor.
• Granulated Sugar – Sweetens the crust just right. Note: Adjust based on personal taste.
• Unsalted Butter – Binds crust ingredients for a rich texture. Note: Use unsalted for flavor control.
For the Filling
• Heavy Cream – Adds delightful richness to the cheesecake filling and whipped topping. Substitution: Whipping cream can be used in its place.
• Cream Cheese – The star that gives your cheesecakes that creamy, luscious texture. Note: Must be at room temperature for easy mixing.
• Sweetened Condensed Milk – Sweetens and thickens the filling perfectly. Substitution: Evaporated milk mingled with additional sugar can be used, though texture may change.
• Key Lime Juice – Provides the essential tartness that defines these mini cheesecakes. Substitution: Regular lime juice can be used if key limes are unavailable.
• Key Lime Zest – Enhances the flavor profile with fresh, zingy notes. Note: Fresh zest is preferred for vibrant taste.
For the Topping
• Powdered Sugar – Sweetens the whipped cream to perfection. Note: Can adjust quantity to taste to achieve desired sweetness.
• Vanilla Extract – Deepens the flavor in both the filling and whipped cream. Note: Pure extract is recommended for best flavor.
Enjoy creating these Mini Key Lime Pie Cheesecakes, perfect for summer gatherings or a sweet personal treat!
How to Make Mini Key Lime Pie Cheesecakes
-
Prepare the Crust: In a mixing bowl, combine graham cracker crumbs, granulated sugar, and melted butter. Press this mixture firmly into the bottom of the mini cheesecake pans to create a solid crust base.
-
Whip the Cream: In a separate bowl, whip heavy cream until stiff peaks form. This light, airy texture will elevate your cheesecakes. Once done, set the whipped cream aside.
-
Make the Filling: In another large bowl, beat softened cream cheese until smooth. Mix in sweetened condensed milk, key lime juice, and zest until fully combined. Gently fold in the whipped cream until no streaks remain, resulting in a silky filling.
-
Fill the Pans: Transfer the cheesecake mixture into a piping bag and carefully pipe it into the prepared crusts, allowing for a little overfilling for that deliciously generous look.
-
Chill: Refrigerate the filled pans for at least 12 hours. This step is essential for the cheesecakes to set perfectly, achieving that dreamy texture.
-
Prepare Whipped Topping: Whip the remaining heavy cream with powdered sugar and vanilla until stiff peaks form. Pipe this fluffy topping onto the chilled cheesecakes and garnish with a slice of key lime for an elegant finish.
Optional: Add a sprinkle of crushed graham crackers on top for extra crunch and visual appeal!
Exact quantities are listed in the recipe card below.
Expert Tips for Mini Key Lime Pie Cheesecakes
-
Perfectly Softened Cream Cheese: Always ensure your cream cheese is at room temperature to achieve a smooth and lump-free batter, crucial for delicious Mini Key Lime Pie Cheesecakes.
-
Whip with Care: When whipping the heavy cream, take your time to reach stiff peaks. If overwhipped, it can create a grainy texture—definitely something to avoid!
-
Measuring Key Lime Juice: For the best flavor, use freshly squeezed key lime juice. If you’re using bottled juice, choose one with no additives for a more authentic taste.
-
Avoiding Crust Crumbles: When pressing your crust into the pan, make sure it’s compact. This helps the crust hold its shape and prevents crumbling when removing the cheesecakes later.
-
Chill Time Matters: Be patient with the chilling step. Allowing the cheesecakes to set for at least 12 hours is essential for achieving that perfect, creamy texture.
-
Custom Toppings: Get creative with toppings! Try adding fresh berries or a drizzle of honey on top for an additional layer of flavor that complements the cheesecakes beautifully.
Make Ahead Options
These Mini Key Lime Pie Cheesecakes are a fantastic choice for meal prep and can truly save you time during busy summer days! You can prepare the crust and filling separately up to 3 days in advance. For the best results, store the crust in an airtight container at room temperature, and refrigerate the filling to keep it fresh and creamy. When you’re ready to serve, simply assemble by filling the crust with the cheesecake mixture, refrigerate for at least 12 hours for it to set, and add the whipped topping just before serving. This prep-ahead method ensures you’ll be indulging in delicious, homemade desserts without the last-minute rush!
What to Serve with Mini Key Lime Pie Cheesecakes?
Imagine a sun-soaked table spread adorned with vibrant dishes that beautifully complement your refreshing mini cheesecakes.
-
Tropical Fruit Salad: A medley of fresh fruits like mango, pineapple, and berries enhances the tropical notes in your cheesecake, making it feel like a beach vacation on a plate.
-
Minty Iced Tea: Serve a cool and refreshing mint-infused iced tea that perfectly balances the cheesecake’s sweetness with a hint of herbaceous zing. This drink is both soothing and revitalizing.
-
Coconut Whipped Cream: Upgrade your cheesecakes with a dollop of coconut-flavored whipped cream. Its creamy richness adds another layer of decadence, transforming your dessert into an island escape.
-
Key Lime Tart: For those key lime aficionados, add another twist with a classic key lime tart. The shared flavors create a delightful dessert experience, encouraging guests to compare notes.
-
Chocolate-Covered Strawberries: These decadent treats juxtapose the tartness with rich sweetness, making a fun and indulgent pairing that everyone will love, bringing both texture and flavor.
-
Sparkling Lemonade: A fizzy and slightly tart sparkling lemonade enhances the summery feel of your gathering while providing a refreshing contrast to the creamy cheesecakes.
-
Grilled Shrimp Skewers: For a savory bite, consider serving grilled shrimp skewers marinated in a zesty lime dressing. The smoky char and citrus notes perfectly complement the desserts.
-
Lime Sorbet: Keep the citrus theme alive with a light, icy lime sorbet that will cleanse the palate, leaving a refreshing taste that’s the perfect follow-up to rich cheesecakes.
-
Cheesecake Brownies: Create a delightful dessert platter by pairing your cheesecakes with rich and fudgy brownies, adding a variety of textures and flavors that will satisfy every sweet tooth.
Mini Key Lime Pie Cheesecake Variations
Feel free to personalize your Mini Key Lime Pie Cheesecakes with these delightful tweaks, turning them into your version of summer bliss!
-
Dairy-Free: Use coconut cream instead of heavy cream for a tropical twist and a dairy-free treat.
-
Citrus Burst: Add additional zest from oranges or lemons for a multi-citrus flavor explosion that elevates the tartness.
-
Nutty Crust: Swap graham cracker crumbs for almond flour or crushed pecans to create a gluten-free and nutty base that complements the cheesecake.
-
Chocolate Drizzle: Top your cheesecakes with a rich chocolate ganache for a decadent contrast to the tartness, making every bite a pleasure.
-
Berry Bliss: Add a layer of fresh raspberries or blueberries on top before the whipped cream for a fruity finish that not only adds color but also enhances flavor.
-
Spicy Kick: For a surprising twist, mix a pinch of cayenne pepper into the filling for a subtle heat that pairs beautifully with the tart key lime.
-
Herbed Infusion: Infuse fresh mint into the whipped topping for a refreshing burst, creating a minty key lime experience that feels summery and lively.
-
Frozen Treat: Pour the cheesecake mixture into popsicle molds for a fun, frozen version of mini key lime pies perfect for a hot day!
Each of these variations brings its unique essence to the table, letting you explore creatively while keeping the sunny spirit of these Mini Key Lime Pie Cheesecakes alive!
How to Store and Freeze Mini Key Lime Pie Cheesecakes
-
Fridge: Store your Mini Key Lime Pie Cheesecakes in an airtight container in the refrigerator for up to 3 days. This ensures they remain fresh and delicious, ready for your sweet cravings.
-
Freezer: If you want to enjoy them later, freeze the cheesecakes in a tightly wrapped individual portion for up to 2 months. Thaw in the fridge overnight before serving for the best texture.
-
Reheating: For the best flavor experience, enjoy them chilled directly from the fridge. Avoid reheating, as the texture may suffer—serve them cold for delightful creaminess.
-
Make-Ahead: These cheesecakes can be prepared a day ahead and stored in the refrigerator until needed. Just add the whipped topping right before serving for optimal freshness.
Mini Key Lime Pie Cheesecakes Recipe FAQs
How do I select the right key limes?
Absolutely! When choosing key limes, look for firm fruits that are dark green and slightly yellowish. They should feel heavy for their size, indicating juiciness. Avoid any that have dark spots or feel soft, as these may not be fresh.
What’s the best way to store Mini Key Lime Pie Cheesecakes?
Store your Mini Key Lime Pie Cheesecakes in an airtight container in the refrigerator for up to 3 days. This keeps them fresh and ready to enjoy. Just be sure to add the whipped topping just before serving for the best texture and flavor!
Can I freeze Mini Key Lime Pie Cheesecakes?
Yes, you can definitely freeze these treats! First, wrap each cheesecake tightly in plastic wrap or aluminum foil, then place them in a freezer-safe container. They can be frozen for up to 2 months. When you’re ready to indulge, simply transfer them to the refrigerator to thaw overnight.
What if my cream cheese is lumpy in the filling?
Oh no! If your cream cheese isn’t smooth, it’s likely that it wasn’t softened enough. Always ensure it’s at room temperature before mixing. If you do end up with lumps, you can whisk it vigorously after adding the sweetened condensed milk, or use an electric mixer for a few moments longer to smooth it out.
Can I make these cheesecakes dairy-free?
Yes, you can! For a dairy-free version, substitute the cream cheese with a dairy-free cream cheese alternative. Use coconut cream as a whipped topping and ensure your sweetened condensed milk is also dairy-free. Just keep in mind that the flavor and texture may vary slightly from the original recipe.
Are these Mini Key Lime Pie Cheesecakes safe for kids and pets?
While these cheesecakes are kid-friendly, keep in mind that they contain key lime juice, which is generally safe in small amounts. However, these desserts are not suitable for pets, especially dogs, as chocolate and certain dairy can be harmful to them. Always consult your vet for specific dietary concerns regarding pets!
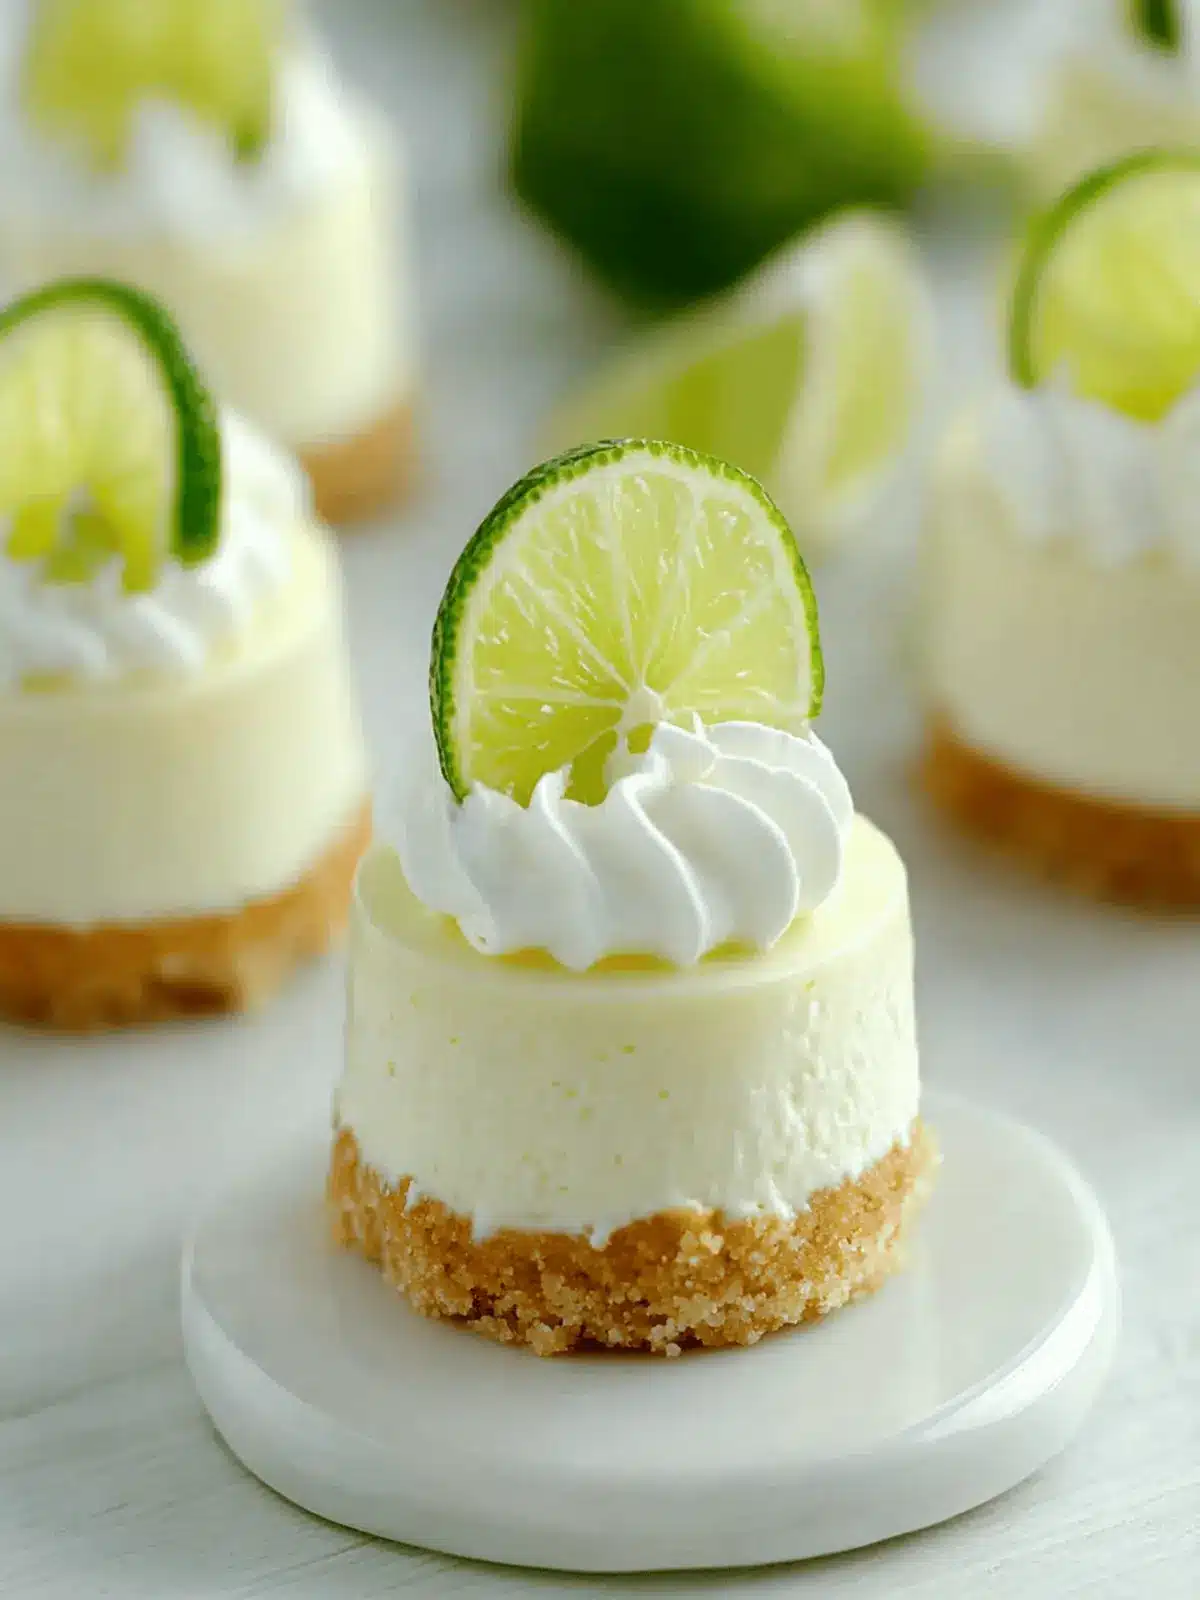
Delicious Mini Key Lime Pie Cheesecakes to Beat the Heat
Ingredients
Equipment
Method
- Prepare the Crust: In a mixing bowl, combine graham cracker crumbs, granulated sugar, and melted butter. Press this mixture firmly into the bottom of the mini cheesecake pans to create a solid crust base.
- Whip the Cream: In a separate bowl, whip heavy cream until stiff peaks form. This light, airy texture will elevate your cheesecakes. Once done, set the whipped cream aside.
- Make the Filling: In another large bowl, beat softened cream cheese until smooth. Mix in sweetened condensed milk, key lime juice, and zest until fully combined. Gently fold in the whipped cream until no streaks remain, resulting in a silky filling.
- Fill the Pans: Transfer the cheesecake mixture into a piping bag and carefully pipe it into the prepared crusts, allowing for a little overfilling for that deliciously generous look.
- Chill: Refrigerate the filled pans for at least 12 hours. This step is essential for the cheesecakes to set perfectly, achieving that dreamy texture.
- Prepare Whipped Topping: Whip the remaining heavy cream with powdered sugar and vanilla until stiff peaks form. Pipe this fluffy topping onto the chilled cheesecakes and garnish with a slice of key lime for an elegant finish.

