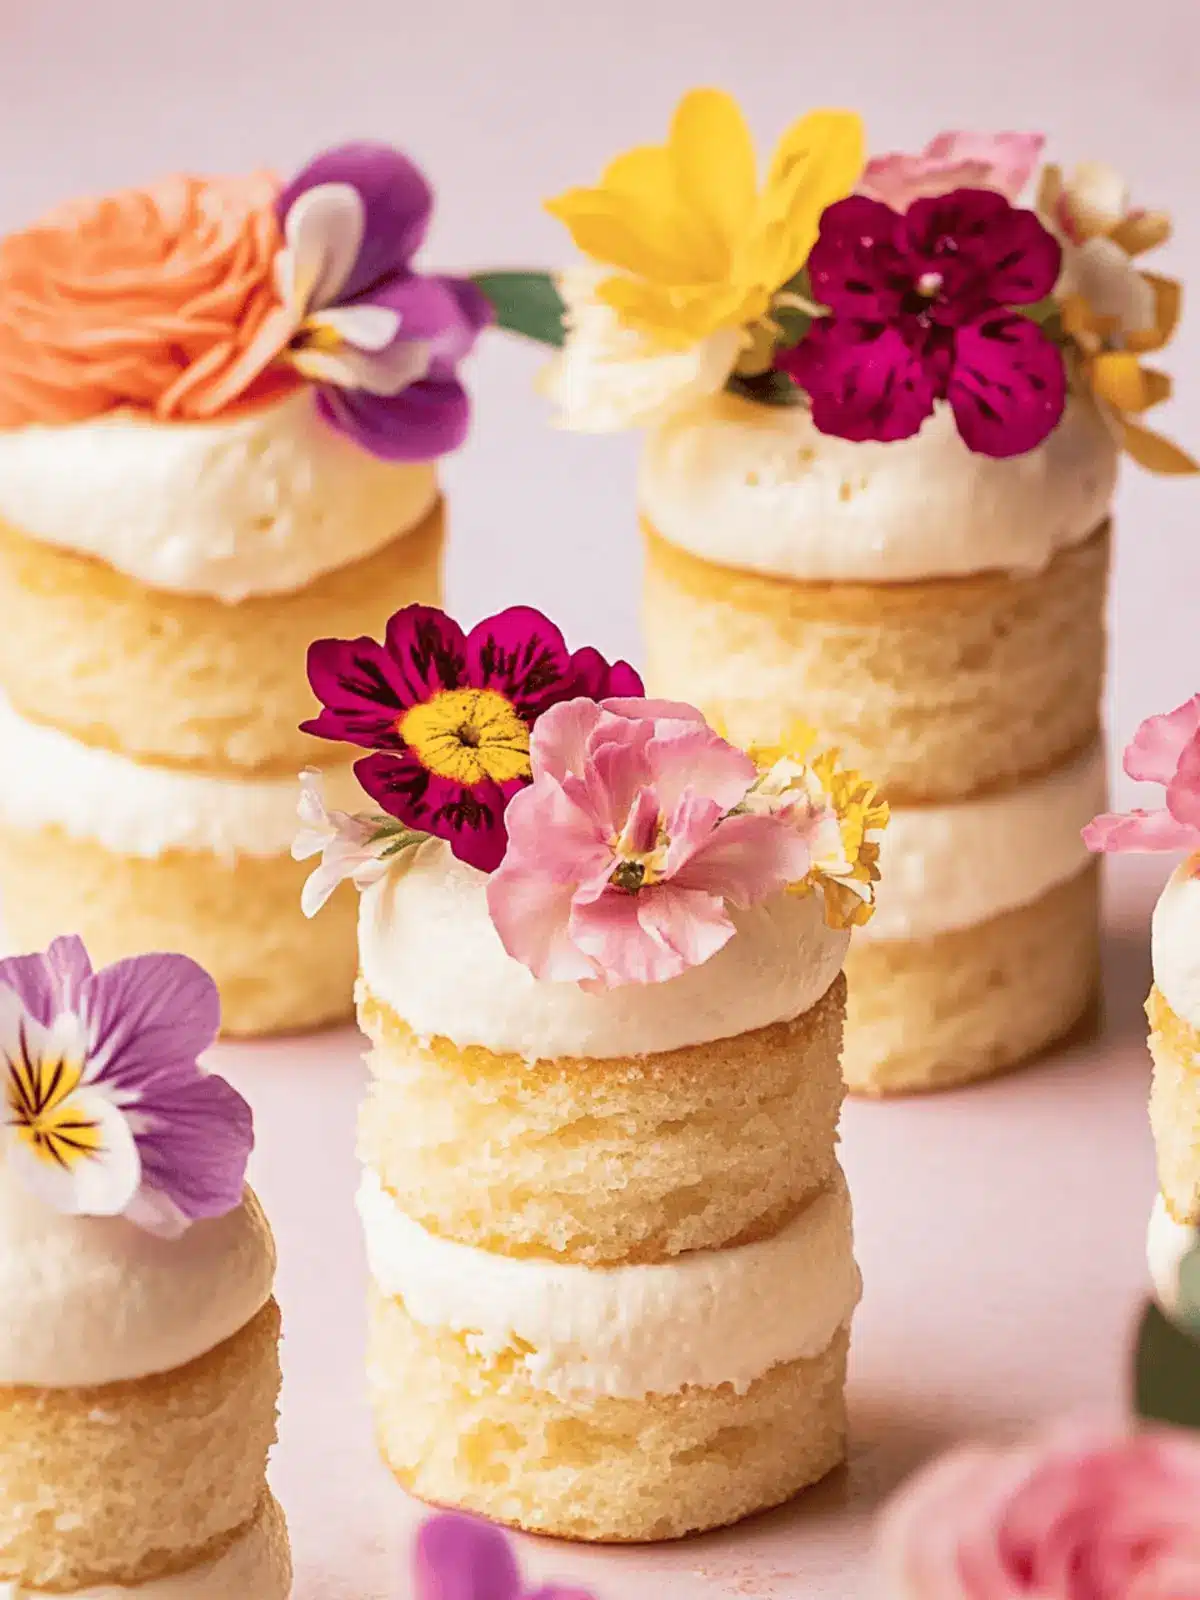
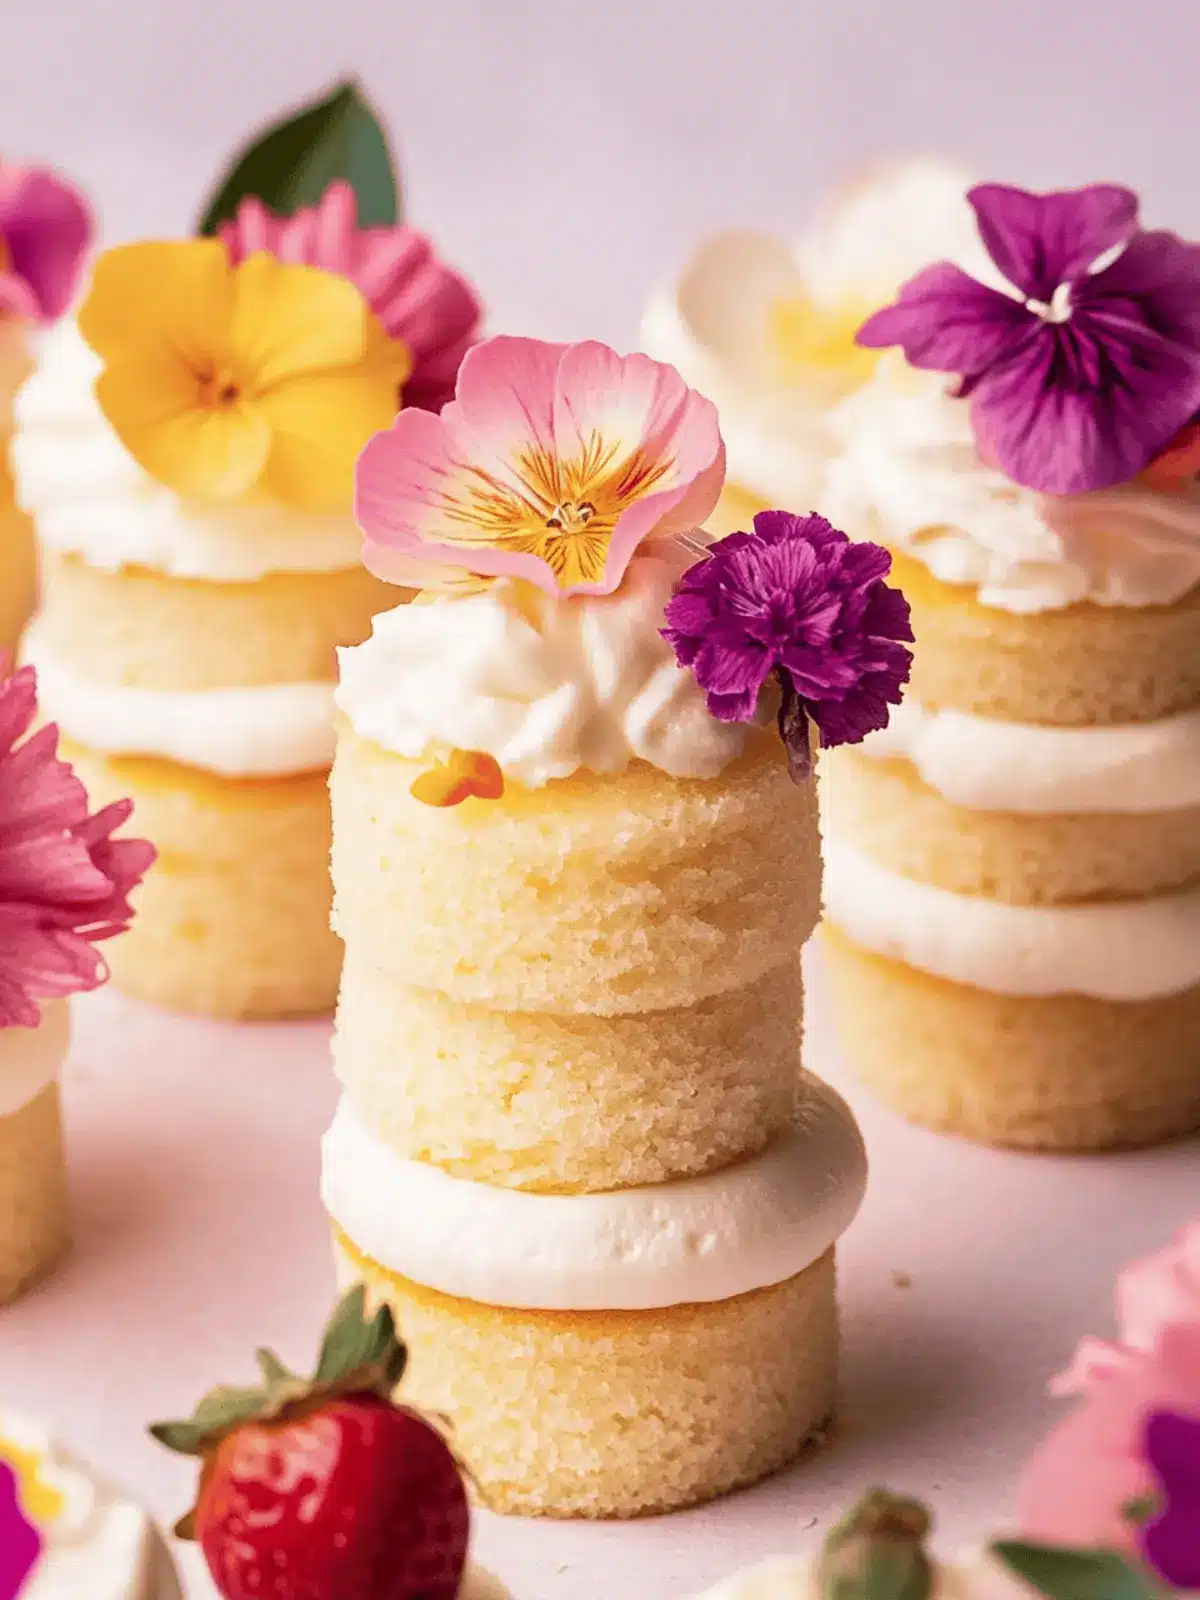
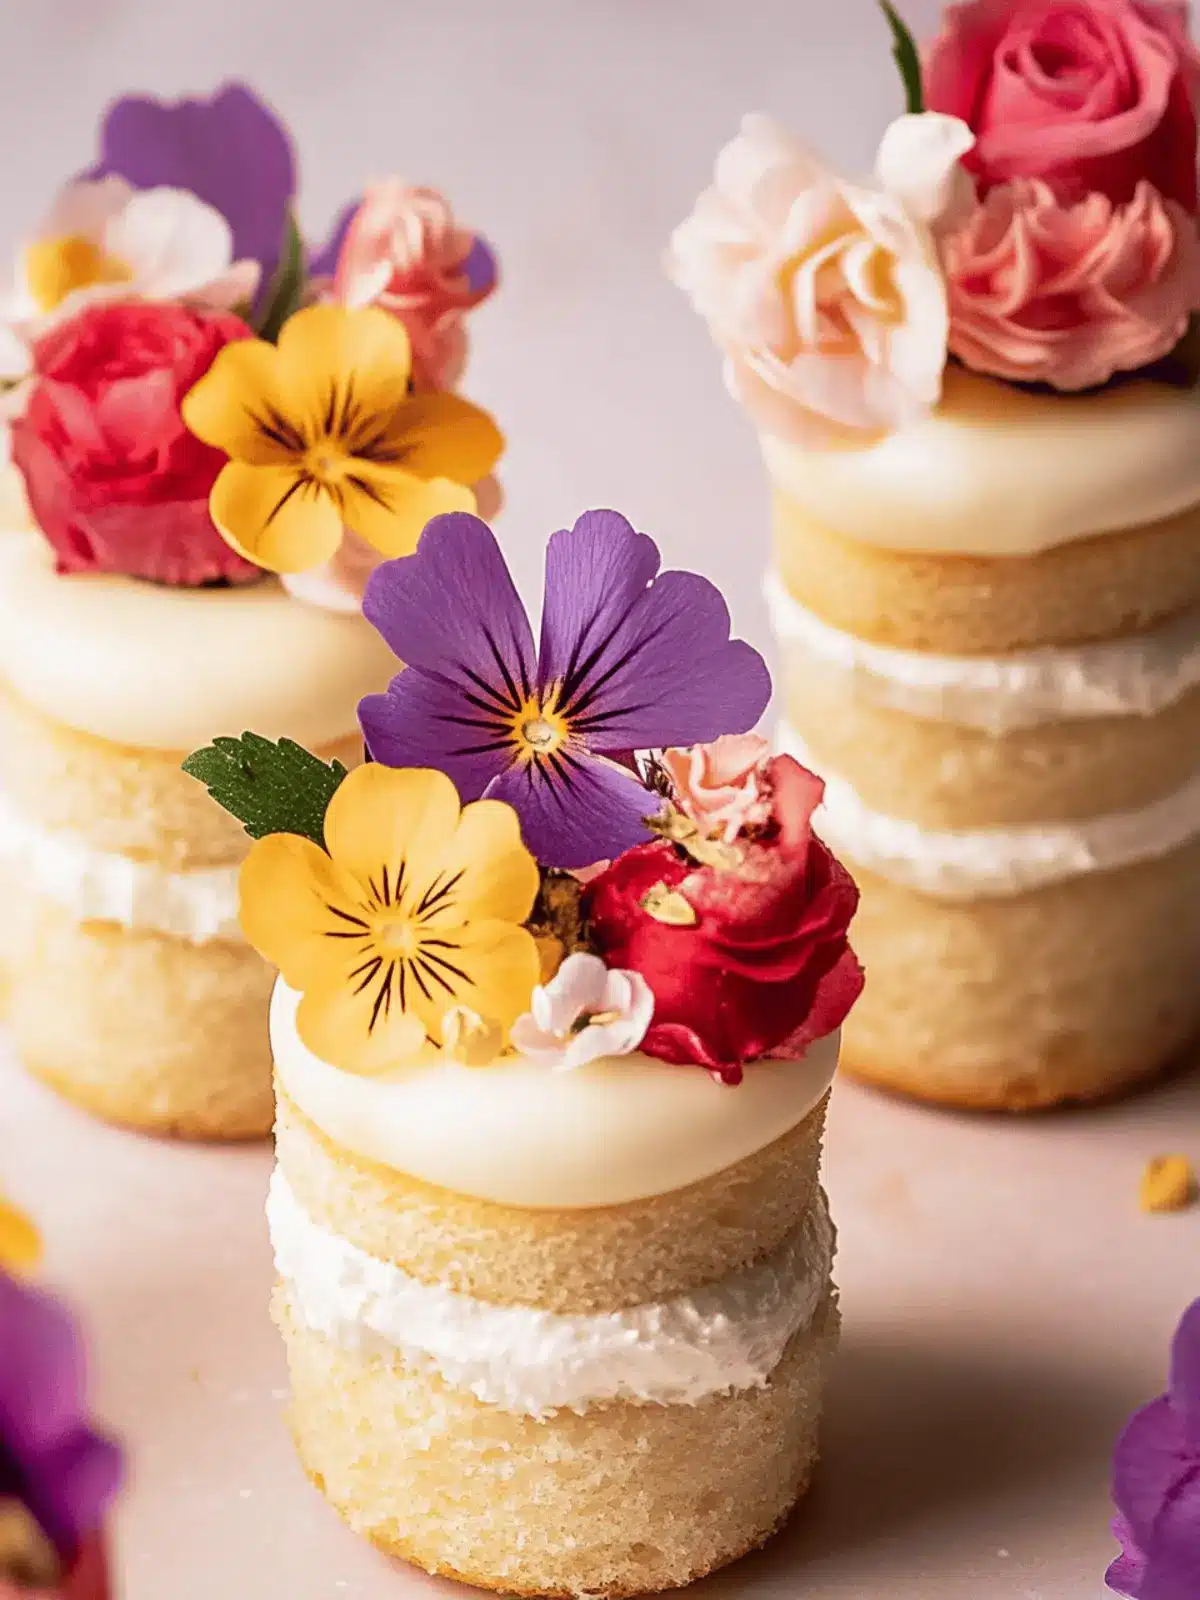
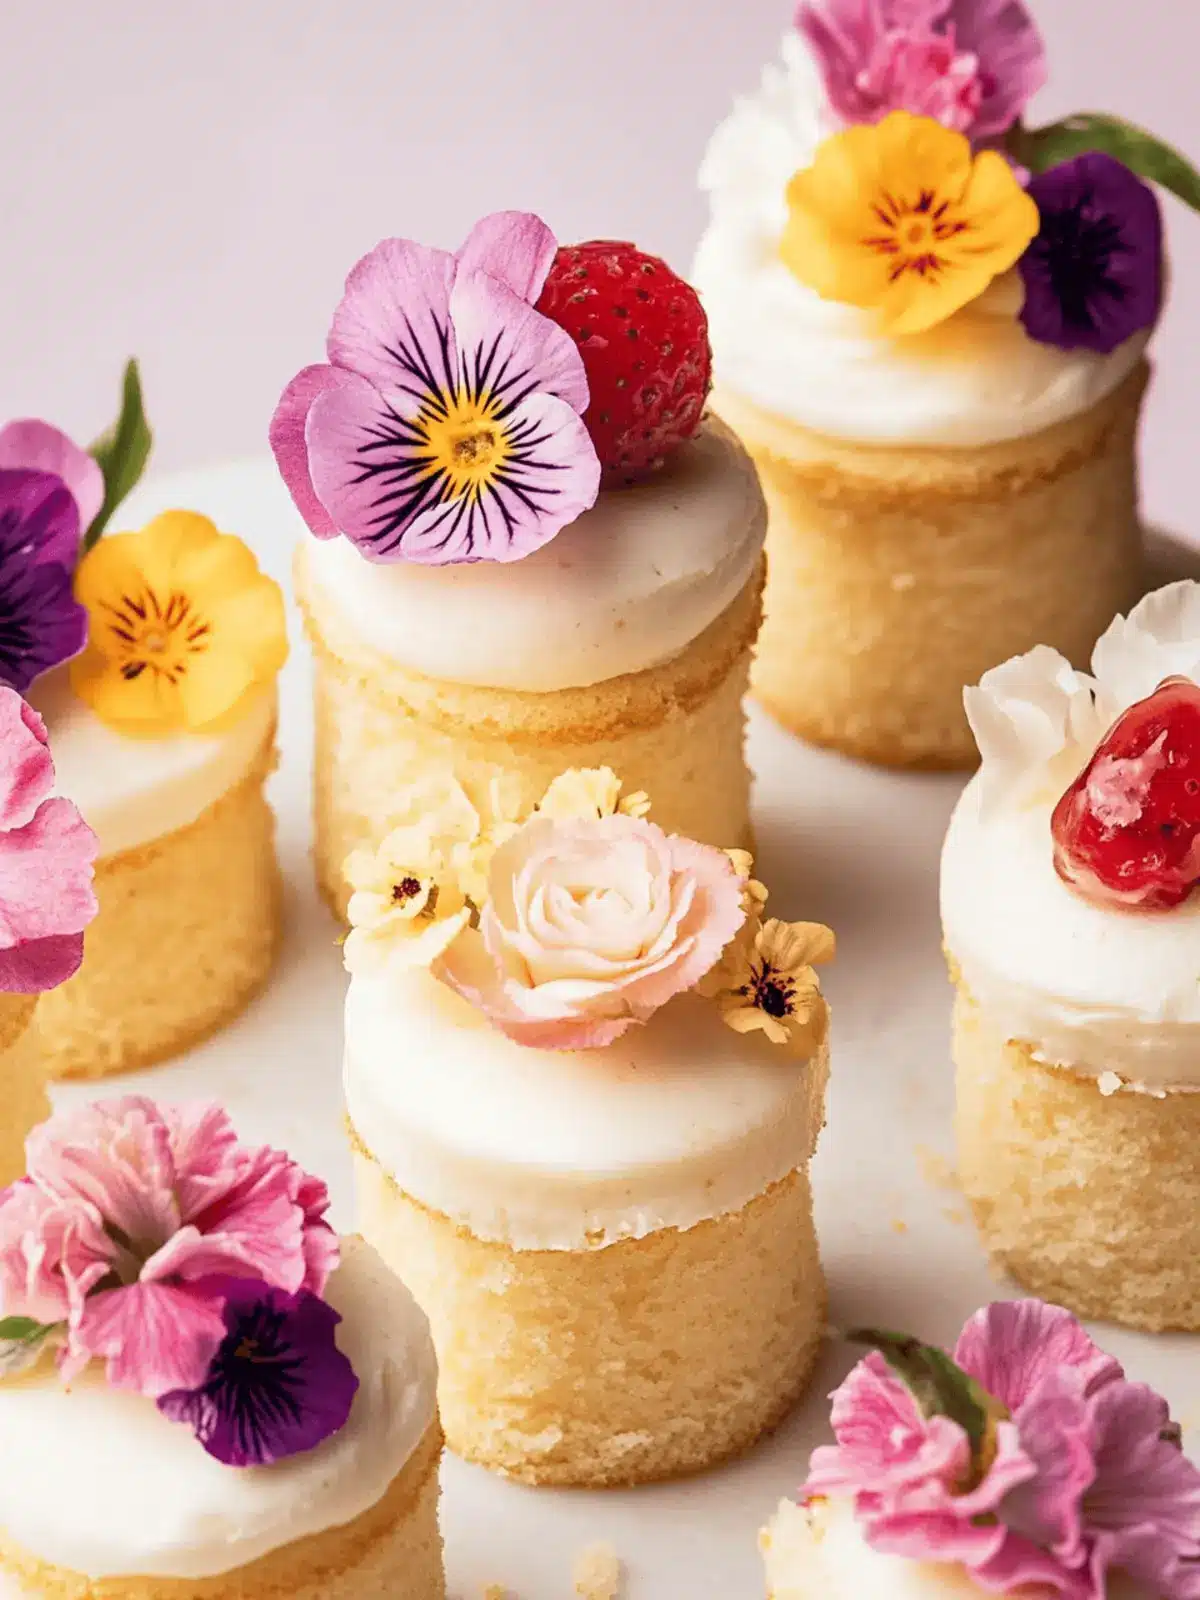
There’s a special kind of joy that comes from crafting something delicious with your own hands, and these customizable mini layer cakes offer just that! Imagine the sight of petite, fluffy cakes, stacked high, each adorned with a swirl of smooth vanilla buttercream. It’s a treat not just for the taste buds, but for the eyes as well. These mini gems are not only incredibly easy to whip up, but they also provide the perfect canvas for your creativity. Whether you’re craving a rich chocolate indulgence, a zesty lemon burst, or a sweet strawberry surprise, the possibilities are endless!
I discovered these delightful cakes on a whimsical afternoon while experimenting in my kitchen, and they swiftly became a go-to for gatherings and special moments. What’s even better is that they can be made in bulk, giving you a lovely assortment to share, making them the ideal dessert for celebrations or cozy get-togethers. Get ready to create adorable, flavor-packed mini cakes that will have everyone asking for seconds!
Why are Mini Cakes a must-try?
Irresistible Appeal: These mini cakes are as cute as they are delicious, making them perfect for any occasion.
Endless Creativity: You can mix and match flavors and frostings to suit every palate, transforming simple desserts into works of art.
Quick and Easy: Ideal for busy bakers, their straightforward assembly saves you time without sacrificing flavor.
Perfect for Sharing: Their small size makes them ideal for gatherings, allowing guests to sample a variety of flavors.
Versatile Celebrations: Whether it’s a birthday, brunch, or just because, these delightful treats ensure that there’s something for everyone!
Mini Cakes Ingredients
• Get ready to assemble your perfect mini cakes!
For the Cake Base
- All-purpose flour – Provides structure to the cake; substitute with gluten-free flour for a gluten-free version.
- Baking powder – Acts as a leavening agent to help the cake rise; ensure it’s fresh for the best results.
- Kosher salt – Enhances flavor; you can use sea salt as a suitable substitute.
- Unsalted butter – Adds richness and moisture; for a dairy-free option, use vegan butter.
- Granulated sugar – Sweetens the cake; brown sugar can add a slight molasses flavor if desired.
- Canola/vegetable oil – Keeps the cake moist; melted coconut oil can also be used as a substitution.
- Large eggs – Acts as a binder and adds richness; replace with applesauce or flax eggs for a vegan version.
- Pure vanilla extract – Provides flavor depth; consider using almond extract for a unique twist.
- Milk – Dairy milk adds moisture; almond or oat milk are great dairy-free alternatives.
For the Frosting
- Whipped vanilla buttercream – Provides a creamy and sweet layer between the cakes; feel free to use flavored variations for an extra kick!
For Toppings (Optional)
- Fresh fruit – Adds a pop of freshness that pairs perfectly with the sweetness of the cakes; berries are a great choice!
- Chocolate shavings – Enhances the chocolate mini cakes and gives a charming visual appeal.
- Sprinkles – Fun for any celebration and adds a festive touch to your mini cakes!
How to Make Mini Cakes
-
Preheat Oven: Set your oven to 350°F (175°C) and line a 9×12-inch baking pan with parchment paper for easy removal later.
-
Mix Dry Ingredients: In a large bowl, whisk together the all-purpose flour, baking powder, and kosher salt until well combined. This will ensure an even rise in your mini cakes.
-
Cream Butter and Sugar: In another bowl, beat the unsalted butter and granulated sugar together until light and fluffy, approximately 3-5 minutes. Then, drizzle in the canola oil and blend until smooth.
-
Incorporate Eggs: Add the large eggs, one at a time, mixing thoroughly after each addition. Stir in the pure vanilla extract for a rich flavor boost.
-
Combine Mixtures: Gradually add the flour mixture and milk alternately to the butter mixture, starting and ending with the flour. Mix until just combined, ensuring no dry flour remains.
-
Bake: Pour the batter into your prepared baking pan, smoothing the top, and bake for 25-28 minutes. The cake is done when a toothpick inserted in the center comes out clean.
-
Cool and Cut: Once baked, allow the cake to cool in the pan for about 10 minutes. Then, transfer it to a wire rack to cool completely. Once cool, use a round cutter to punch out mini cake rounds and prepare to assemble with whipped vanilla buttercream.
Optional: For added flavor, drizzle with a light glaze made from powdered sugar and milk!
Exact quantities are listed in the recipe card below.
Make Ahead Options
These delightful mini cakes are perfect for meal prep enthusiasts! You can prepare the cake layers up to 3 days in advance; simply bake and cool them completely, then wrap them tightly in plastic wrap to keep them fresh. For easy assembly, make the whipped vanilla buttercream ahead of time and store it in the refrigerator for up to 24 hours. When you’re ready to serve, allow the cake layers and frosting to come to room temperature, then assemble your mini cakes by stacking the layers and spreading the buttercream in between. This approach not only saves you time but ensures your mini cakes are just as delicious when they’re finally enjoyed!
Expert Tips for Mini Cakes
- Consistent Sizing: Use a round cutter about 2-3 inches in diameter to ensure all your mini cakes are uniform, making for an impressive presentation.
- Flat Layers: If the sheet cake rises unevenly, don’t fret! Just trim the domed top before cutting to achieve perfectly level layers.
- Freshness Matters: Try to serve your mini cakes on the same day they’re prepared. Otherwise, they may dry out after being assembled.
- Wrap It Up: For any leftovers, wrap the unadorned mini cakes tightly in plastic wrap and store them in the refrigerator to keep them moist.
- Experiment with Fillings: Don’t be afraid to get creative! Feel free to add flavored fillings like fruit preserves or whipped cream between the layers for a delightful surprise in each bite.
What to Serve with Mini Layer Cakes?
Indulging in these delightful mini layer cakes opens up a world of complementary flavors and textures to enhance your dessert experience.
-
Fresh Berries:
The tartness of strawberries or raspberries adds a refreshing contrast to the sweetness of the cake, brightening every bite. -
Whipped Cream:
Light and airy, a dollop of whipped cream perfectly balances the richness of the frosting, making each layer a creamy dream. -
Chocolate Sauce:
A drizzle of warm chocolate sauce brings an indulgent touch that your chocolate mini cakes will adore, elevating their taste to heavenly heights. -
Coconut Macaroons:
These chewy, sweet delights pair beautifully for a textural contrast, offering a fun twist alongside your mini creations. -
Lemon Curd:
This zesty accompaniment brings a bright and tangy flavor, making it a delightful fill-in between layers of the lemon mini cakes. -
Coffee or Tea:
A warm cup of coffee or a fragrant herbal tea enhances the dessert moment, inviting a cozy, comforting vibe to your treat. -
Mini Ice Cream Scoops:
Serve a small scoop of vanilla or your favorite ice cream next to each cake. The creaminess melts into each slice for a delightful sensory experience. -
Fruity Sorbet:
A scoop of fruit sorbet adds a refreshing, icy contrast that cleanses the palate while pairing delightfully with the sweet layers. -
Caramel Drizzle:
A light drizzle of salted caramel offers a rich, sweet contrast that pairs wonderfully, especially with chocolate or vanilla cakes.
Mini Cakes Variations & Substitutions
Feel free to get creative with your mini cakes and explore delightful twists that will surprise your taste buds!
- Dairy-Free: Substitute unsalted butter with vegan butter and use almond or oat milk to maintain the same richness.
- Gluten-Free: Swap all-purpose flour for a gluten-free blend, ensuring that everyone can enjoy these delicious mini treats.
- Chocolate Delight: Replace vanilla cake with chocolate cake batter, pairing it with a luscious chocolate ganache or buttercream.
- Fruit Infusion: Add fresh or pureed fruit to the batter, like mashed strawberries or pureed bananas, for a natural, sweet flavor burst.
- Nutty Crunch: Fold in chopped nuts, such as walnuts or pecans, into the batter for an added texture, ensuring a delightful crunch in every bite.
- Zesty Kick: Infuse your cake batter with citrus zest, such as lemon or orange, to brighten up the flavor profile and uplift your mini treats!
- Spiced Cakes: Incorporate warm spices like cinnamon or nutmeg into the batter for a cozy flavor that evokes nostalgia and warmth.
- Layered Flavors: Don’t hesitate to combine different spirit-infused cakes and fillings; how about a chocolate cake layered with raspberry jam and topped with whipped cream?
How to Store and Freeze Mini Cakes
Room Temperature: Keep assembled mini cakes at room temperature for up to 1 day, but be sure to cover them lightly to prevent drying out.
Fridge: Place leftover mini cakes in an airtight container in the refrigerator for up to 3 days. This will help maintain their freshness without compromising flavor.
Freezer: For longer storage, freeze unassembled mini cakes for up to 3 months. Wrap each layer tightly in plastic wrap, and store in a freezer bag, ensuring to remove as much air as possible.
Reheating: If you prefer your mini cakes warm, gently reheat them in the microwave for a few seconds or enjoy them straight from the fridge, as they taste delightful chilled!
Mini Cakes Recipe FAQs
How do I choose ripe ingredients for my mini cakes?
Absolutely! When selecting ingredients, aim for fresh eggs and unsalted butter at room temperature for best results. Ensure your baking powder is not expired—check the label for a release date. For optimal flavor, use milk that is pasteurized and fresh. If using fruits as toppings, choose those that are firm and not too soft or bruised.
How should I store my mini cakes?
Very! Store assembled mini cakes at room temperature for up to 1 day. If you have leftovers, place them in an airtight container in the refrigerator for up to 3 days to preserve freshness. Just remember to cover them lightly to prevent drying out, which can happen if they are exposed to air.
Can I freeze mini cakes, and if so, how?
Absolutely! To freeze unassembled mini cakes, wrap each layer tightly in plastic wrap and then place them in a freezer bag. This method can keep them fresh for up to 3 months. When ready to enjoy, simply thaw them in the refrigerator overnight before assembling, and they’ll taste just as delightful as when they were fresh!
What if my mini cake layers dome during baking?
Don’t worry! If you notice your cake layers dome while baking, simply trim the tops with a serrated knife once they cool to achieve perfectly flat surfaces. This step is crucial for stacking your mini cakes evenly. It’s a great way to ensure that each layer fits snugly without tipping over!
Are these mini cakes suitable for people with dietary restrictions?
Sure! These mini cakes can easily be customized to accommodate various dietary needs. For a gluten-free version, substitute all-purpose flour with a gluten-free blend. You can also make these dairy-free by using vegan butter and substituting milk with almond or oat milk. If you’re looking to create a vegan cake, replace eggs with applesauce or flax eggs—it’s simple, and the cakes still turn out delicious!
How long can I keep unassembled mini cakes in the freezer?
Great question! You can keep unassembled mini cakes in the freezer for up to 3 months when properly wrapped. Be sure to remove as much air as possible from the plastic wrap to prevent freezer burn. When you’re ready to enjoy them, just thaw them in the fridge overnight, and they’ll be perfect for assembling!

Mini Cakes: Irresistibly Easy Recipes for Any Occasion
Ingredients
Equipment
Method
- Preheat the oven to 350°F (175°C) and line a 9x12-inch baking pan with parchment paper.
- In a large bowl, whisk together the all-purpose flour, baking powder, and kosher salt until well combined.
- In another bowl, beat the unsalted butter and granulated sugar together until light and fluffy, then drizzle in the canola oil.
- Add the large eggs one at a time, mixing thoroughly after each addition. Stir in the pure vanilla extract.
- Gradually add the flour mixture and milk alternately to the butter mixture, starting and ending with flour.
- Pour the batter into the prepared baking pan and bake for 25-28 minutes.
- Allow the cake to cool in the pan for about 10 minutes, then transfer to a wire rack and cut out mini rounds for assembly.


