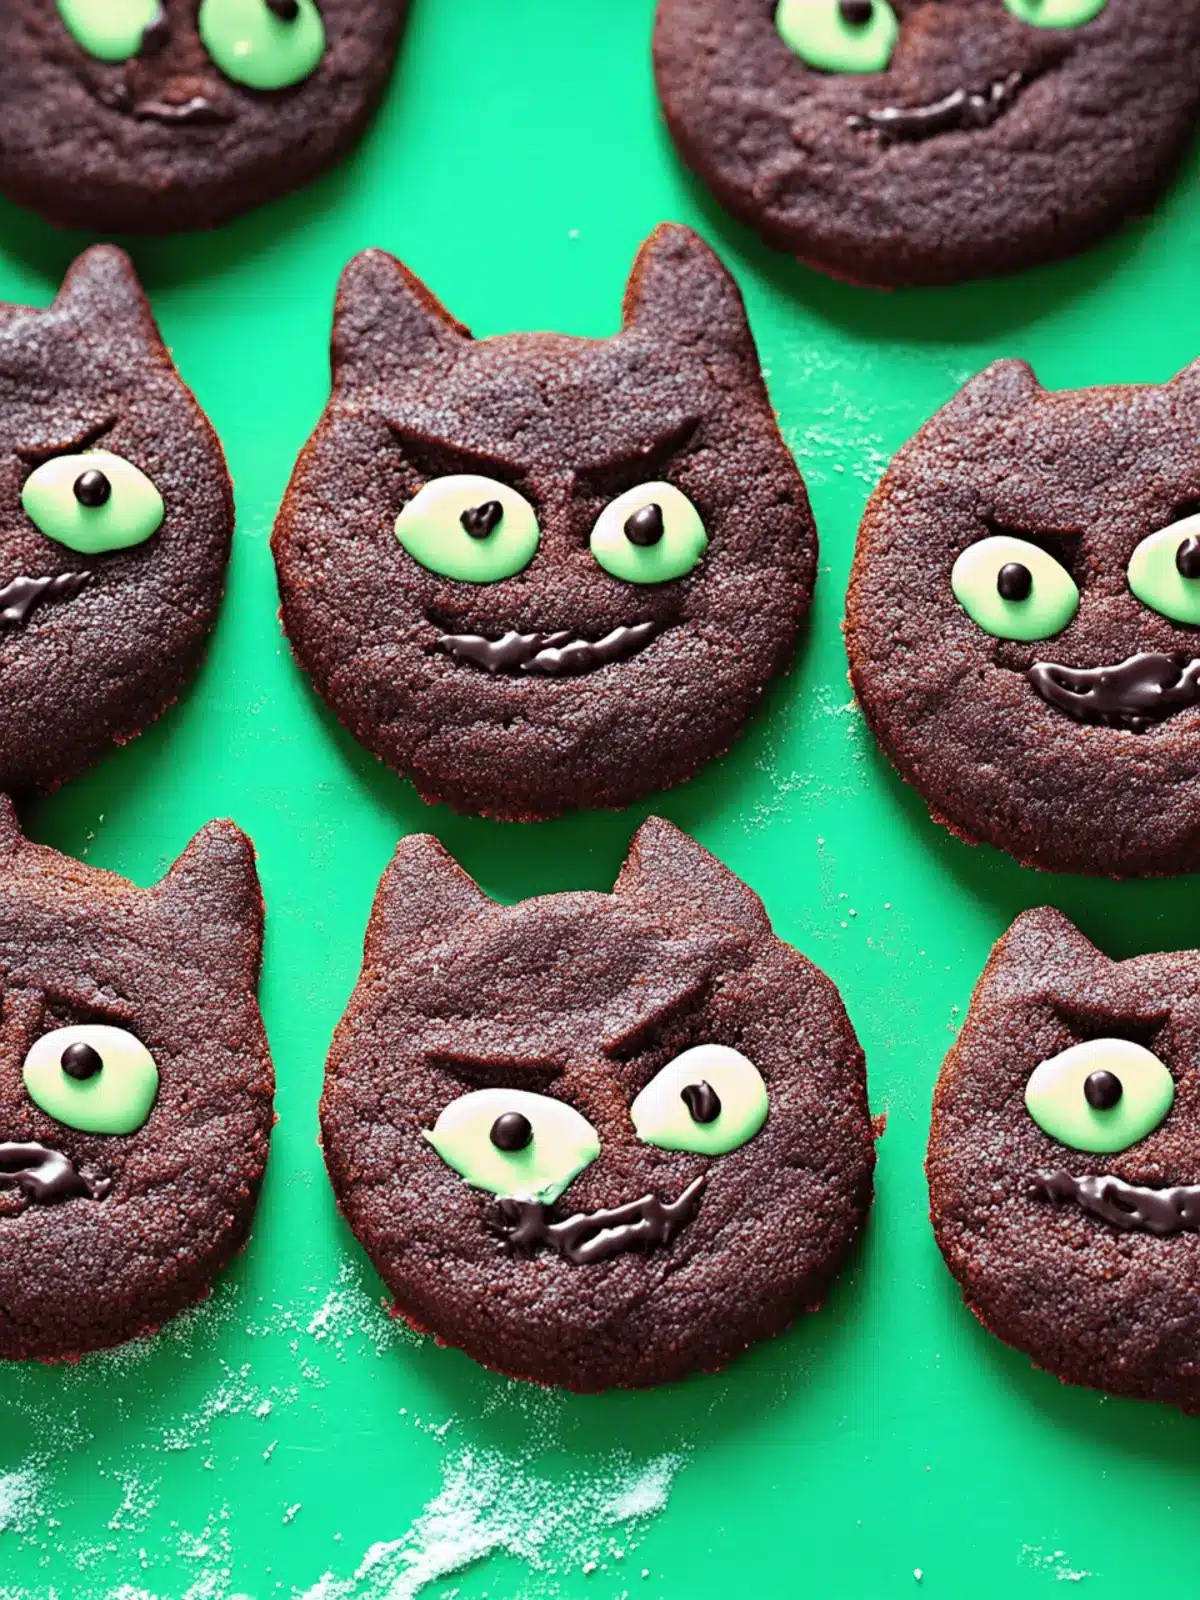
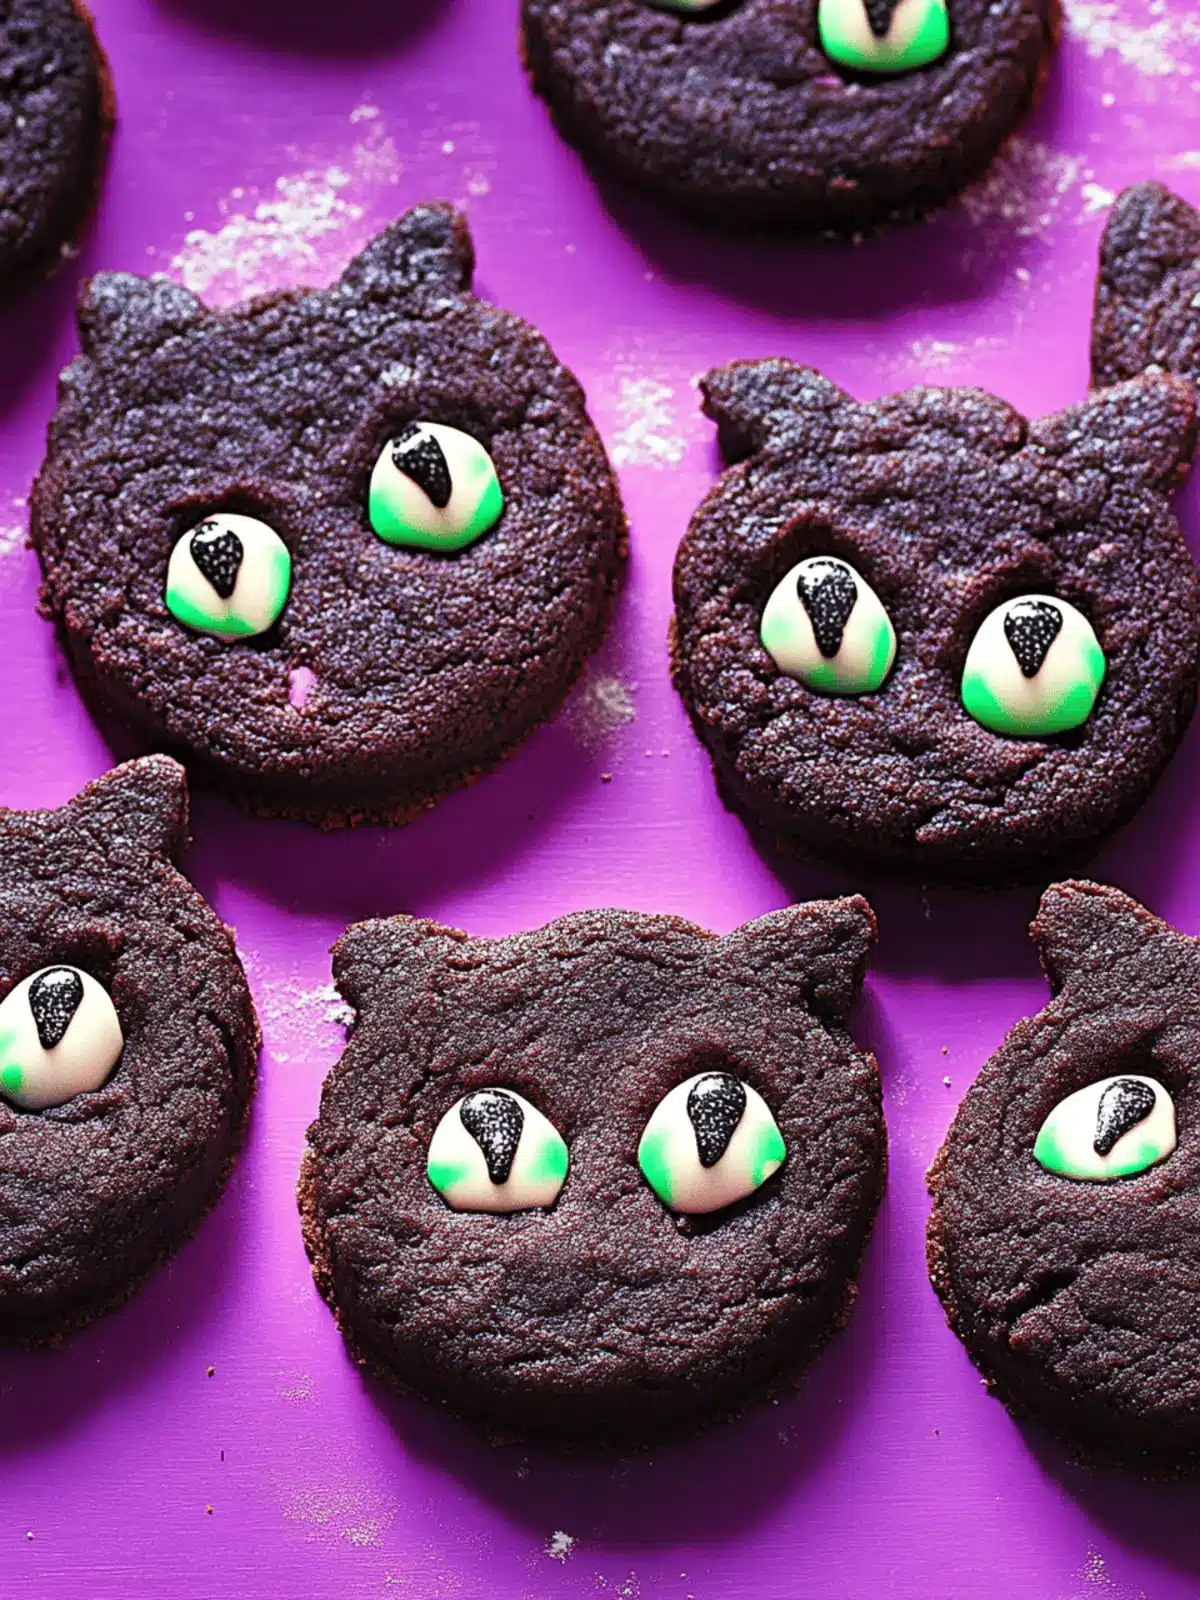
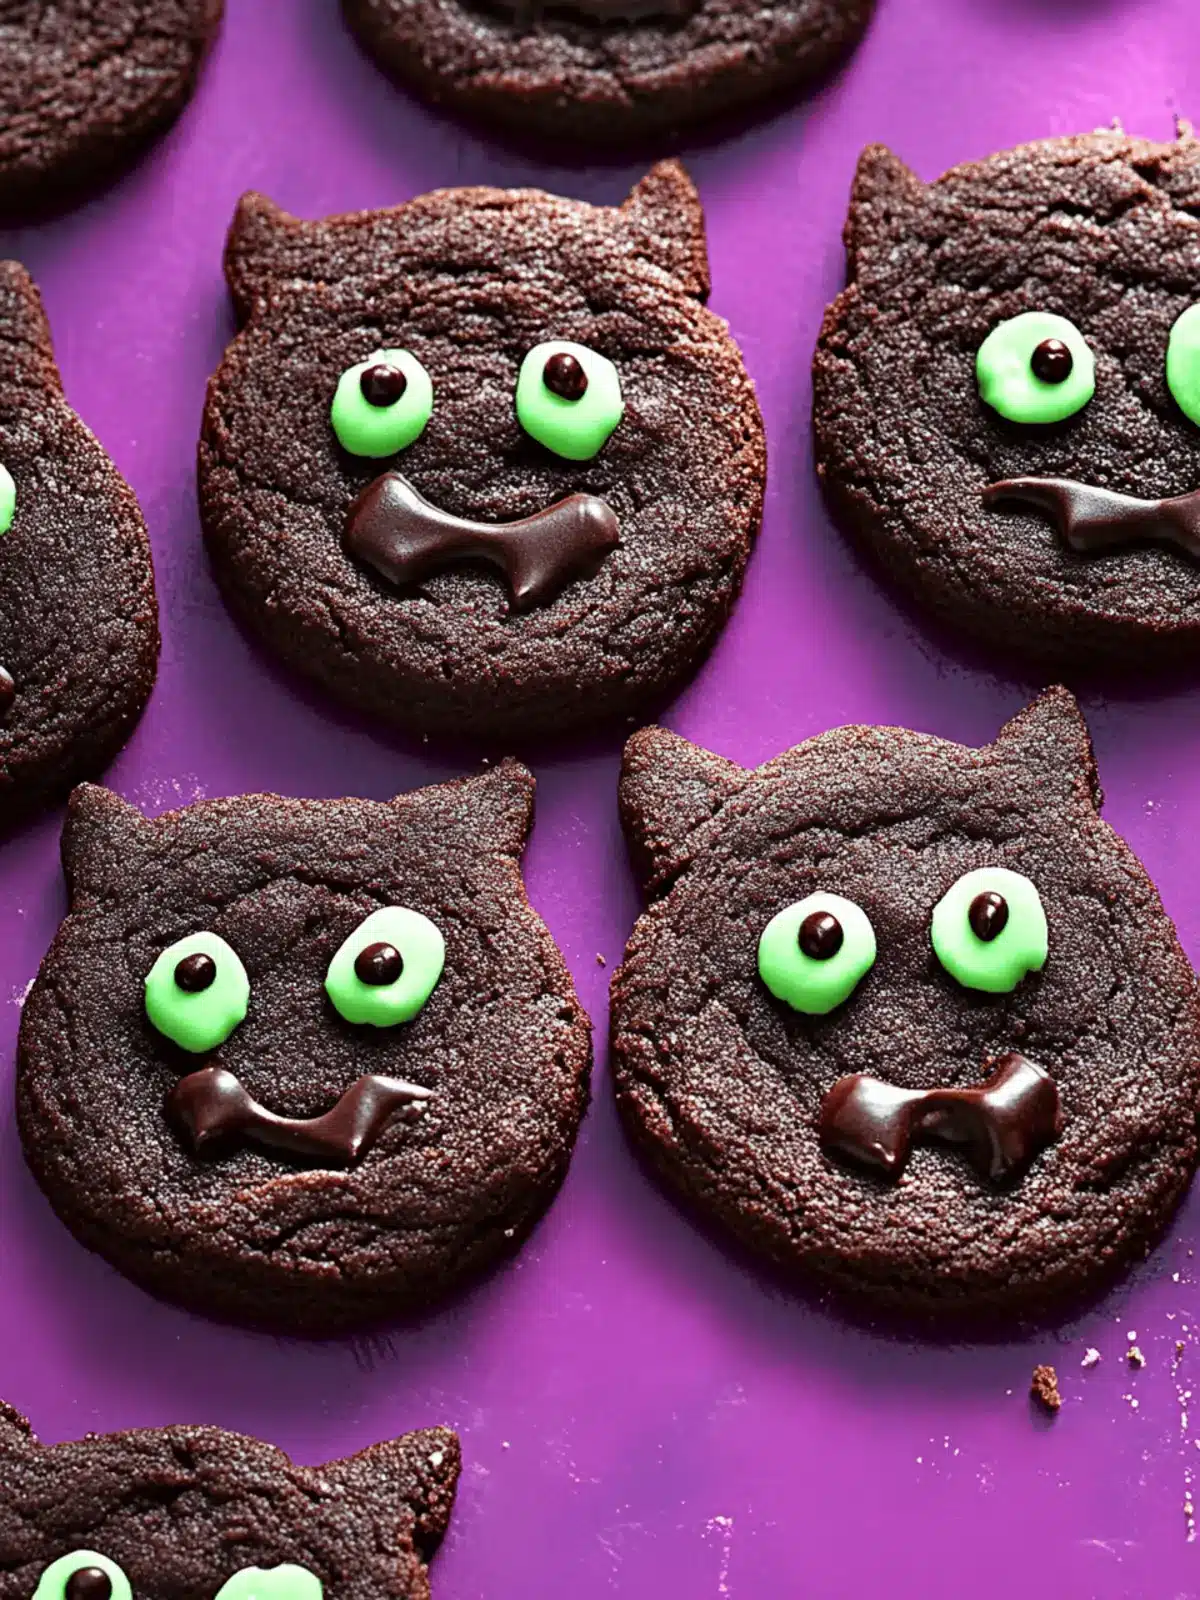
As the crisp autumn air begins to swirl around us, there’s nothing quite like the sweet aroma of freshly baked cookies to warm the soul. That’s how I found myself in my kitchen, channeling a bit of Halloween magic with these delightful Hocus Pocus Binx Cookies. A unexpected pantry encounter with black cocoa powder led to a brilliant idea: why not create cookies honoring the iconic Binx the cat? The deep, dark hue and chewy texture of these cookies not only celebrate the spirited season but also promise to cast a tasty spell on any gathering. With a sprinkle of colorful M&M’s and a sparkly sugar coating, these treats are sure to charm both kids and adults alike. So grab your apron and let’s conjure up some deliciousness that’s practically perfect for your Halloween celebrations!
Why Are Hocus Pocus Binx Cookies Perfect for You?
Delightful, these cookies bring the spirit of Halloween to life with their whimsical design and rich flavors. Chewy texture meets crispy edges for an irresistible bite! Easy to make, you can whip them up in no time, perfect for busy schedules. Versatile decorating options mean you can get crafty with festive colors or shapes. Crowd-pleasing appeal ensures they will disappear quickly at any gathering. Perfectly paired with cozy drinks or other festive treats, these cookies are sure to enchant any fall celebration.
Hocus Pocus Binx Cookies Ingredients
For the Cookie Dough
- All-Purpose Flour – Provides structure to the cookies; a gluten-free blend can be a substitute.
- Black Cocoa Powder – Adds rich color and intense chocolate flavor; use regular cocoa powder for a milder, lighter hue.
- Baking Soda – Acts as a leavening agent, ensuring soft, chewy cookies.
- Kosher Salt – Enhances sweetness and balances flavors; sea salt can also be used in its place.
- Granulated Sugar – Sweetens and contributes to the delightful texture of the cookies.
- Unsalted Butter (softened) – Provides moisture and richness; coconut oil is a great dairy-free alternative.
- Light Brown Sugar (packed) – Adds moisture and depth of flavor; white sugar will change the cookie’s texture.
- Large Egg – Binds ingredients together; applesauce may substitute if needed but changes the texture.
- Pure Vanilla Extract – Intensifies flavor; imitation vanilla can be used, though the taste might vary.
For the Coating and Toppings
- Sanding Sugar (for rolling) – Offers a sparkly finish; sugar crystals make an excellent replacement.
- Sliced Raw Almonds – Adds a fun crunch and mimics cat ears for decoration; omit for a nut-free option.
- Semisweet Chocolate Chips – Provides pockets of melted chocolate delight; consider dark or milk chocolate as alternatives.
- Mini Green M&M’s – Adds a pop of color and fun; feel free to swap with any favorite Halloween-themed candy.
- Mini Brown M&M’s – Enhances color contrast; any small candies can work as a substitute.
How to Make Hocus Pocus Binx Cookies
-
Prepare Baking Sheets: Preheat your oven to 350°F (177°C) and line your baking sheets with parchment paper. This will ensure your cookies bake evenly and don’t stick!
-
Mix Dry Ingredients: In a mixing bowl, whisk together the all-purpose flour, black cocoa powder, baking soda, and kosher salt until fully combined. Set this mixture aside while you work on the wet ingredients.
-
Cream Butter and Sugars: In a large mixing bowl, beat the softened unsalted butter, granulated sugar, and light brown sugar together until the mixture is light and fluffy—this should take about 2-3 minutes.
-
Add Egg and Vanilla: Mix in the large egg and pure vanilla extract until everything is well incorporated, creating a beautifully rich batter.
-
Combine Mixtures: Gradually add the dry ingredients to the wet mixture, stirring gently until just combined—be careful not to overmix, as this can lead to tough cookies!
-
Shape and Roll Cookies: Scoop the dough into small balls using a cookie scoop, roll each ball in sanding sugar, and place them on the prepared baking sheets. Top each cookie with sliced almonds and a few M&M’s for a whimsical touch!
-
Bake: Bake in your preheated oven for 10-12 minutes, or until the edges are slightly crispy and the centers look set. Allow the cookies to cool on the sheets for a few minutes before transferring them to a wire rack.
Optional: For a festive touch, you can drizzle some melted chocolate on top once they’ve cooled!
Exact quantities are listed in the recipe card below.
Make Ahead Options
These Hocus Pocus Binx Cookies are a fantastic choice for savvy home cooks aiming to save time on busy baking days! You can prepare the cookie dough up to 3 days in advance. Simply follow the mixing instructions and once the dough is ready, scoop it into balls, roll them in sanding sugar, and place them in an airtight container. Refrigerate until you’re ready to bake, as chilling the dough will enhance the chewy texture and prevent spreading. When it’s time to enjoy your treats, preheat the oven and bake them directly from the fridge, adding an extra minute or two to the baking time for perfectly delicious cookies. You’ll have charming Hocus Pocus Binx Cookies ready to enchant your guests with minimal hassle!
Hocus Pocus Binx Cookies Variations & Substitutions
Feel free to sprinkle your own magic on these cookies with these fun, creative twists and swaps for your Hocus Pocus Binx Cookies!
-
Gluten-Free: Use a gluten-free all-purpose flour blend to make these cookies suitable for those avoiding gluten.
-
Dairy-Free: Substitute unsalted butter with coconut oil for a dairy-free version that still packs that rich flavor.
-
Nut-Free: Omit the sliced almonds or replace them with pumpkin seeds to keep the fun, cat-like aesthetic without nuts.
-
Spicy Kick: Add a pinch of cayenne or cinnamon to the batter for a surprising warmth that dances on your palate. Embrace the spirit of Halloween by incorporating a little heat.
-
Flavor Boost: Experiment with flavored extracts like almond or orange to give an unexpected twist to the classic vanilla notes. Just a drop can elevate your cookies to enchanted levels!
-
Chocolate Choices: Swap out semisweet chocolate chips for white chocolate or even butterscotch chips for a different digestible delight. This change will create a wonderful contrast against the dark cocoa.
-
M&M Variations: Use different Halloween-themed candies—like candy corn or spooky gummies—instead of M&M’s for a vibrant, festive variety. Let those creativity juices flow; you might just discover your new favorite combo!
-
Fruity Twist: Add a handful of dried cherries or cranberries to enhance the texture and provide a chewy, fruity essence in each bite. This option is not only tasty but also adds a touch of color—just like magic!
What to Serve with Hocus Pocus Binx Cookies?
When it comes to Halloween gatherings, a delicious spread makes all the difference. Let’s create a festive feast that pairs beautifully with these charming cookies!
- Pumpkin Spice Latte: A warm, spiced drink that enhances the flavors of the cookies while celebrating the fall season.
- Caramel Apple Cider: This sweet and tangy beverage complements the chocolatey goodness and adds an autumnal twist.
- Spooky Fruit Platter: Combine grapes, apple slices, and berry bats for a refreshing contrast to the rich cookies, showering your table with color.
- Chocolate Milkshake: With a creamy texture, it highlights the deep cocoa flavor and brings smiles to both kids and adults.
- Halloween-themed Cupcakes: Delightful, fun, and equally sweet, these cupcakes add variety and a whimsical touch to your dessert table.
- Nutty Trail Mix: Crunchy, salty, and sweet trail mix provides a delightful textural contrast and a wholesome snacking option.
- Vanilla Ice Cream: A scoop on the side provides a cool, creamy balance to the chewy cookies, creating a perfect bite.
- Witch’s Brew Punch: A vibrant green punch with floating fruit pieces adds a spooky aura to your celebration while refreshing your guests!
- Ghostly Yogurt Parfaits: Layer yogurt with granola and fruits for a healthy yet festive option, offering a wide range of flavors on your spread.
- Spiced Whipped Cream: Use this to top your cookies or drinks, contributing an extra layer of flavor that enhances the entire Halloween experience.
Expert Tips for Hocus Pocus Binx Cookies
- Butter Temperature: Ensure your butter is at room temperature. Cold butter can cause uneven mixing, leading to dense cookies.
- Avoid Overmixing: Mix until just combined once the dry ingredients are added. Overmixing can create tough Hocus Pocus Binx Cookies, so treat the dough gently!
- Baking Time: Keep an eye on your cookies as they bake. For a chewy texture, bake just until the edges firm up and the centers look set.
- Quality Ingredients: Use high-quality chocolate chips for a rich chocolatey flavor. It makes a significant difference in the overall taste!
- Chill Dough: If the dough feels too soft, don’t hesitate to chill it for about 30 minutes before baking. This helps maintain the shape and enhances texture.
- Experiment with Toppings: Feel free to get creative with toppings! Different Halloween candies can make your Hocus Pocus Binx Cookies unique and festive!
How to Store and Freeze Hocus Pocus Binx Cookies
- Room Temperature: Store baked cookies in an airtight container at room temperature for up to 1 week. This keeps them chewy and delicious, perfect for enjoying with a hot drink.
- Fridge: For longer freshness, you can refrigerate the cookies. Ensure they’re in an airtight container, where they’ll stay good for up to 2 weeks. Just allow them to come to room temperature before serving.
- Freezer: Freeze unbaked cookie dough balls by placing them in a single layer on a baking sheet until firm, then transfer to a freezer bag. They’ll last up to 3 months. Bake from frozen, adding a couple more minutes to the baking time for Hocus Pocus Binx Cookies.
- Reheating: If stored in the fridge or freezer, simply pop them in the microwave for 10-15 seconds or warm them in the oven to refresh their soft, chewy goodness!
Hocus Pocus Binx Cookies Recipe FAQs
What type of black cocoa powder should I use?
Absolutely! Use a high-quality black cocoa powder for the best flavor and rich color. If you’re unable to find black cocoa, regular cocoa powder works as a substitute, but it will lighten the color and result in a milder chocolate taste.
How should I store Hocus Pocus Binx Cookies?
Store your delicious Hocus Pocus Binx Cookies in an airtight container at room temperature for up to 1 week. To maintain their chewy texture, ensure they’re completely cool before sealing the container. If you prefer a longer shelf life, refrigerate them for up to 2 weeks.
Can I freeze the cookie dough?
Yes, you can! Freezing the unbaked cookie dough is an excellent way to have festive treats ready to go. Simply scoop the dough into balls and place them on a baking sheet in a single layer until firm. Then, transfer the dough balls to a freezer bag, where they’ll be good for up to 3 months. When ready to bake, there’s no need to thaw—just add a couple of extra minutes to the baking time!
What if my cookies come out too tough?
If your Hocus Pocus Binx Cookies turn out tough, it may be due to overmixing the dough after adding the flour. Be sure to mix until just combined to avoid activating the gluten too much. Also, check your baking time; pulling them from the oven when the edges are set and centers are still soft will help achieve that chewy texture.
Are these cookies safe for pets?
As a general rule, chocolate can be harmful to pets. It’s best to keep the Hocus Pocus Binx Cookies away from your furry friends. If you’re looking for a pet-friendly treat, consider making a separate batch using carob instead of chocolate and without any additives that could be harmful to them.
Can I make these cookies gluten-free?
Very! You can substitute the all-purpose flour with a gluten-free flour blend. Just make sure it’s a 1-to-1 substitute that includes xanthan gum for the best texture. Your Hocus Pocus Binx Cookies will still be delicious and chewy while catering to gluten-sensitive friends and family!
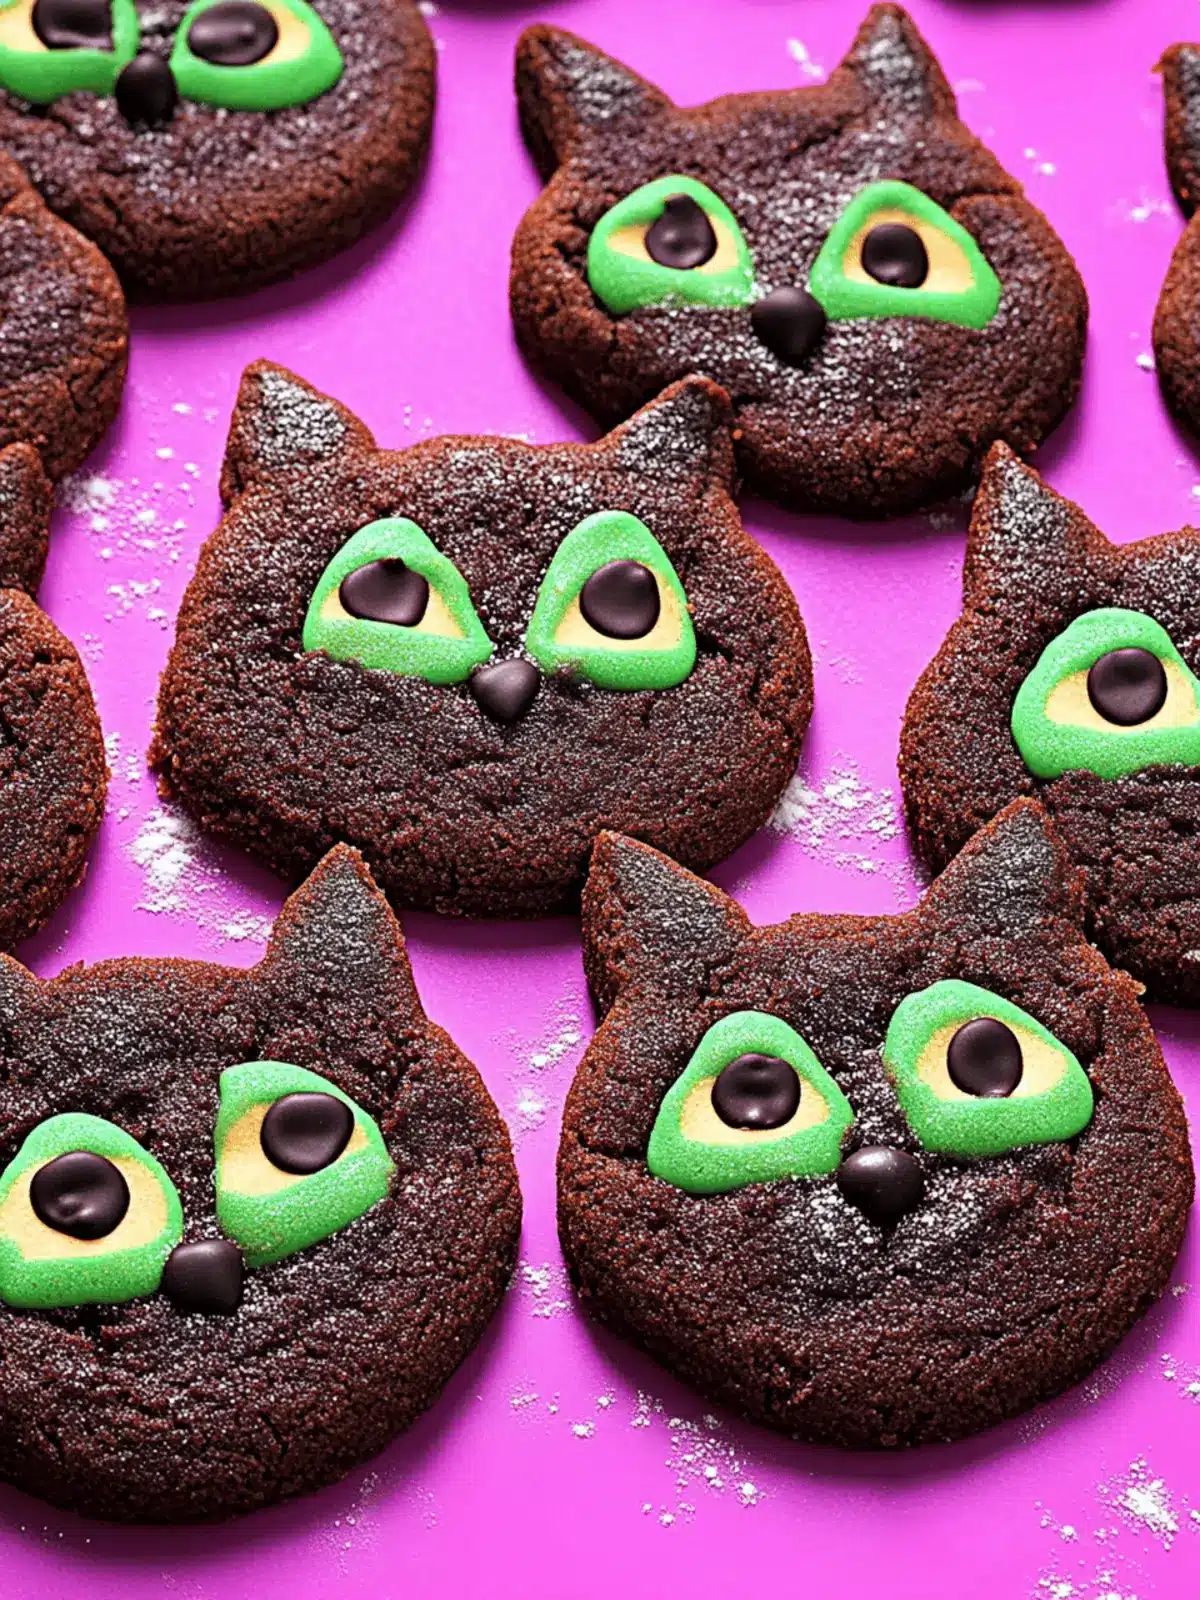
Hocus Pocus Binx Cookies: Chewy Treats for Spooky Celebrations
Ingredients
Equipment
Method
- Preheat your oven to 350°F (177°C) and line your baking sheets with parchment paper.
- In a mixing bowl, whisk together the all-purpose flour, black cocoa powder, baking soda, and kosher salt until fully combined.
- In a large mixing bowl, beat the softened unsalted butter, granulated sugar, and light brown sugar together until light and fluffy.
- Mix in the large egg and pure vanilla extract until well incorporated.
- Gradually add the dry ingredients, stirring gently until just combined.
- Scoop the dough into small balls, roll each in sanding sugar, and place on baking sheets. Top with sliced almonds and M&M's.
- Bake for 10-12 minutes, until edges are slightly crispy and centers are set. Cool before transferring to a wire rack.

