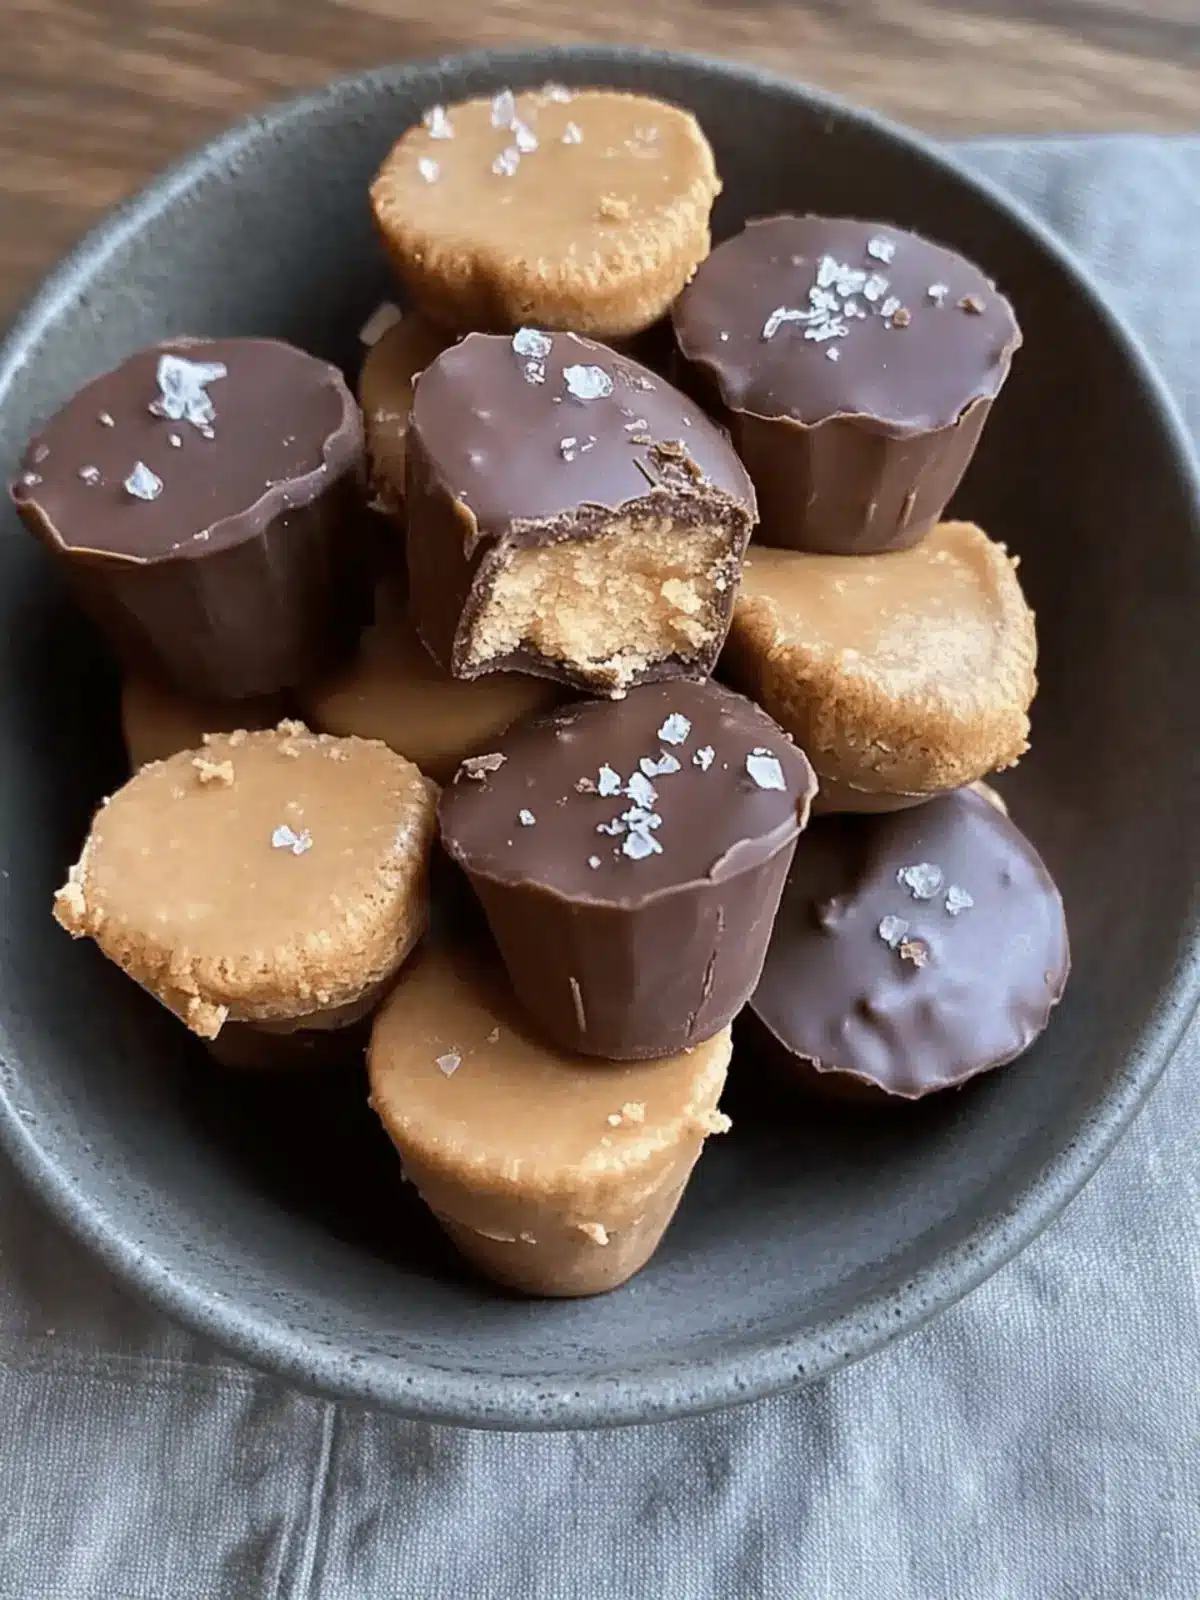
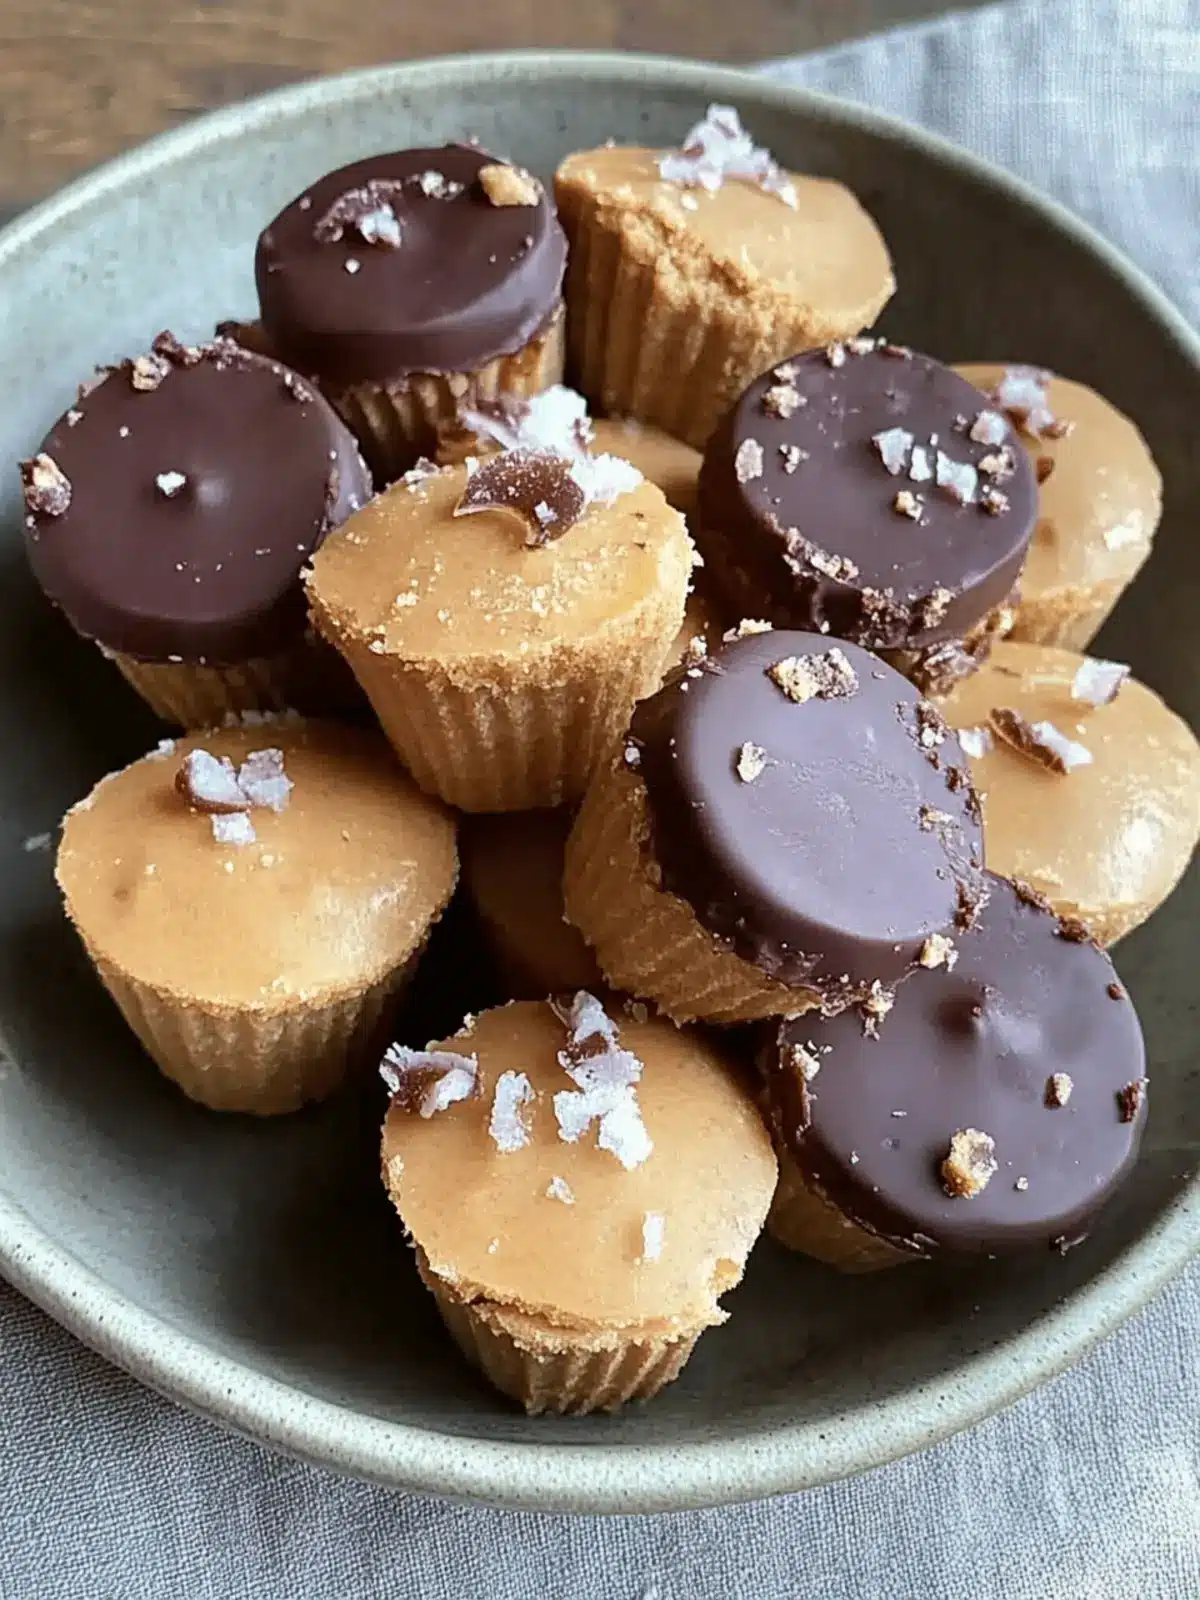
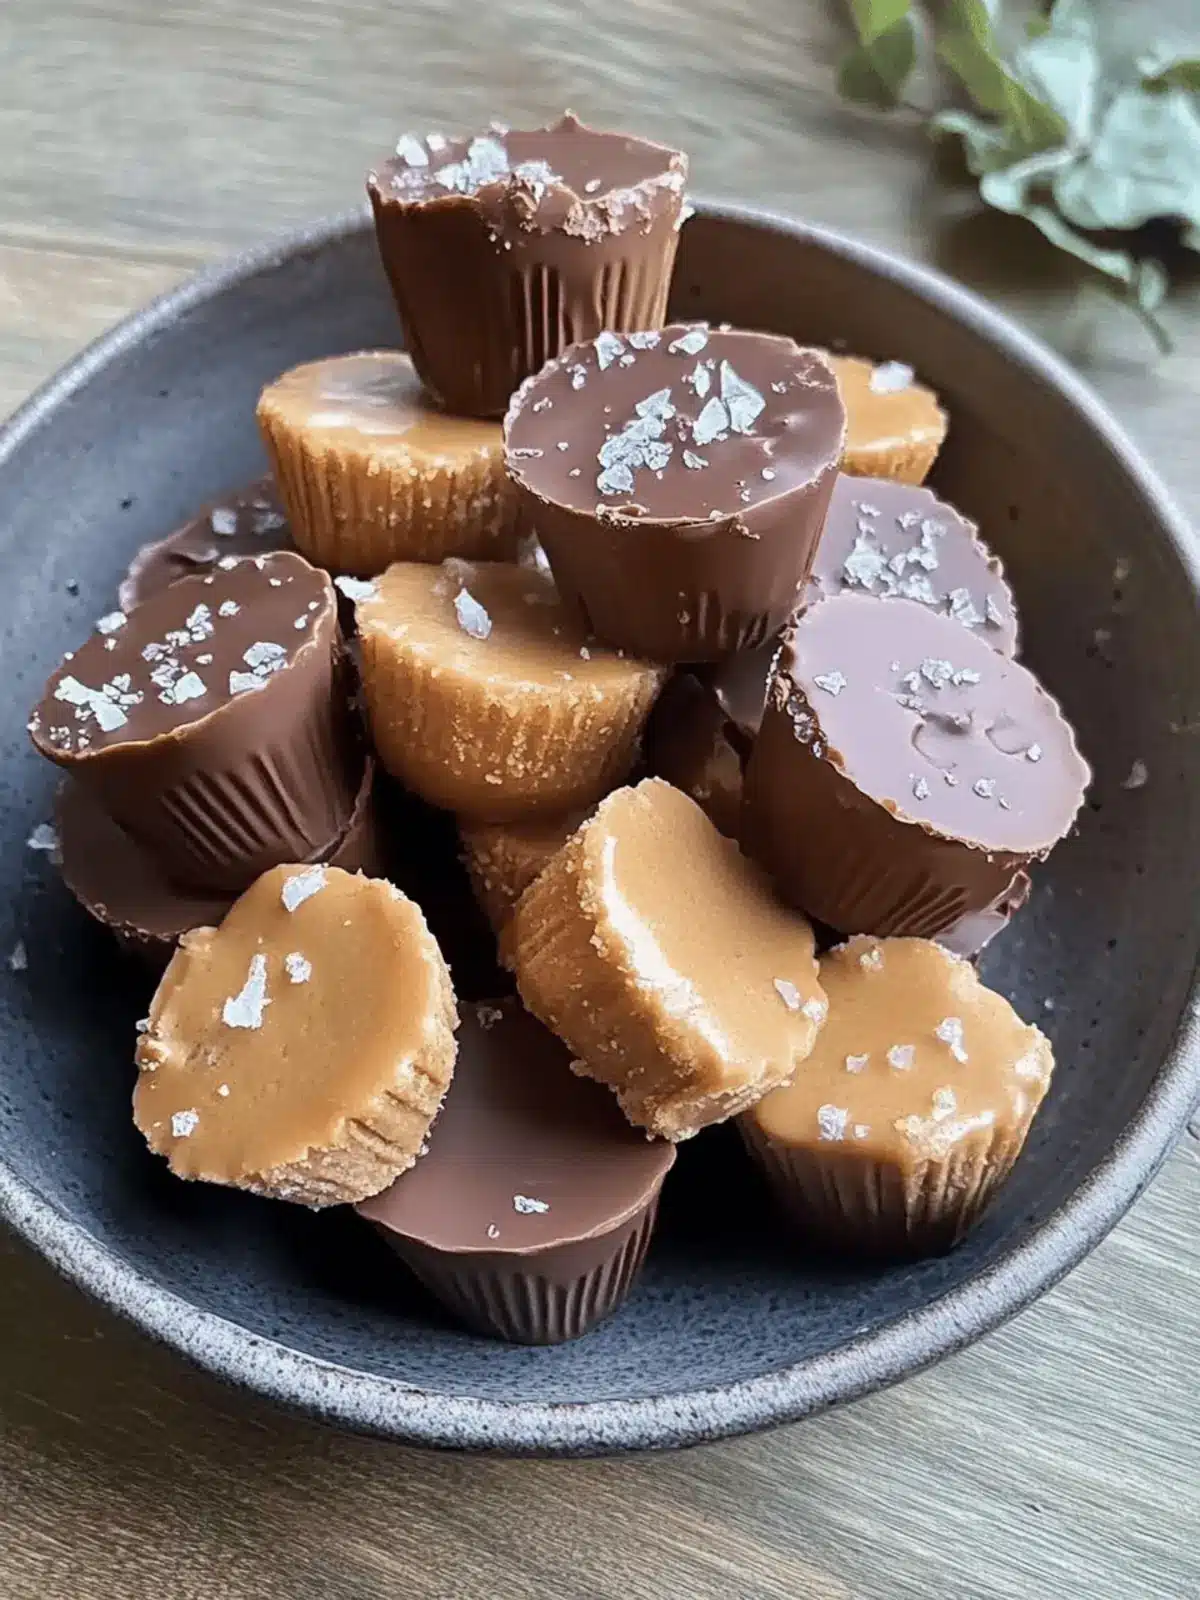
Have you ever found yourself craving a sweet treat that feels indulgent yet aligns perfectly with your healthy lifestyle? These Healthy Twix Cups (Vegan) might just be the answer to all your dessert dilemmas. Picture this: the layered delight of almond flour crust, luscious caramel, and rich chocolate, creating a symphony of flavors and textures.
As I experimented in the kitchen, I realized that this recipe not only satisfied my sweet tooth but also brought the joy of homemade goodness back into my life—something that fast food simply can’t replicate. These cups are ideal for those moments when you want a treat that deserves a spotlight but doesn’t take hours to prepare.
Whether it’s a special occasion or just a Wednesday afternoon, I promise these Vegan Twix Cups will make you smile. Plus, they’re so easy to whip up that you’ll wonder why you ever reached for that store-bought candy. Let’s dive into this deliciousness and create a dessert that’s both wholesome and utterly delightful!
Why love Healthy Twix Cups?
Convenience at Its Core: These Healthy Twix Cups come together in mere minutes, allowing you to indulge without the hassle.
Decadent Flavor: Each layer—from the nutty almond crust to the gooey caramel and rich chocolate—creates a delightful explosion of taste that rivals any traditional candy.
Guilt-Free Indulgence: Made with wholesome ingredients, these vegan treats ensure you enjoy dessert while keeping your health goals intact.
Endless Versatility: Customize them with different nut butters or toppings for a unique twist each time.
Crowd Pleaser: Perfect for parties or snack time, these cups will impress friends and family alike while providing a healthier option.
Don’t forget to check out our tips for other easy vegan desserts that will satisfy your sweet cravings!
Healthy Twix Cups Ingredients
For the Almond Flour Base
• Almond flour – A fantastic low-carb base that gives these cups structure and a nutty flavor.
• Protein powder or coconut flour – Adds density and can enhance the nutritional profile; choose based on your dietary preferences.
• Maple syrup – Provides natural sweetness and acts as a binding agent for that perfect crust texture.
• Olive oil – Keeps the crust moist; can substitute with coconut oil for a richer flavor.
• Vanilla extract – Enhances the overall aroma and taste; a must for that warm sweetness.
• Pinch of salt – Balances the sweetness and amplifies the flavors of the base.
For the Caramel Layer
• Peanut butter or almond butter – Rich and creamy, this nut butter gives the caramel its delightful texture; feel free to use any nut butter you love!
• Maple syrup – Used again here for sweetening the caramel layer; it’s a perfect match for the nutty flavors.
• Olive oil – Helps achieve a silky caramel texture; ensures the caramel spreads evenly over the base.
• Vanilla extract – A splash here brings warmth and richness to the caramel blend.
• Pinch of salt – Elevates the flavor and balances the sweetness of the caramel layer.
For the Chocolate Topping
• Chocolate chips – Go for dairy-free chocolate chips to keep these Healthy Twix Cups vegan and indulgent!
• Olive oil – A hint of olive oil helps the chocolate melt smoothly; it’s great for a glossy finish.
These ingredients come together to create a heavenly treat you can enjoy without any guilt—perfect for satisfying those cravings for something sweet while aligning with a healthy lifestyle!
How to Make Healthy Twix Cups
-
Preheat your oven to 350℉. To ensure your cups come out easily, spray a mini muffin tray with oil or use a silicone muffin tray for a no-fuss release.
-
Combine all the base ingredients in a small bowl using a fork until mixed well. Distribute the mixture into the muffin tray, filling each cup about 1/3 full. Gently press down to create a flat top and bake for 10-12 minutes until golden brown.
-
Whisk together the caramel layer ingredients in a small bowl until smooth. After your base layer has cooled completely, add about 1 tsp of caramel to each cup, spreading it evenly with a small spoon.
-
Melt the chocolate chips with the olive oil over low heat, stirring continuously to prevent burning. Pour the melted chocolate over each cup until filled, then transfer the muffin tray to the freezer for 2 hours to set.
Optional: Top with crushed nuts or a sprinkle of sea salt for an extra flavor boost!
Exact quantities are listed in the recipe card below.
Variations & Substitutions for Healthy Twix Cups
Feel free to switch up ingredients and create your own unique twist on these delightful treats—let your creativity shine!
-
Nut-Free: Substitute almond flour with sunflower seed flour for a nut-free option perfect for allergy-sensitive friends.
-
Sweetener Swap: Use agave syrup instead of maple syrup for a different depth of sweetness while maintaining the vegan aspect.
-
Coconut Flavor: Incorporate shredded coconut into the caramel layer for an extra texture and a tropical vibe.
-
Chocolate Alternatives: Try using dark chocolate or white chocolate chips for a fun flavor change—just ensure they’re dairy-free!
-
Crunchy Twist: Add crushed pretzels on top before freezing for a salty, sweet combination that adds delightful crunch.
-
Fruit Infusion: Blend in a dash of cinnamon or a splash of almond extract for added flavor complexity that brightens each layer.
-
Spicy Kick: Mix a pinch of cayenne pepper into the chocolate topping to awaken your taste buds with a surprising heat.
-
Protein Boost: Replace some of the almond flour with protein powder to enhance the nutritional profile while still maintaining satisfaction.
Each variation brings its own unique charm into these cups, making every batch a delightful surprise! Enjoy experimenting with flavors!
How to Store and Freeze Healthy Twix Cups
Fridge: Store your Healthy Twix Cups in an airtight container in the fridge for up to 5 days. This keeps them fresh while maintaining their delightful layers.
Freezer: For longer storage, place the cups in a single layer in a freezer-safe container. They can be frozen for up to 3 months. Be sure to separate layers with parchment paper.
Thawing: When you’re ready to indulge, remove the cups from the freezer and let them thaw in the fridge for about an hour before enjoying.
Reheating: If you prefer them slightly warm, you can microwave a cup for 10-15 seconds. Enjoy the classic taste of Healthy Twix Cups fresh, as if they were just made!
What to Serve with Healthy Twix Cups?
Imagine a gathering of friends and family, the joy of sharing delicious vegan treats, and the sweet aroma of homemade desserts wafting through the air.
-
Fresh Fruit Salad: Bright, juicy fruits create a refreshing contrast to the rich flavors of the cups, providing a light, healthy balance.
-
Chilled Almond Milk: This creamy drink enhances the nutty undertones of the Healthy Twix Cups while keeping things smooth and indulgent.
-
Coconut Whipped Cream: A dollop of this creamy topping adds a tropical flair and airy texture that beautifully complements each bite.
-
Dark Chocolate Covered Strawberries: These chocolatey bites offer a burst of sweetness, harmonizing the flavors of both desserts perfectly.
-
Matcha Latte: The earthy notes of matcha provide a delightful juxtaposition to the sweet layers, making for a sophisticated pairing.
-
Coconut Macaroons: Chewy and sweet, these coconut delights elevate the experience and embrace the same wholesome spirit of your Healthy Twix Cups.
-
Nutty Granola Parfait: Layered with yogurt or plant-based alternatives, this crunchy treat adds texture and a healthy crunch that pairs well with the rich layers of dessert.
-
Mint Tea: Its refreshing notes cleanse the palate, making each sweet bite feel light and delightful.
Each of these pairings brings a new texture and flavor experience to your table, ensuring a truly memorable occasion!
Make Ahead Options
These Healthy Twix Cups (Vegan) are a fantastic choice for meal prep enthusiasts looking to save time during busy weeks! You can prepare the almond flour base and store it in the refrigerator for up to 3 days before baking. Once baked and cooled, the cups can be assembled by adding the caramel layer and chocolate topping. To maintain their delicious quality, make sure to refrigerate any cups that are assembled, as this helps prevent them from getting too soft. Finally, when ready to indulge, simply let them sit at room temperature for a few minutes before serving to enjoy that perfect textures and flavors. Enjoy the convenience of having these delightful treats ready to go whenever a sweet craving strikes!
Tips for the Best Healthy Twix Cups
-
Use Fresh Ingredients: Ensure your almond flour and nut butters are fresh for the best flavor. Old ingredients can alter the taste and texture.
-
Avoid Overmixing: When combining the base ingredients, mix just until combined. Overmixing can lead to a dense crust rather than a light, fluffy base for your Healthy Twix Cups.
-
Cool Completely: Make sure the almond flour base is completely cool before adding the caramel layer. This prevents melting and ensures each layer sets perfectly.
-
Custom Chocolate: Feel free to experiment with different chocolate types for the topping. Just ensure they are dairy-free for a truly vegan experience!
-
Layer Well: When adding the caramel, make sure it’s spread evenly so that each cup has a consistent flavor in every bite.
-
Freezing Tip: Allow the cups to set in the freezer for the full 2 hours. This allows the layers to meld perfectly and makes them easy to pop out of the tray.
Healthy Twix Cups Recipe FAQs
How do I know if my almond flour is fresh?
Absolutely! The best way to tell if almond flour is fresh is by checking for a pleasant nutty aroma. If it smells off or you notice any dark spots, it’s time to replace it. Always store it in an airtight container in a cool, dark place to maintain its freshness for as long as possible.
What’s the best way to store Healthy Twix Cups?
You can store your Healthy Twix Cups in an airtight container in the fridge for up to 5 days. If you want to keep them longer, lay them in a single layer in a freezer-safe container and separate layers with parchment paper. They can be frozen for up to 3 months!
Can I substitute almond flour with other flours?
Absolutely! While almond flour gives these cups a delightful texture, you can substitute it with oat flour or gluten-free all-purpose flour. Just note that the flavor and texture may slightly change—there’s always room for experimentation in the kitchen!
What if I want to make these gluten-free?
Great question! Luckily, these Healthy Twix Cups already fit a gluten-free diet since they use almond flour. Just ensure that any other ingredients, like your chocolate chips, are labeled gluten-free to keep everything safe for those with sensitivities.
How do I freeze Healthy Twix Cups?
To freeze your Healthy Twix Cups, first, allow them to set completely in the freezer for 2 hours. Then, transfer them to a freezer-safe container in a single layer, separating layers with parchment paper. When you’re ready for a treat, thaw them in the fridge for about an hour, and they’ll be as good as fresh!
Can I give these cups to my dog?
While some ingredients are dog-friendly, it’s best to keep these cups for human consumption only. The chocolate and some nut butters may not sit well with your furry friend. Always check with your vet if you’re unsure about what treats are safe for your pet!
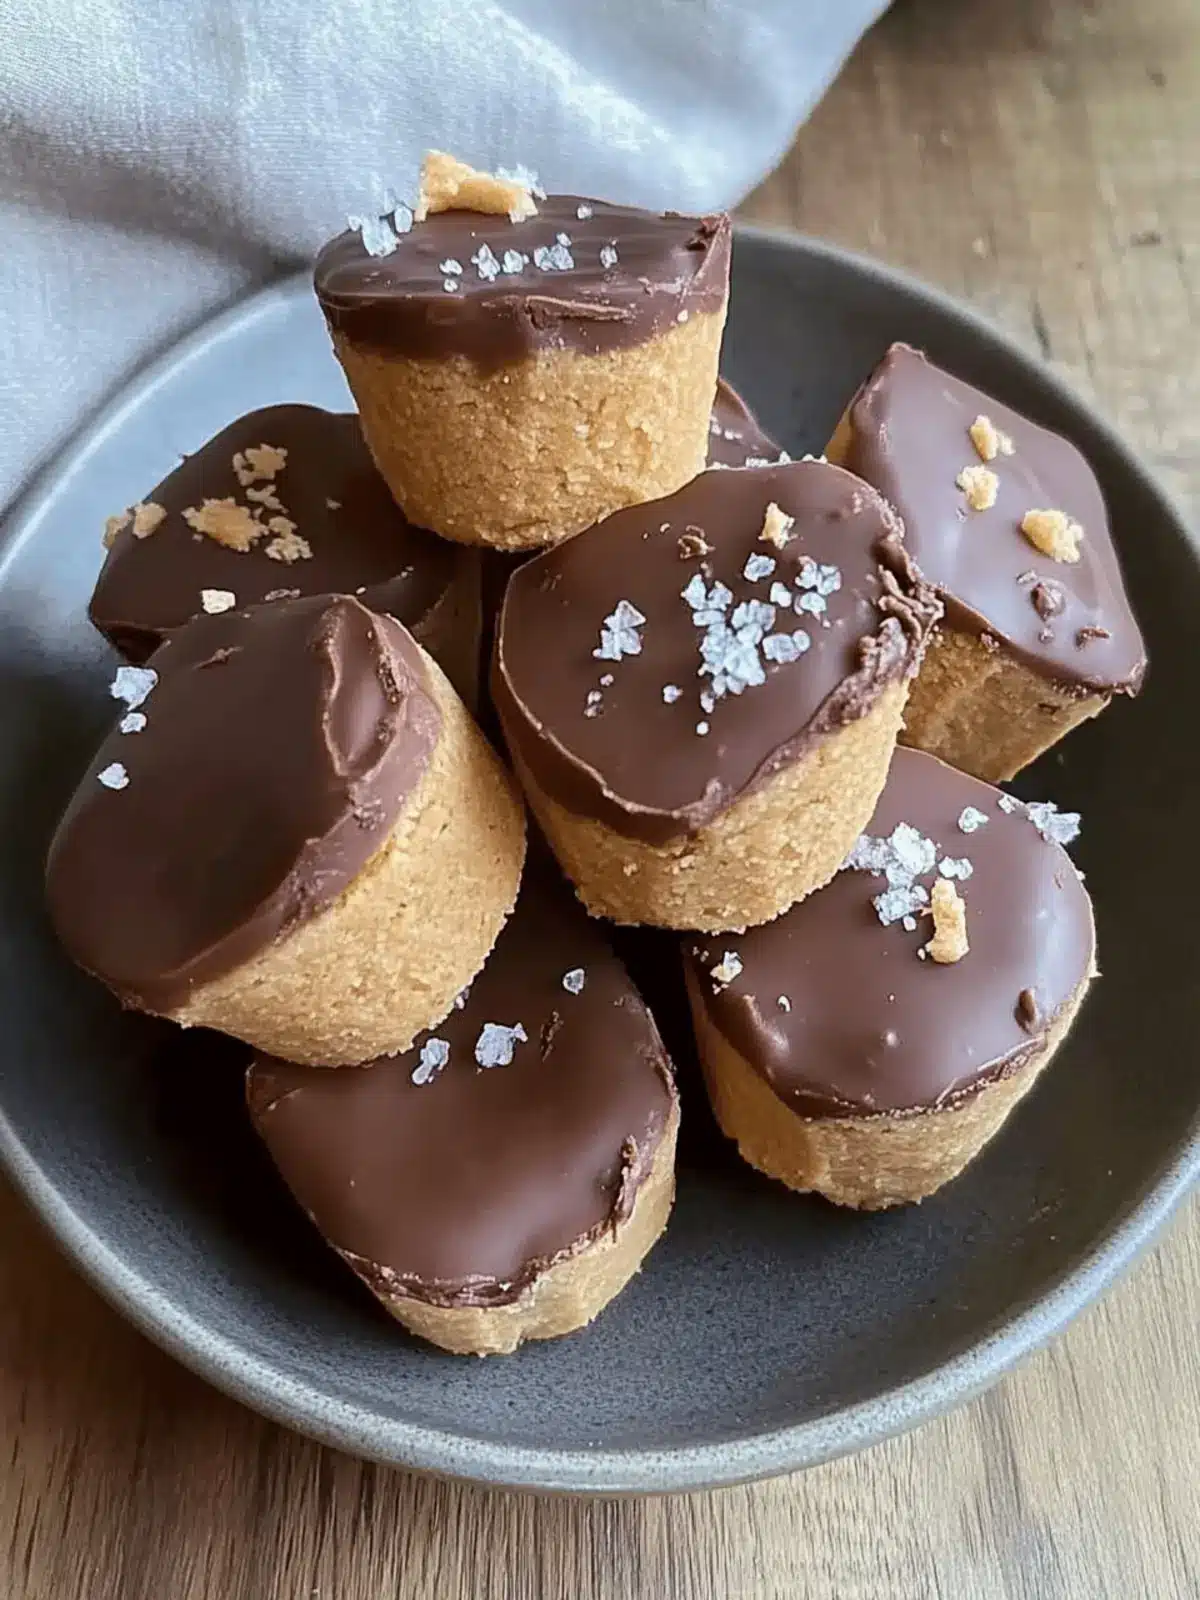
Indulge Guilt-Free with Healthy Twix Cups Vegan Delight
Ingredients
Equipment
Method
- Preheat your oven to 350℉ and grease a mini muffin tray.
- Combine the base ingredients and fill muffin tray, pressing down the mixture. Bake for 10-12 minutes.
- Whisk caramel ingredients until smooth and add to cooled cups.
- Melt chocolate chips with olive oil and pour over each cup. Freeze for 2 hours to set.

