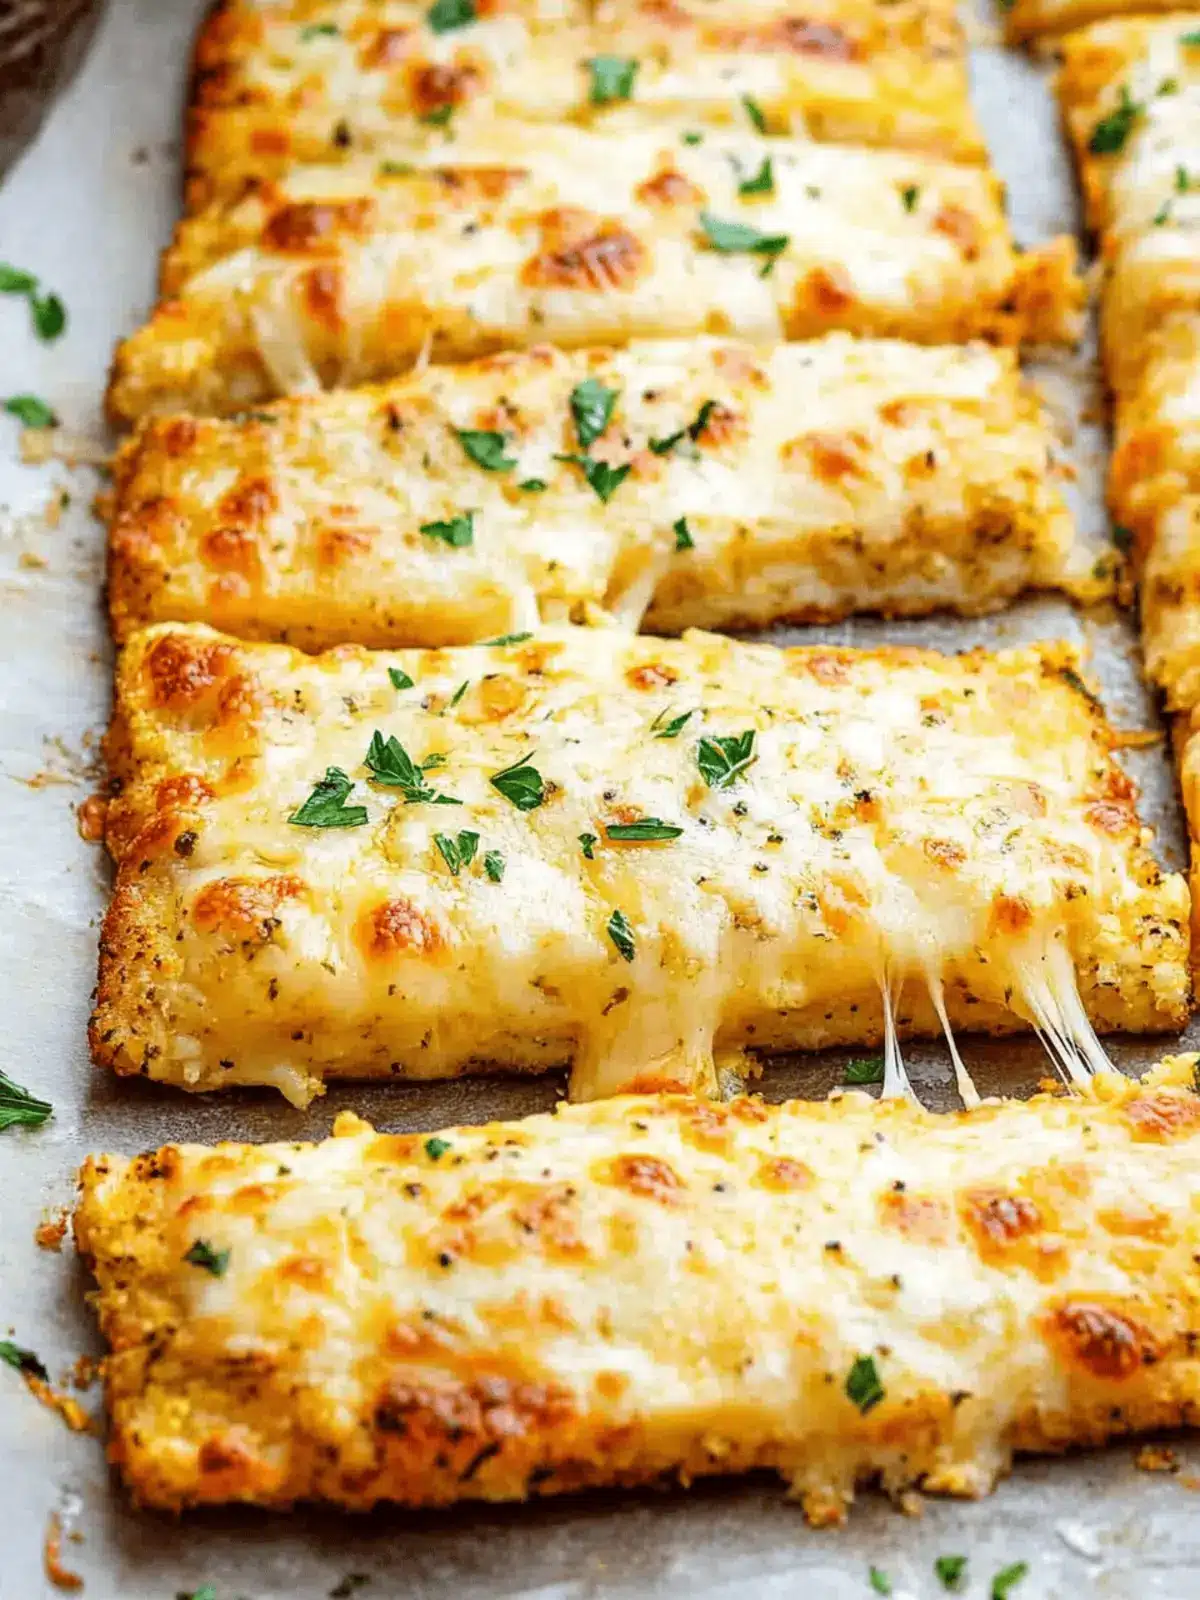
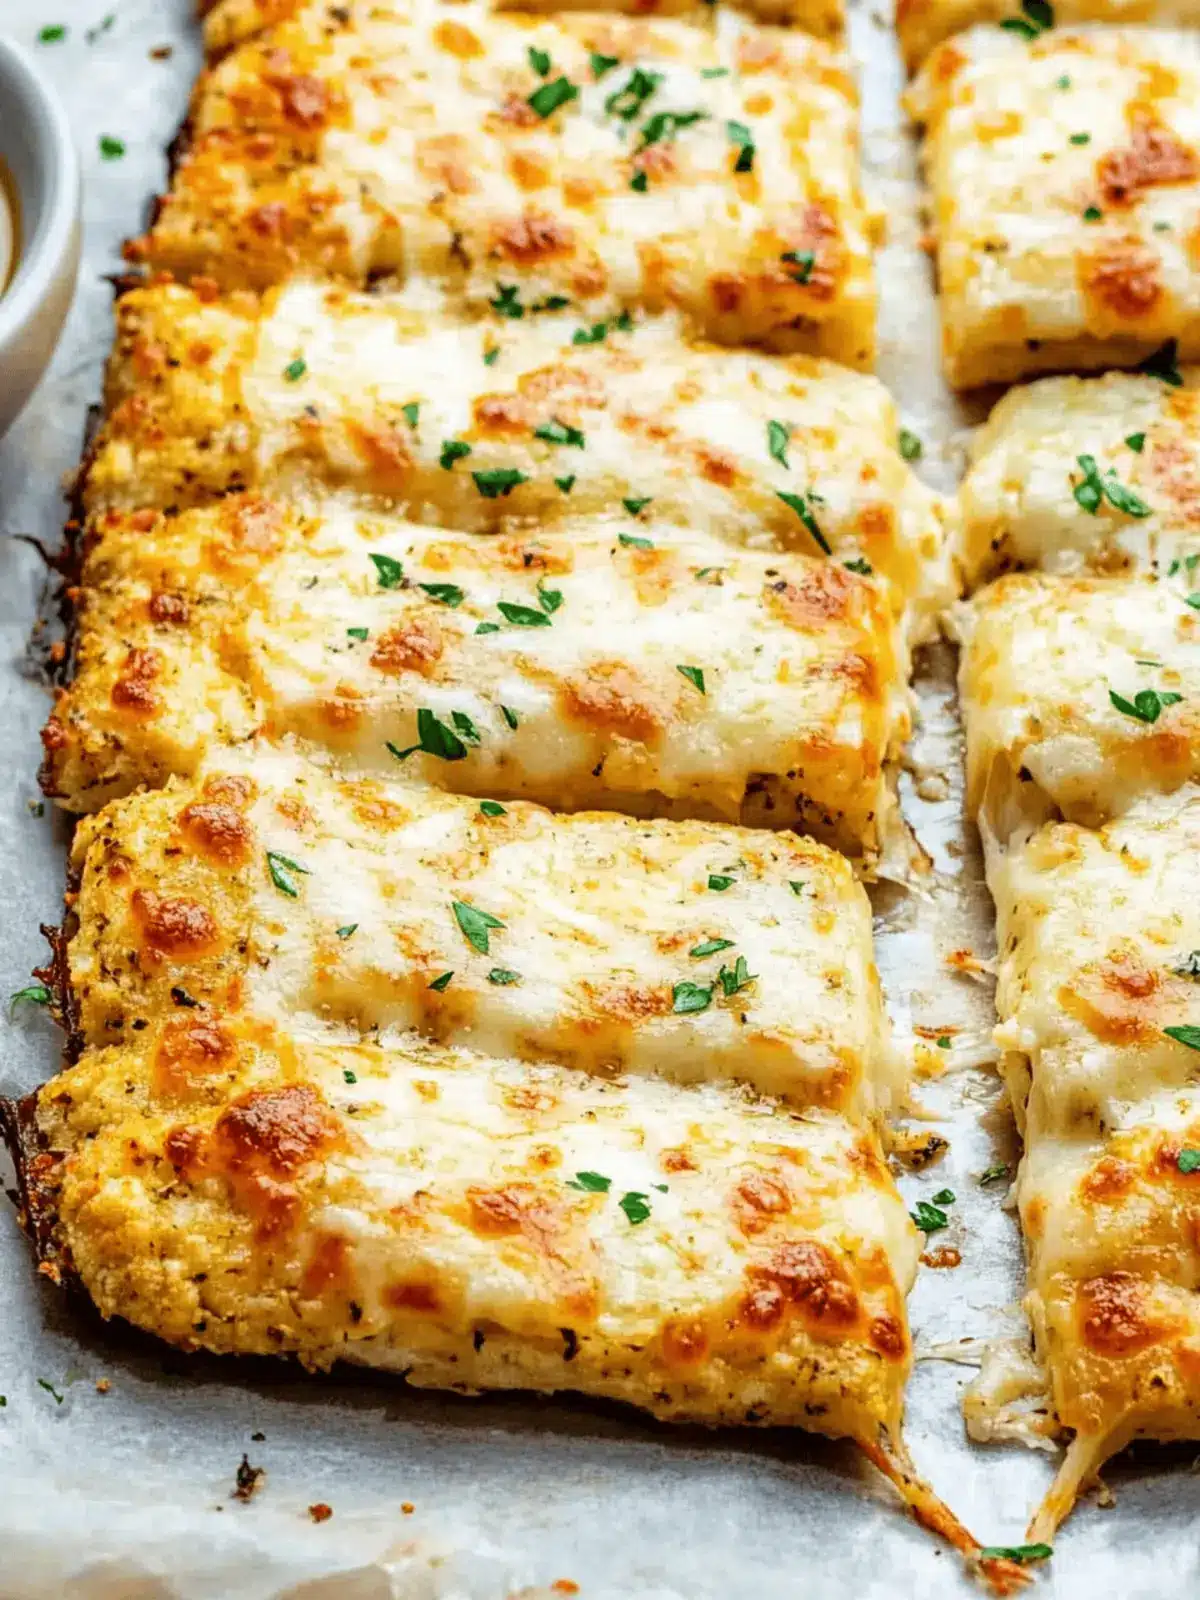
There’s something incredibly satisfying about transforming humble ingredients into a tasty twist on an all-time favorite. Picture this: a golden, cheesy crust fresh out of the oven, perfect for dipping or topping with all your favorites. My journey to discovering Cheesy Cauliflower Breadsticks began as I was seeking a healthier alternative to traditional snacks that wouldn’t leave me feeling guilty.
What I love about this recipe is its versatility. Not only does it deliver that satisfying crunch and melt-in-your-mouth cheesiness, but it also repurposes cauliflower into something truly delightful. It’s the perfect solution for those evenings when you want an indulgent treat without straying too far from healthy eating.
Whether you’re hosting a game night or simply craving something comforting, these breadsticks are sure to please your palate. Let’s dive into this unbelievably easy recipe that might just redefine your approach to snacking!
Why choose Cheesy Cauliflower Breadsticks?
Deliciously Light: These Cheesy Cauliflower Breadsticks offer the guilt-free pleasure of snacking without the heavy calories. Each bite is packed with flavor and satisfaction!
Nomadic Versatility: Perfect as snacks, appetizers, or even a meal, these breadsticks can be customized with your favorite toppings, making them a crowd-pleaser.
Quick and Easy: With just a few simple ingredients and 30 minutes of cooking time, you can whip up a batch in no time.
Healthy Twist: A fantastic alternative for anyone looking to cut carbs while still indulging in cheesy goodness. Enjoy a slice of heaven without compromising your health goals!
Fun for Everyone: Whether you’re cooking for yourself, family, or friends, these breadsticks will elevate any gathering. For more delicious snack ideas, check out my ultimate collection of healthy appetizers.
Cheesy Cauliflower Breadsticks Ingredients
For the Dough
• Cauliflower – 4 cups of riced cauliflower (about 1 large head) provides the base for your gluten-free snack.
• Eggs – 4 large eggs act as a binder, adding protein and helping to hold the dough together.
• Mozzarella Cheese – 2 cups of shredded mozzarella give that irresistible cheesy goodness that makes these breadsticks so delightful.
• Oregano – 3 teaspoons add an aromatic flavor that enhances the overall taste of your Cheesy Cauliflower Breadsticks.
• Garlic – 4 cloves of minced garlic bring a fragrant and savory depth to the dough.
• Salt and Pepper – Use these to taste, enhancing the flavors and elevating the dish.
For Topping
• Mozzarella Cheese – 1 cup more, or extra if desired, for a gooey, melty finish that turns these breadsticks into cheese dreams!
How to Make Cheesy Cauliflower Breadsticks
-
Preheat your oven to 425℉. Prepare two pizza dishes or a large baking sheet with parchment paper to ensure that your breadsticks bake evenly and don’t stick.
-
Process the cauliflower by chopping it into florets. Add the florets to your food processor and pulse until it resembles rice. This forms the base for your delicious breadsticks!
-
Microwave the riced cauliflower in a microwavable container with a lid for 10 minutes. Allow it to cool until there’s no more steam—this helps achieve the perfect texture.
-
Combine the microwaved cauliflower with the eggs, 2 cups of mozzarella, oregano, minced garlic, salt, and pepper in a large bowl. Mix everything together well until you have a cohesive dough.
-
Divide the mixture into two equal parts and transfer each half onto the prepared baking sheets. Shape them into either a pizza crust or rectangular strips for breadsticks.
-
Bake the crusts in your oven for about 25 minutes, or until they turn a beautiful golden brown. This step makes sure your Cheesy Cauliflower Breadsticks are firm and ready for toppings!
-
Top your breadsticks with the remaining 1 cup of mozzarella cheese and return to the oven for an additional 5 minutes. Wait until the cheese is melty and bubbly—it’s the best part!
-
Slice and serve your breadsticks warm. Enjoy the cheesy goodness and cozy flavors that make these snacks irresistible!
Optional: Serve with marinara or your favorite dipping sauce for extra flavor.
Exact quantities are listed in the recipe card below.

What to Serve with Cheesy Cauliflower Breadsticks?
Savor the delightful experience of a full meal that pairs perfectly with your freshly baked breadsticks, created to bring comfort and joy.
-
Garlic Marinara Sauce: A classic companion, this rich tomato sauce enhances the flavors of your breadsticks and invites delicious dipping.
-
Crispy Caesar Salad: A light and refreshing salad brings a crunchy contrast to the warm, cheesy stickiness of the breadsticks, making each bite a delightful experience.
-
Stuffed Peppers: These savory peppers are a hearty option, filled with grains and spices, rounding out your meal beautifully while providing bold flavors.
-
Zucchini Noodles: Light and healthful, these noodles provide a fresh, low-carb alternative that complements the cheesy elements and keeps the meal balanced.
-
Herbed Yogurt Dip: This cool, creamy dip adds a refreshing touch that pairs well with the warm breadsticks, making each bite a flavorful journey.
-
Roasted Vegetable Medley: A colorful array of roasted veggies adds warmth and texture, creating a balanced plate that enhances your cheesy snacks.
-
Sparkling Lemonade: Refreshing and bubbly, this drink complements the savory richness of the breadsticks, brightening your meal with a zesty kick.
-
Chocolate Avocado Mousse: For dessert, this indulgent yet healthy treat adds sweetness and creaminess, providing a satisfying end to your meal.
How to Store and Freeze Cheesy Cauliflower Breadsticks
Fridge: Store leftover Cheesy Cauliflower Breadsticks in an airtight container for up to 3 days. Reheat in the oven for a few minutes to restore their crispy texture.
Freezer: To freeze, wrap the breadsticks tightly in plastic wrap and then place them in a freezer-safe bag. They can be frozen for up to 3 months without losing their deliciousness!
Reheating: For the best results, reheat the frozen breadsticks in the oven at 375℉ for about 15-20 minutes, or until heated through and crispy.
Room Temperature: If you plan to serve the breadsticks immediately, they can be left at room temperature for up to 2 hours. Enjoy them warm for a delightful snack!
Make Ahead Options
These Cheesy Cauliflower Breadsticks are perfect for busy home cooks looking to save time without sacrificing flavor! You can prepare the cauliflower dough up to 24 hours ahead of time. Simply follow the first five steps of the recipe, then cover the mixture tightly and refrigerate it until you’re ready to bake. This helps to keep the flavors fresh while enhancing the texture. When you’re ready to enjoy your breadsticks, shape the mixture and bake them according to the final steps. You’ll achieve deliciously golden and cheesy results with minimal effort, making your weeknight meals a breeze!
Variations & Substitutions for Cheesy Cauliflower Breadsticks
Feel free to get creative with this recipe and add your personal touch that mesmerizes the palate!
-
Dairy-Free: Swap mozzarella for vegan cheese alternatives to enjoy a lactose-free version that still melts beautifully.
-
Herb-Infused: Experiment with fresh herbs like basil or thyme instead of oregano. This twist adds a fragrant layer that elevates every bite.
-
Spicy Variation: Mix in some red pepper flakes for a fiery kick. It’s the perfect way to spice things up if you enjoy a little heat!
-
Veggie-Loaded: Toss in extras like finely chopped spinach or bell peppers for added nutrition and flavor. These vibrant additions bring a burst of color and taste.
-
Gluten Option: If you prefer a more traditional texture, incorporate a small amount of whole wheat flour to the dough. This adds a delightful chewiness that’s satisfying.
-
Nutty Flavor: Add a sprinkle of nutritional yeast to give the breadsticks a cheesy yet nutty flavor. It’s a fantastic, wholesome option that enhances the overall richness.
-
Cheesy Topper: For an extra indulgence, layer on a mix of different cheeses like cheddar or gouda for a complex cheesy bliss that will leave everyone craving more.
-
Smoky Twist: Infuse some smoked paprika into the dough for a unique, smoky flavor that’s both surprising and flavorsome. It’s a delightful way to make your snack stand out!
Tips for the Best Cheesy Cauliflower Breadsticks
-
Cauliflower Prep: Make sure to pulse the cauliflower until it resembles rice. Over-processing can lead to a mushy texture, so keep an eye on it!
-
Cooling Time: Allow the microwaved cauliflower to cool fully. This prevents excess moisture from making your dough wet and sticky.
-
Egg Quantity: The right number of eggs is crucial. Too few can result in crumbly breadsticks, while too many may yield a soggy mess. Four large eggs are just right!
-
Even Baking: Spread the dough evenly on your baking sheet. Uniform thickness ensures that the breadsticks bake evenly—no burnt spots!
-
Cheese Bliss: Don’t skimp on the topping! More mozzarella on top right before the final bake adds extra ooey-gooey deliciousness to your Cheesy Cauliflower Breadsticks.
-
Dipping Delights: Pair these breadsticks with your favorite dipping sauce. Marinara or garlic butter elevate the experience, enhancing the flavors beautifully!

Cheesy Cauliflower Breadsticks Recipe FAQs
How do I select the perfect cauliflower?
Absolutely! When choosing a cauliflower for your Cheesy Cauliflower Breadsticks, look for a head that’s firm and heavy for its size, with tightly packed florets and no dark spots or blemishes. Ideally, the leaves should also be vibrant green, indicating freshness. If you see dark spots all over, it’s best to pass—those are signs of spoilage.
How should I store leftover Cheesy Cauliflower Breadsticks?
Very simple! Place any remaining Cheesy Cauliflower Breadsticks in an airtight container and store them in the refrigerator. They’ll stay fresh for up to 3 days. When you’re ready to enjoy them again, just pop them in an oven preheated to 375℉ for a few minutes to bring back their crispy texture!
Can I freeze Cheesy Cauliflower Breadsticks, and how?
Absolutely! To freeze your breadsticks, wrap each one tightly in plastic wrap to prevent freezer burn. Then, place them in a freezer-safe bag—this way, you can enjoy them later without compromising taste or texture. They can be frozen for up to 3 months. When you’re ready to enjoy, reheat them in the oven at 375℉ for about 15-20 minutes until warmed through and crispy.
What should I do if my breadsticks are soggy?
Common issue! If your Cheesy Cauliflower Breadsticks turn out soggy, it might be due to excess moisture in the riced cauliflower. Make sure to microwave it thoroughly and let it cool completely before mixing it with the other ingredients. If they still feel wet, try baking them a little longer until they firm up. Remember, a thicker layer of dough may also need extra baking time to get that perfect crunch!
Are these breadsticks suitable for a gluten-free diet?
Absolutely! Since the base of these Cheesy Cauliflower Breadsticks is made entirely from cauliflower and eggs, they are naturally gluten-free. However, always check that your ingredients (like mozzarella cheese) are labeled gluten-free, as cross-contamination could occur during processing.
Can I make these breadsticks dairy-free?
Yes, indeed! If you’re looking for a dairy-free version, you can substitute the mozzarella cheese with a dairy-free alternative. There are several brands that offer plant-based mozzarella that melts nicely. Additionally, you might want to increase the flavor by adding nutritional yeast to the mixture for a cheesy flavor profile without dairy.

Cheesy Cauliflower Breadsticks for Guilt-Free Snacking
Ingredients
Equipment
Method
- Preheat your oven to 425℉. Prepare two pizza dishes or a large baking sheet with parchment paper.
- Process the cauliflower by chopping it into florets and pulse until it resembles rice.
- Microwave the riced cauliflower in a microwavable container with a lid for 10 minutes.
- Combine the microwaved cauliflower with the eggs, 2 cups of mozzarella, oregano, minced garlic, salt, and pepper in a large bowl. Mix well.
- Divide the mixture into two equal parts and transfer each half onto the prepared baking sheets.
- Bake the crusts in your oven for about 25 minutes, or until they turn golden brown.
- Top your breadsticks with the remaining 1 cup of mozzarella cheese and return to the oven for an additional 5 minutes.
- Slice and serve your breadsticks warm.


