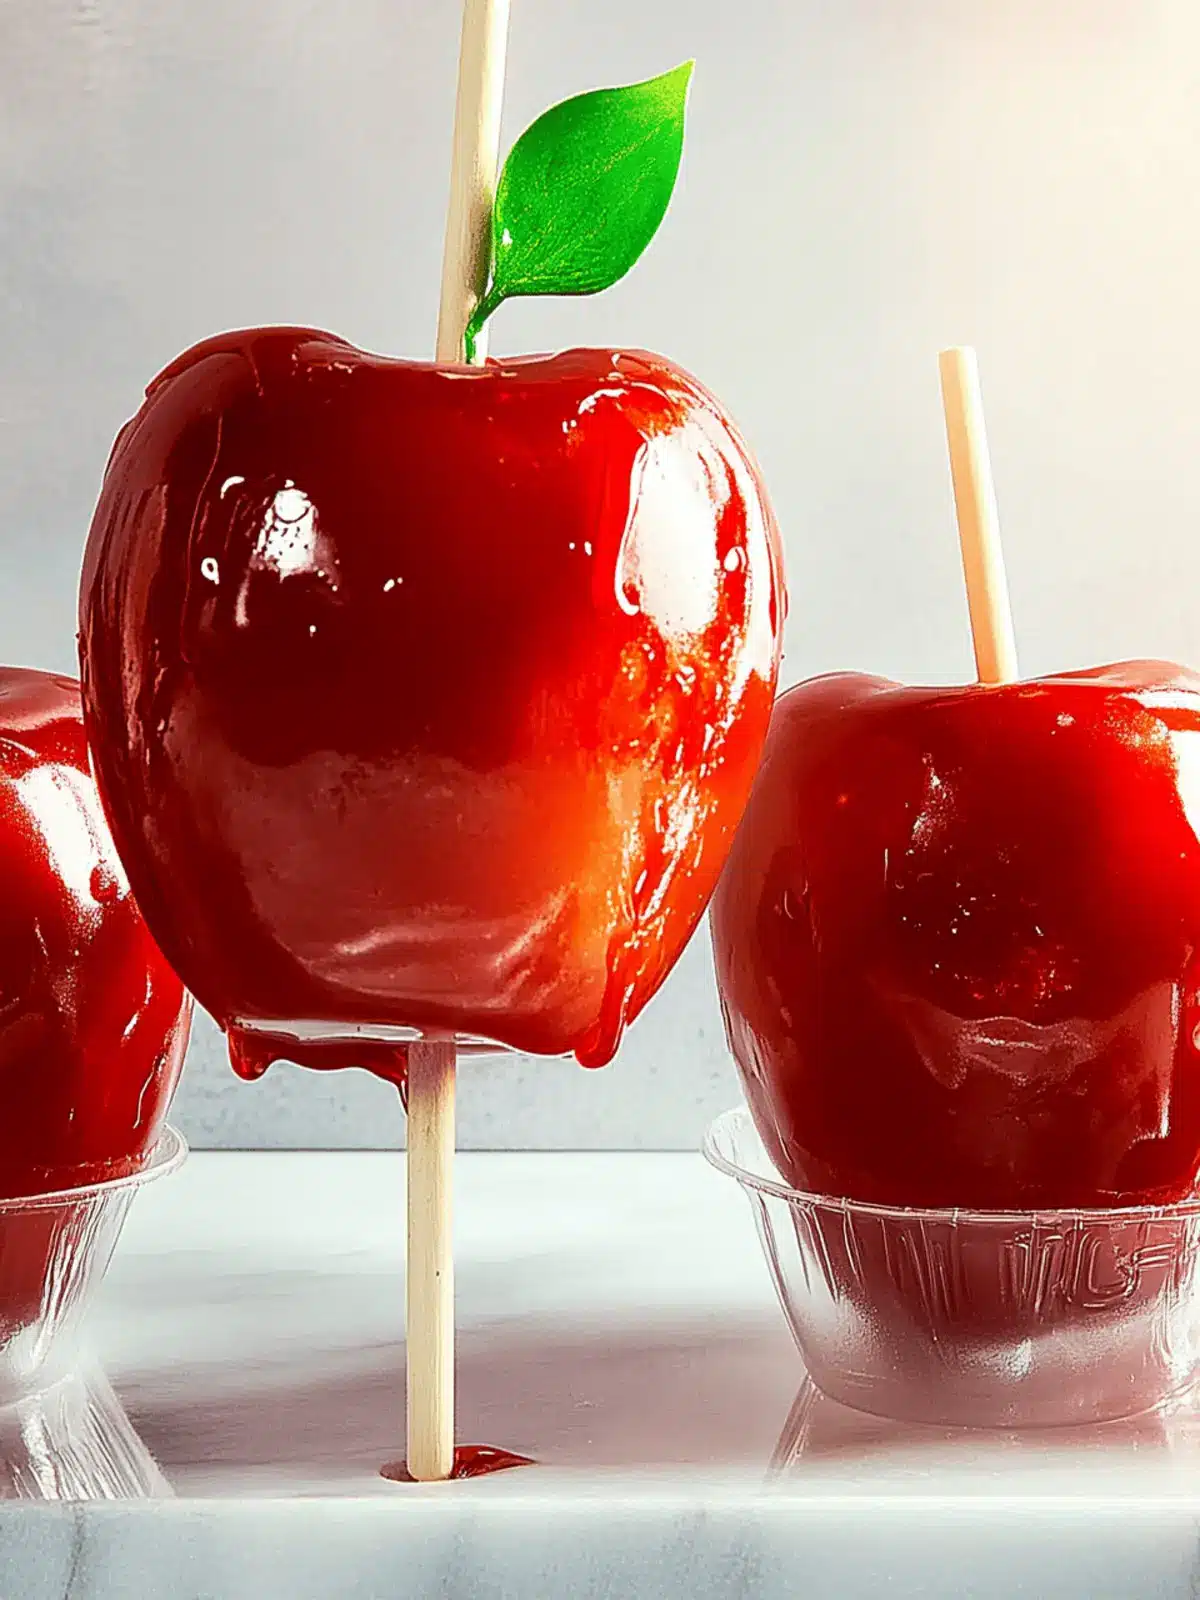
As the leaves begin to turn and the air takes on a crispness that signals autumn’s arrival, I find myself getting swept up in the kitchen, craving the nostalgic treats of my childhood. Nothing captures the essence of this season quite like classic homemade candy apples. The moment I dip a tart Granny Smith apple into a bubbling pot of sugary syrup, I’m transported back to neighborhood Halloween parties, where the glossy red coating was almost as irresistible as the excitement in the air.
In just 30 minutes, you can whip up a batch of these stunning desserts right in your own kitchen. With their crunchy texture and vibrant color, they make for a perfect centerpiece at any fall gathering or festive celebration. Let’s dive into this delightful recipe—because who wouldn’t love a treat that brings a bit of carnival magic home? Grab your wooden sticks, and let’s create some sweet memories!
Why are Candy Apples a must-try?
Nostalgic Appeal: Candy apples evoke warm memories of fall fairs and Halloween nights, making them the perfect treat to share with family and friends.
Quick and Easy: In just 30 minutes, you can create these stunning desserts that look as delightful as they taste.
Versatile Flavor: Choose from tart Granny Smith apples or add a twist with sweeter varieties for your ideal balance of sweet and sour.
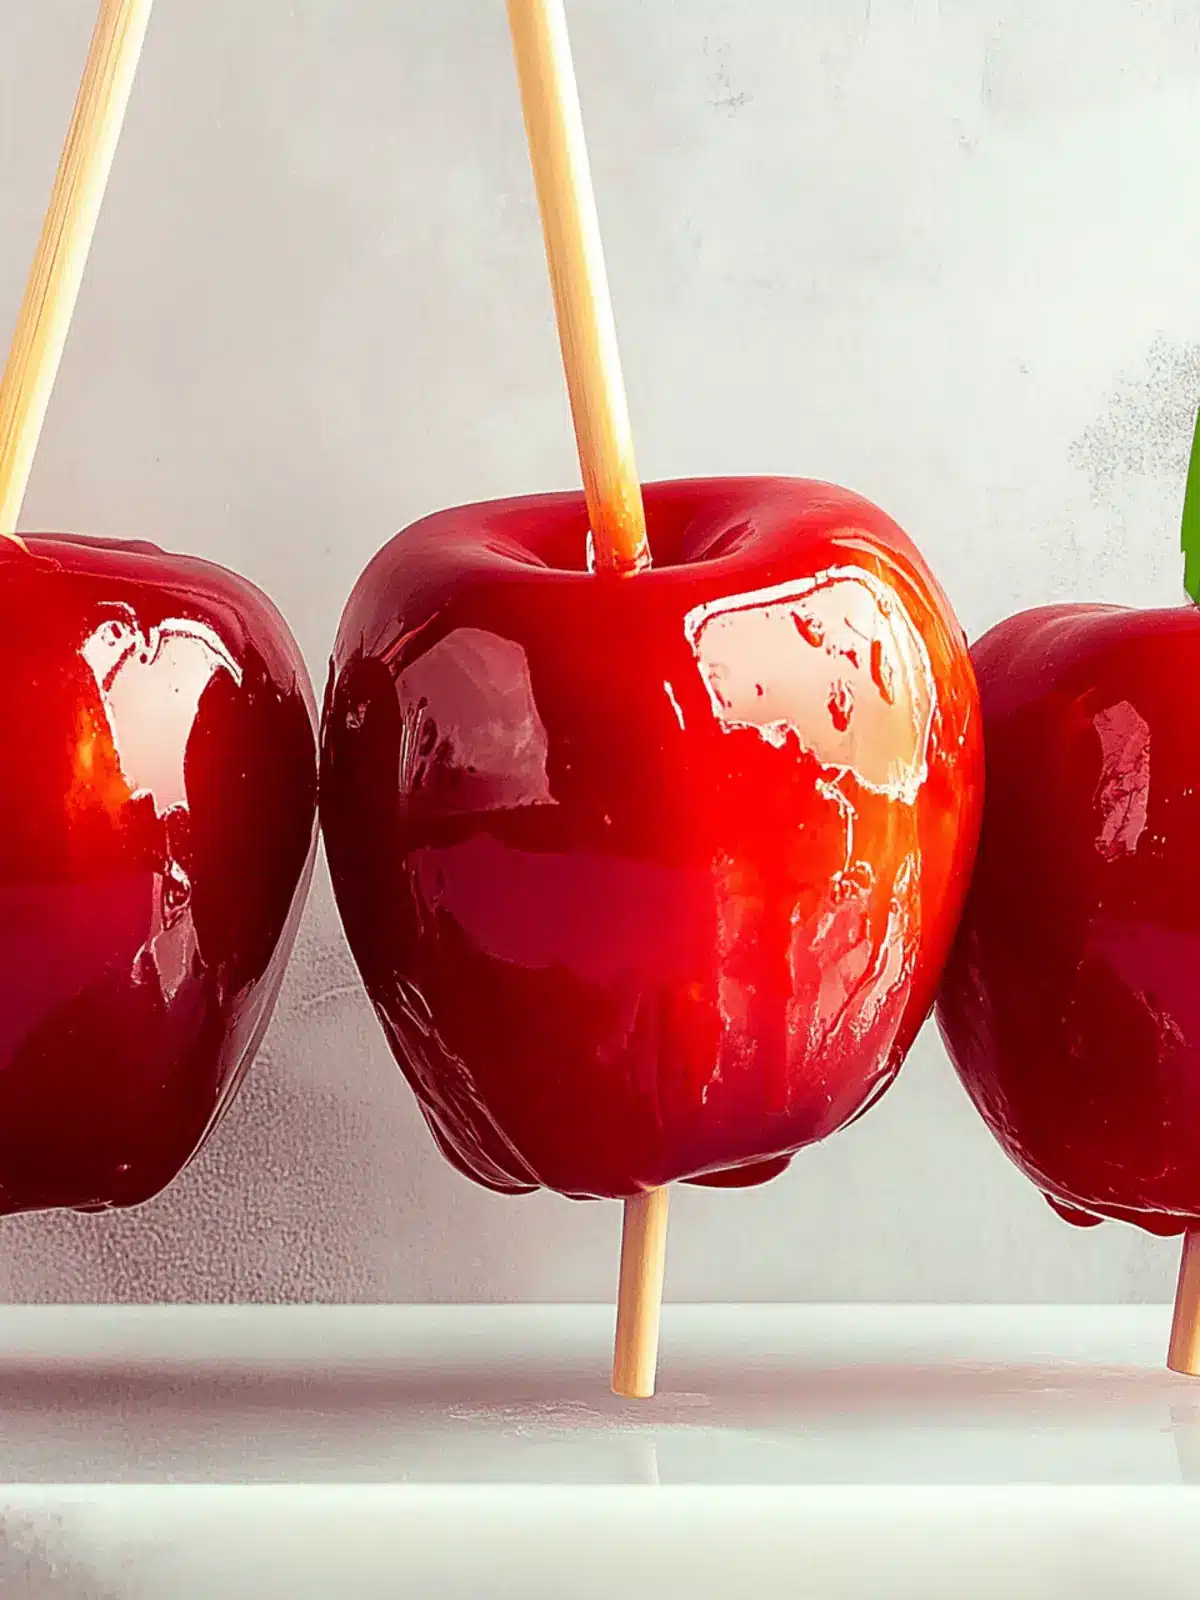
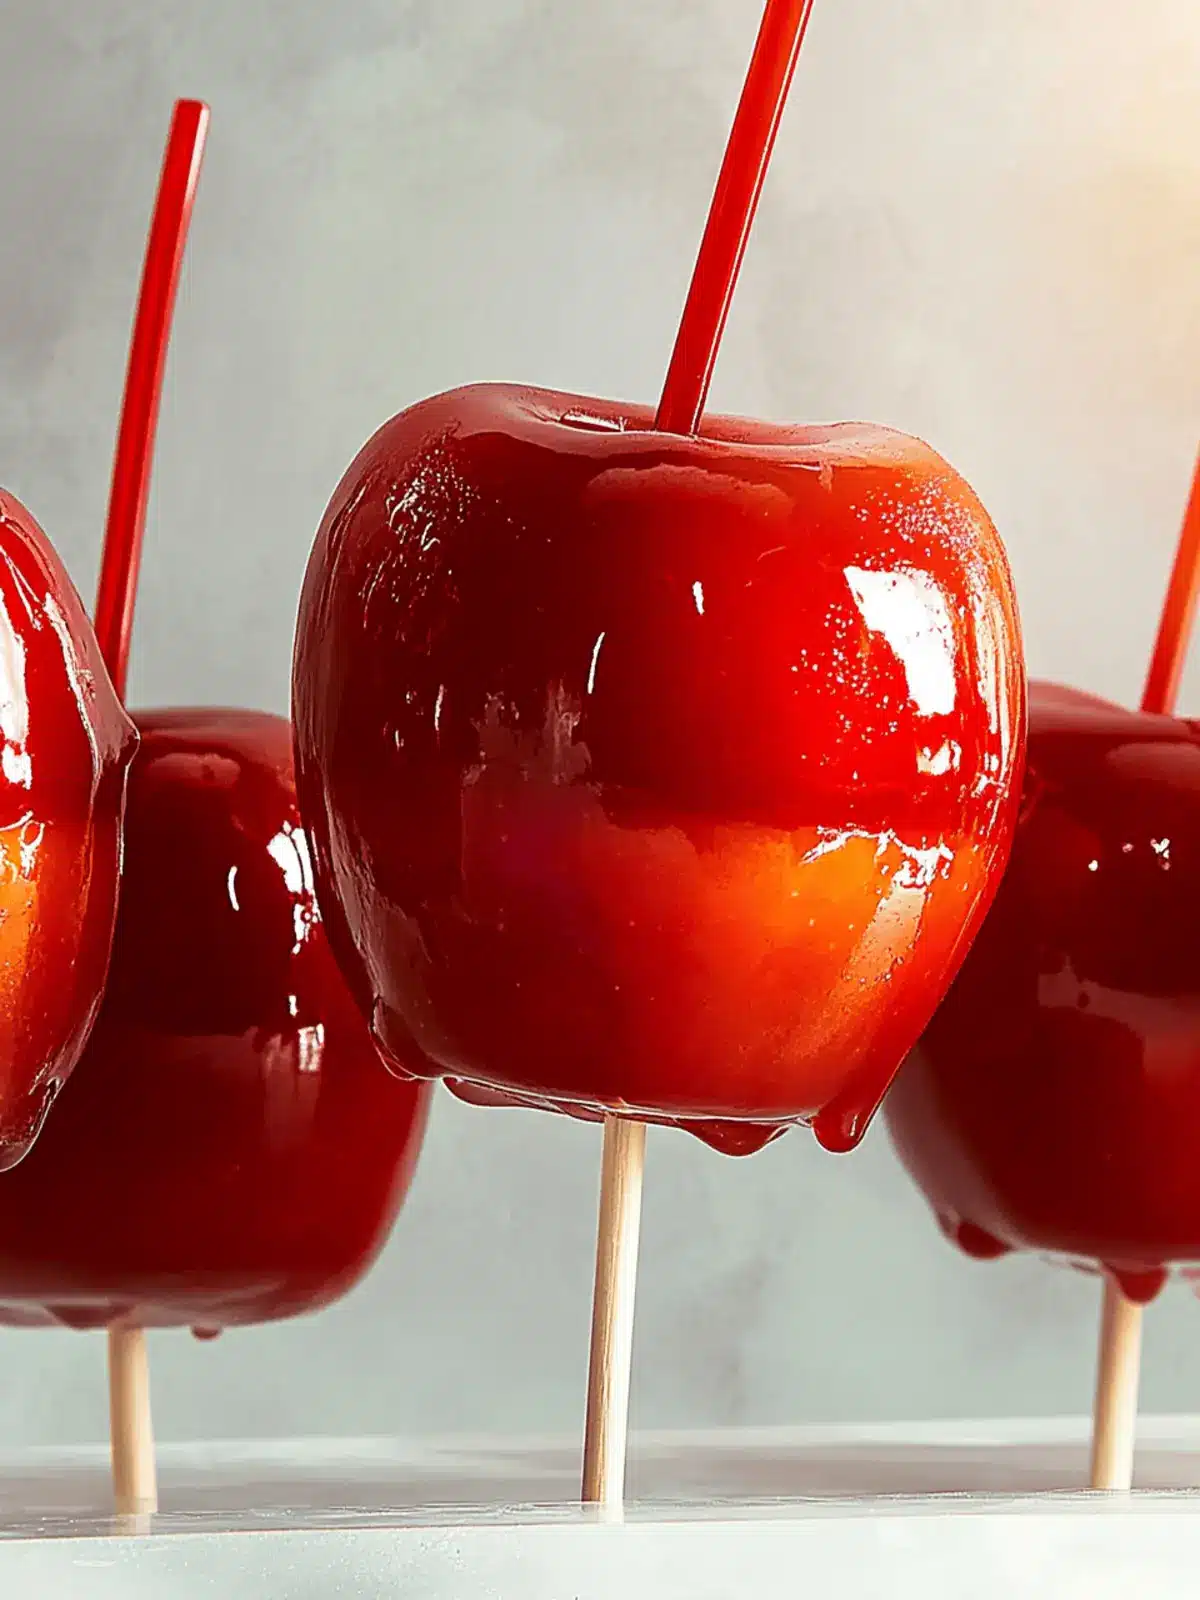
Showstopper Presentation: Their glossy red coating and vibrant color make candy apples an eye-catching centerpiece for any gathering. Consider serving them at parties for that extra festive touch!
Impress with Minimal Effort: With only a handful of ingredients, making candy apples is a straightforward process that even beginner cooks can master—ideal for cozy fall afternoons.
Candy Apples Ingredients
For the Candy Coating
- Granulated Sugar – This is the base of the candy coating; its sweetness balances the tartness of the apples.
- Light Corn Syrup – It adds a glossy finish and helps prevent sugar crystallization; dark corn syrup can be used for deeper flavor.
- Water – A small amount combines with sugar for the syrup; be sure to measure carefully to achieve the right consistency.
- Red Food Coloring – Adds a festive hue to the candy apples; feel free to skip this for a more natural look.
For the Apples
- Granny Smith Apples – Their tart flavor shines through the candy coating; other firm apples like Honeycrisp could also work well.
- Wooden Sticks or Metal Skewers – Perfect for dipping and displaying the apples; ensure they’re sturdy enough for a good grip.
Essential Tools
- Candy Thermometer – Vital for ensuring the syrup reaches the correct temperature, guaranteeing a perfectly hard candy shell.
- Baking Sheet – Needed for cooling the dipped candy apples; lining it with parchment paper prevents sticking.
- Cooking Spray – Use to grease your baking sheet and parchment; will help keep the candy apples from adhering during cooling.
With these simple ingredients, your homemade candy apples will not only capture the essence of fall but also delight anyone who lays eyes (and taste buds) on them!
How to Make Candy Apples
-
Prepare the Baking Sheet: Start by greasing a baking sheet with cooking spray, then line it with parchment paper. Give the parchment a quick spray too, preventing any sticky situations later on!
-
Skewer the Apples: Take your Granny Smith apples and insert a long wooden stick into each apple from the stem end, pushing it about halfway down to secure the stick—this is crucial for easy dipping!
-
Make the Candy Coating: In a heavy-bottomed medium pot, combine the granulated sugar, light corn syrup, red food coloring, and 3/4 cup of water. Heat the mixture over medium-high until it reaches a rolling boil, then keep cooking until the syrup hits the “hard crack” stage (300°-310°F), which takes about 15-20 minutes—be sure to use that candy thermometer!
-
Dip the Apples: Once your syrup is ready, carefully remove the pot from heat. Allow the bubbles to settle for a moment, then quickly dip each apple into the syrup, ensuring they are fully coated! Place each one on the prepared baking sheet.
-
Cool the Apples: Allow the coated candy apples to stand undisturbed until they are completely cooled and the coating is set, which typically takes around 30 minutes.
Optional: Drizzle with melted chocolate after cooling for an extra delicious twist!
Exact quantities are listed in the recipe card below.
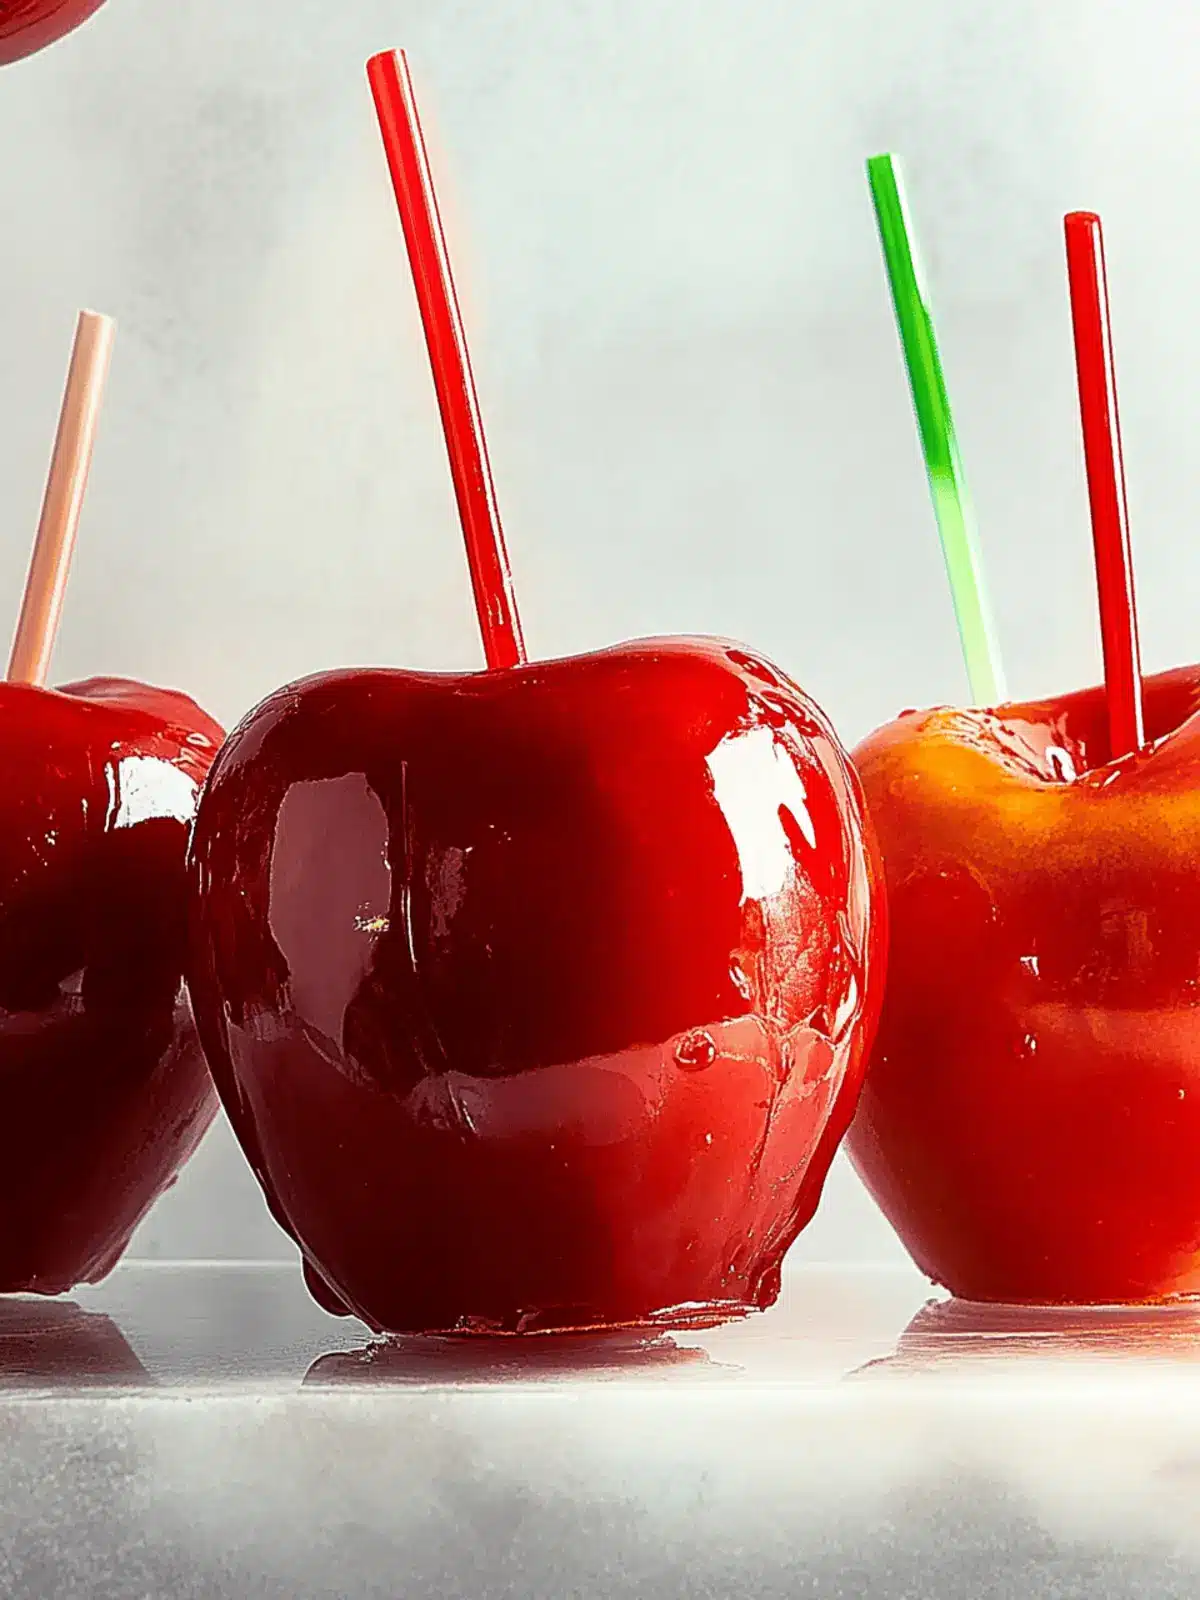
Candy Apples Variations
Feel free to get creative and tailor this classic treat to your liking; the possibilities are as sweet as the candy coating!
-
Sweeter Apples: Swap Granny Smith for Fuji or Gala apples for a delightfully sweeter twist that kids will love.
-
Colorful Coating: Use vibrant food coloring alternatives, like natural beet juice or spirulina, to add festive hues for different occasions. A rainbow of colors can brighten any gathering!
-
Chocolate Drizzle: After cooling, drizzle melted chocolate over your candy apples for an indulgent twist. This adds a rich, creamy flavor that beautifully complements the sweet crunch.
-
Nut Topping: Roll the dipped apples in crushed nuts like almonds or pecans for a satisfying crunch and nutty flavor that adds texture and delight.
-
Spiced Sugar: Mix cinnamon or pumpkin spice into your sugar before cooking for a warm, spicy flavor profile that perfectly matches the fall season.
-
Caramel Layer: Before dipping in the candy coating, give your apples a layer of caramel for that delicious caramel apple hybrid. Softness inside pairs beautifully with crunchy candy.
-
Heat Sensitive: For a spicy kick, add a few drops of cayenne pepper or chili powder to the candy coating. The heat contrasts beautifully with the sweetness!
Create your ideal candy apples and enjoy experimenting with these fun variations for a truly personalized fall treat!
Make Ahead Options
These candy apples are perfect for meal prep enthusiasts looking to save time during the busy fall season! You can prepare the apples and skewer them up to 24 hours in advance. Simply wash and dry your Granny Smith apples, skewer them, and store them in the refrigerator covered lightly with plastic wrap to maintain their freshness. When you’re ready to create your delightful candy apples, simply make the candy coating, dip the prepared apples, and let them cool for about 30 minutes. This way, you can enjoy these nostalgic treats with minimal effort while still serving up that bring-back-memories flavor!
What to Serve with Candy Apples?
Imagine extending the joy of your homemade candy apples with delightful pairings that enhance the whole experience.
-
Creamy Caramel Dip: This rich and velvety dip adds a luxurious touch, perfectly balancing the tart apple crispness with its sweet, buttery flavor.
-
Warm Cinnamon Doughnuts: Fluffy and warmly spiced, doughnuts offer a cozy fall vibe, inviting bites of sweetness that complement the crunchy candy apple texture.
-
Fresh Fruit Salad: A vibrant medley of seasonal fruits brings freshness to the table, providing a delightful contrast to the candy apples’ sugary coating.
-
Spiced Apple Cider: Warm, spiced cider warms the soul and complements the nostalgic flavors of the candy apples—it’s like a hug in a mug!
-
Chocolate Drizzle: A simple drizzle of melted chocolate on your candy apples intensifies the sweetness while adding an elegant touch; it’s an irresistible combo that’s hard to resist!
-
Cheese Platter: A selection of sharp cheeses adds an unexpected savory balance to the sweetness, inviting a delightful contrast that elevates your gathering.
For a dreamy fall evening, these pairings will transform your candy apples from a mere treat into a complete celebration, making every bite a cherished moment.
Expert Tips for Candy Apples
-
Temperature Check: Use a candy thermometer to ensure the syrup reaches the hard crack stage; undercooking leads to a gooey coating, while overcooking can burn the sugar.
-
Apples Matter: Choose firm, tart apples like Granny Smith for the best contrast with the sweet candy coating, but don’t be afraid to experiment with other varieties if you prefer a sweeter bite.
-
Cooling Time: Avoid touching the apples as they cool. Disturbing them before the coating sets can lead to unsightly cracks or peeling of the candy.
-
Color Fun: While red food coloring makes for a classic candy apple, you can customize the look with different colors to match any occasion or holiday theme.
-
Storing Tips: To keep your candy apples fresh, store them in an airtight container away from humidity, which can soften the candy coating.
How to Store and Freeze Candy Apples
Fridge: Store candy apples in the refrigerator for up to 3 days in an airtight container to preserve their freshness and prevent moisture from softening the candy coating.
Room Temperature: If you’re serving them within a day or two, candy apples can be kept at room temperature in a cool, dry place away from direct sunlight.
Freezer: Freezing is not recommended as it can affect the texture of the candy coating and the apple. Enjoy your candy apples fresh for the best experience!
Reheating: If you’re storing for a short time, there’s no need to reheat. Simply allow them to come to room temperature before serving for that perfect crunch!
Candy Apples Recipe FAQs
What type of apples work best for candy apples?
Absolutely! Tart Granny Smith apples are the classic choice due to their firm texture and sharp flavor, which balances perfectly with the sugary coating. If you prefer a sweeter profile, Honeycrisp or Fuji apples are also great alternatives. Just make sure to use apples that are crisp and firm for optimal results.
How should I store my candy apples?
To keep your candy apples fresh, store them in an airtight container and place them in the refrigerator for up to 3 days. This helps maintain their crunchiness and prevents the candy coating from becoming sticky. If you plan to serve them within a day or two, you can also keep them at room temperature in a cool, dry place.
Can I freeze candy apples?
It’s best not to freeze candy apples. Freezing can alter the texture of both the apple and the candy coating, leading to a less enjoyable experience. For the best taste and texture, enjoy your candy apples fresh! If you’ve made extra, keeping them stored in the fridge is the way to go.
What should I do if my candy coating is too hard?
If you’ve found that your candy coating is too hard, it likely means it has been cooked for too long. To troubleshoot this, if you catch the error before dipping your apples, you can try adding a few tablespoons of water and gently reheating it while stirring until it reaches a softer, more workable consistency. Keeping a close eye on the temperature next time will help prevent this issue!
Are candy apples safe for kids?
While candy apples are fun and festive treats, be mindful of the potential choking hazard posed by the wooden sticks, especially for younger children. Always supervise kids while they’re enjoying their candy apples, and consider cutting the apples into slices for a safer, bite-sized treat that still retains the candy topping!
Can I customize the color of my candy apples?
Very! While classic candy apples are traditionally red, you can absolutely personalize them using various food coloring. Just mix in a few drops to achieve your desired hue, whether it’s green for a spooky Halloween vibe or any color that matches your festive gatherings. Enjoy being creative with this delightful treat!
Candy Apples: A Simple Treat to Captivate Your Fall Gatherings
Ingredients
Equipment
Method
- Prepare the Baking Sheet: Grease a baking sheet with cooking spray, then line it with parchment paper and spray the parchment.
- Skewer the Apples: Insert a stick into each apple from the stem end, pushing it halfway down.
- Make the Candy Coating: In a pot, combine sugar, corn syrup, red food coloring, and water. Heat until a rolling boil is achieved and the syrup reaches hard crack stage (300°-310°F).
- Dip the Apples: Remove the pot from heat and quickly dip each apple into the syrup, ensuring they are fully coated.
- Cool the Apples: Allow the coated apples to cool undisturbed until the coating is set, about 30 minutes.

