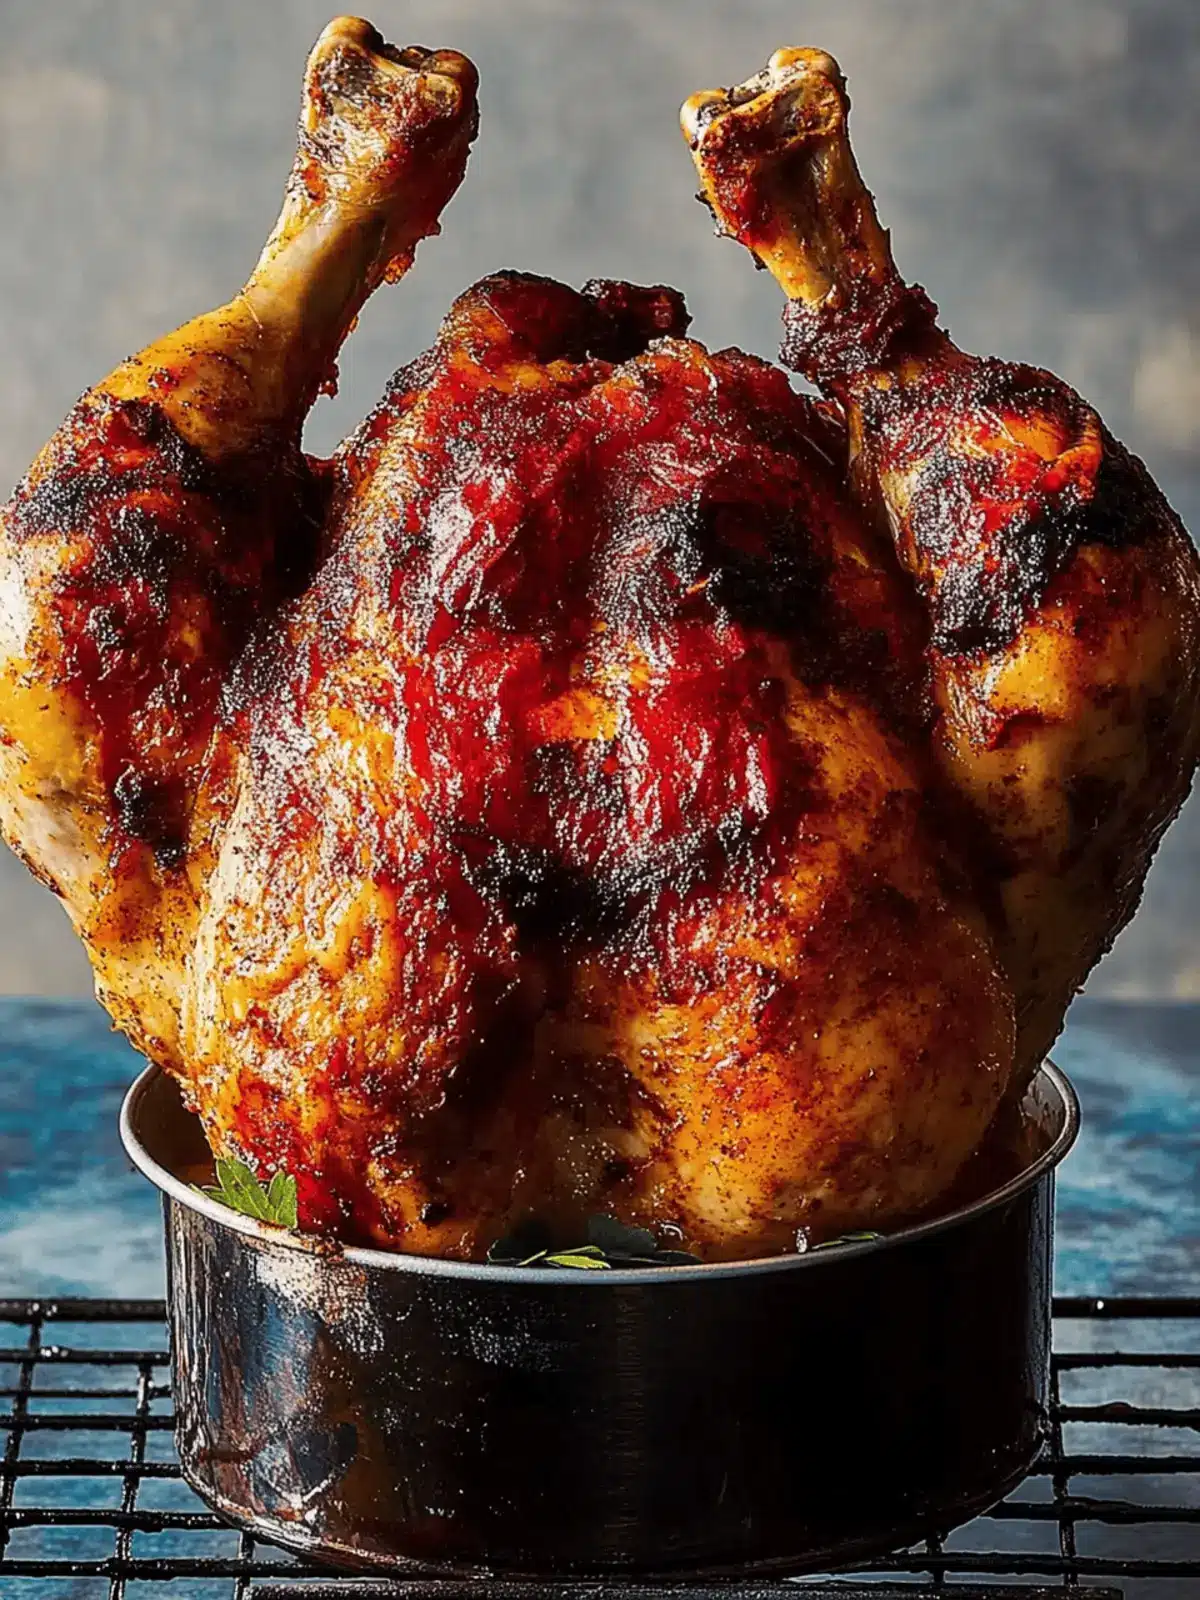
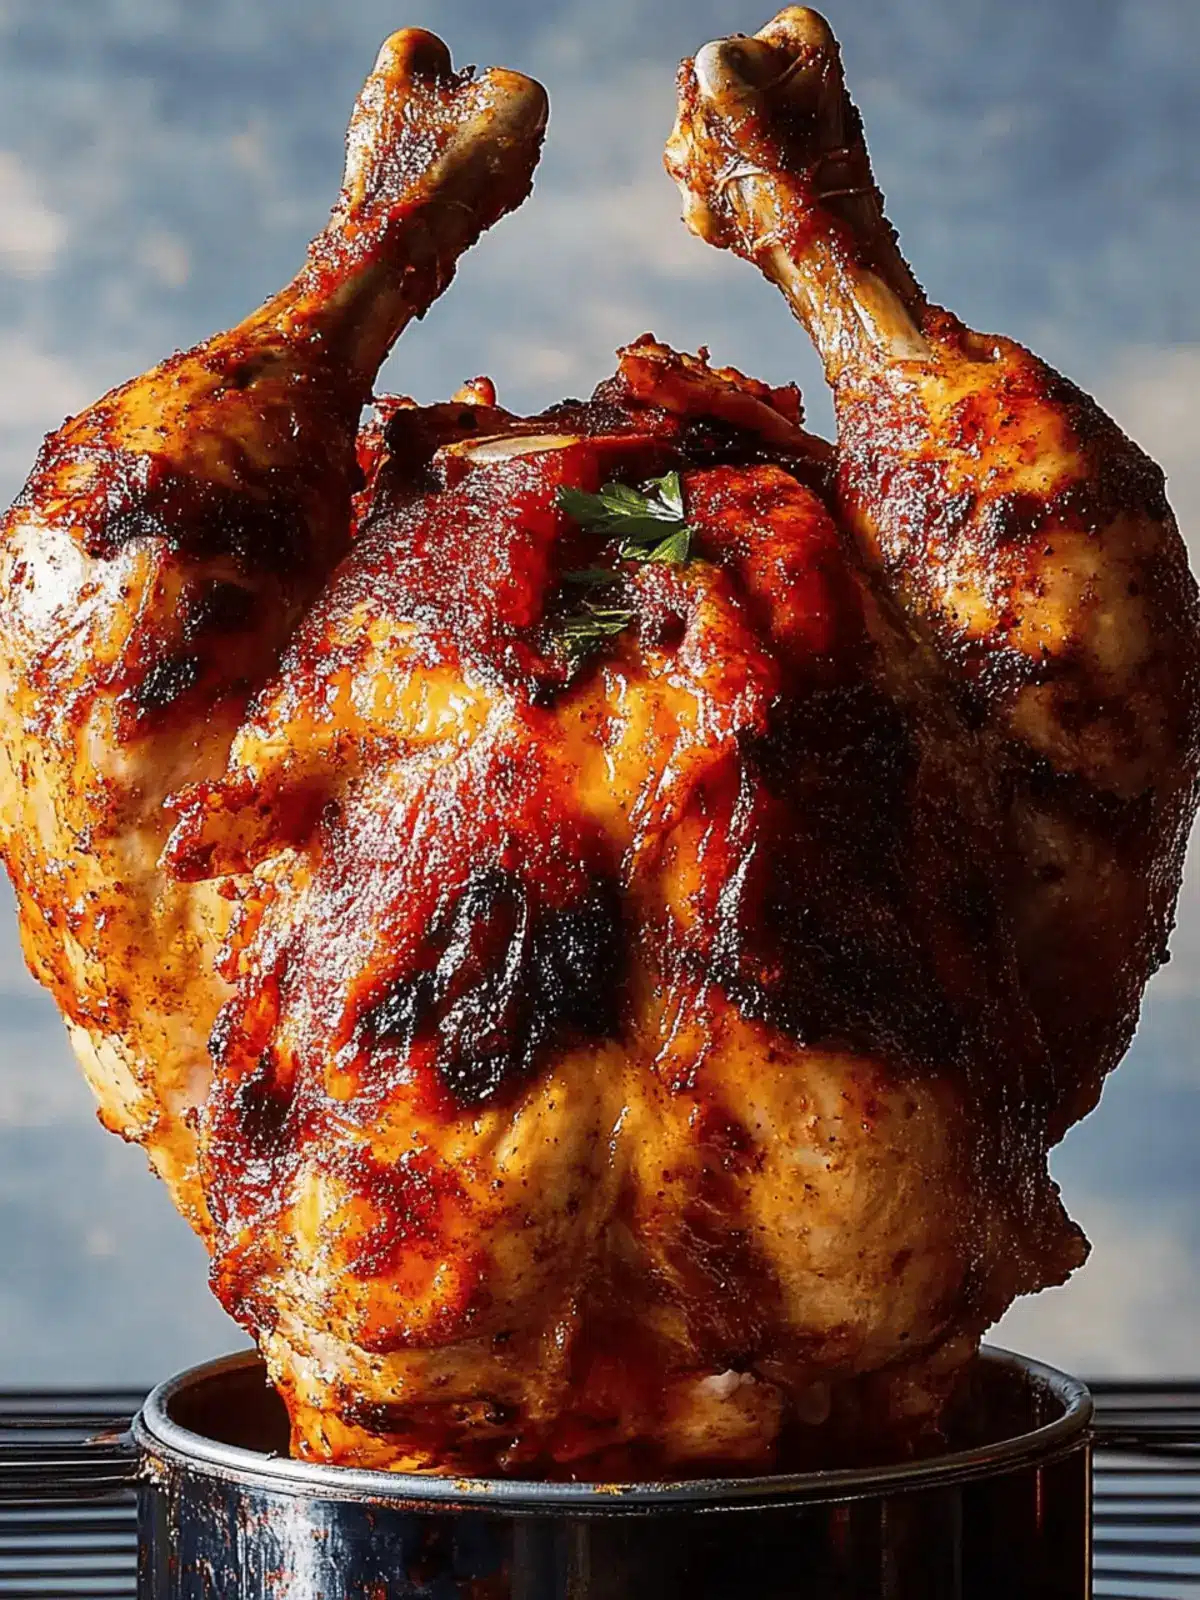
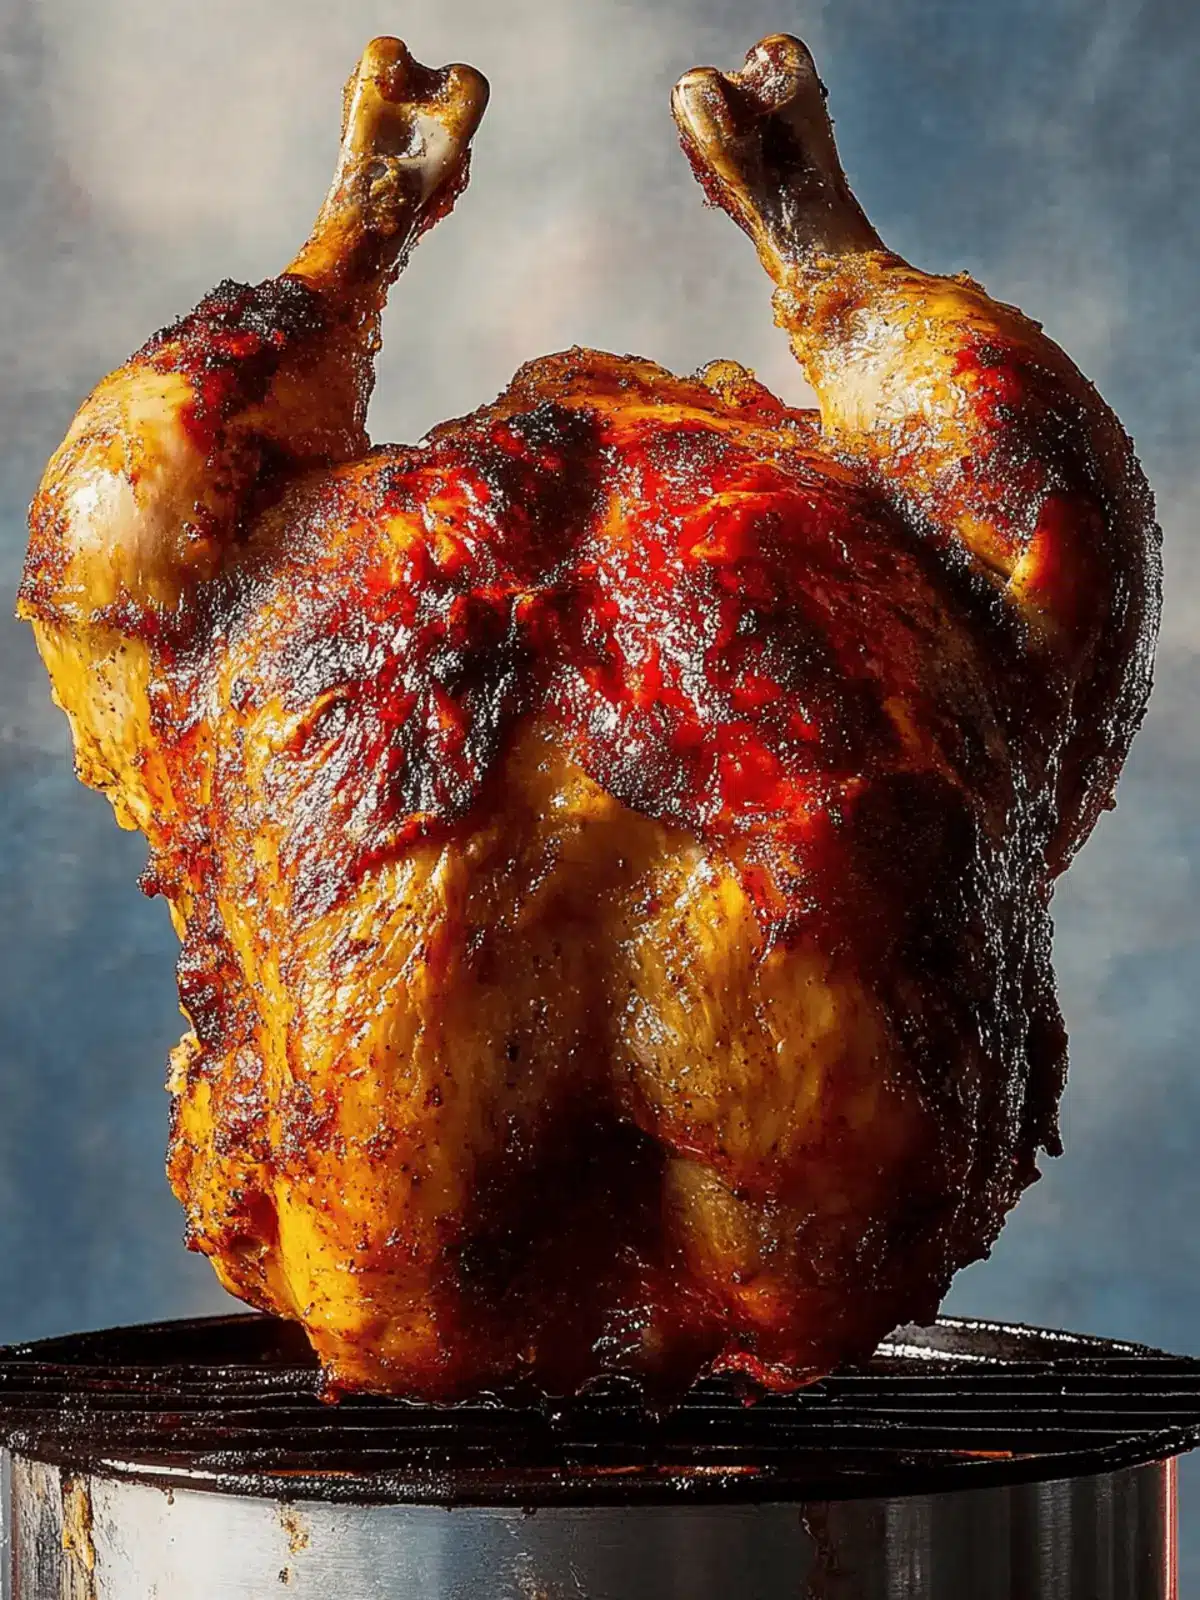
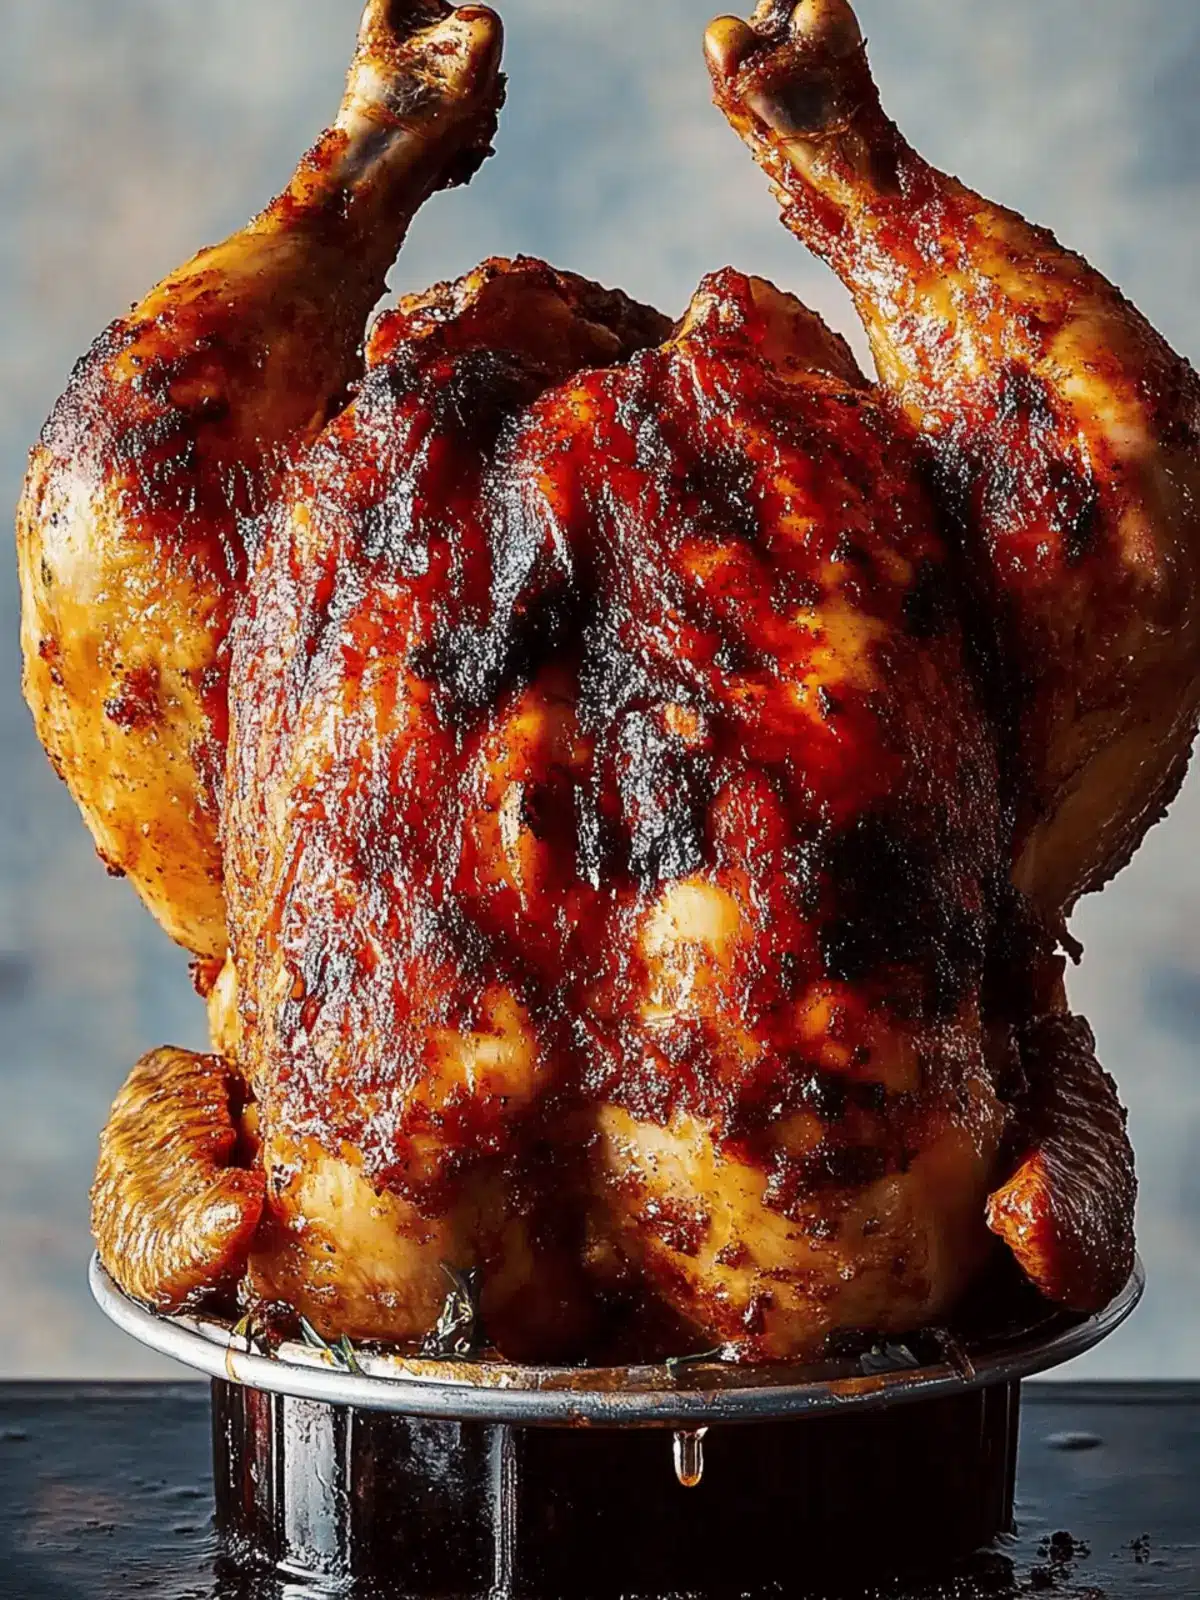
As the sun begins to dip below the horizon, enveloping the yard in a warm, golden glow, the anticipation of a grilling evening takes over. I can’t help but recall the delicious moment when I first tasted Beer Can Chicken at a summer BBQ; the aroma wafting through the air was nothing short of divine. There’s something truly magical about this method—placing a whole chicken over an open can of beer allows it to steam from the inside out, resulting in meat that is not only remarkably juicy but also beautifully tender. Perfect for gatherings or simply a cozy dinner at home, this recipe promises to elevate your backyard grilling experience.
In just over an hour, you’ll see how easy it is to conjure up an impressive dish that pairs beautifully with grilled vegetables or a crisp salad. If you’re tired of fast food and are craving a comforting homemade meal that the whole family will appreciate, then you’re in for a treat. Let’s dive into the step-by-step process of making your own Juicy Grilled Beer Can Chicken!
Why is Beer Can Chicken a Must-Try?
Simplicity at its Best: This recipe requires minimal preparation and straightforward grilling techniques, making it accessible for cooks of all skill levels.
Flavor Explosion: The combination of spices and beer creates a sumptuous taste that will have your family and friends raving.
Impressive Presentation: The visual appeal of a whole chicken standing proudly on your grill will capture everyone’s attention.
Versatile Pairings: Serve it alongside grilled veggies or a fresh salad for a complete and satisfying meal.
Crowd-Pleaser: Ideal for summer cookouts, this dish is bound to delight guests and can convert even the most casual eaters into fans!
Quick Cooking: In just over an hour, you can achieve juicy, tender meat with crispy skin, offering a fantastic alternative to fast food.
Beer Can Chicken Ingredients
For the Spice Rub
• Dark Brown Sugar – Adds sweetness and caramelization to the chicken’s skin; light brown sugar can be swapped for a subtler flavor.
• Kosher Salt – Enhances flavor and helps retain moisture; use table salt if needed, but adjust the amount since it’s finer.
• Dried Thyme – Provides an earthy note that complements the chicken; fresh thyme can offer an even bolder taste.
• Paprika – Contributes lovely color and a mild peppery kick; consider smoked paprika for a richer flavor.
• Freshly Ground Black Pepper – Introduces heat and elevates other spices; pre-ground pepper is fine but lacks the freshness.
• Garlic Powder – Offers savory depth to the dish; swap for minced garlic, but reduce the amount to taste.
• Cayenne Pepper – Infuses heat and complexity; omit or replace with black pepper if you prefer a milder option.
For the Chicken
• Whole Chicken (3 1/2 to 4 lbs) – The star of the show, bringing exceptional flavor and juiciness; any roasting chicken will do.
• 12-oz Can of Beer – Provides moisture and deepens the flavor during grilling; opt for a lager or ale for the best results.
Unleash the flavor with this delightful Beer Can Chicken and watch how it transforms your grilling experience!
How to Make Beer Can Chicken
-
Prep the Chicken: Remove the neck and giblets from the chicken, then rinse it under cold water. Pat the chicken dry with paper towels to ensure the skin crisps up beautifully.
-
Make the Spice Rub: In a mixing bowl, combine dark brown sugar, kosher salt, dried thyme, paprika, freshly ground black pepper, garlic powder, and cayenne pepper. Mix everything well, creating a fragrant spice blend.
-
Season the Chicken: Generously apply the spice rub all over the chicken, ensuring to massage it carefully under the skin. This will elevate the flavors throughout the meat, making every bite a delight!
-
Prepare the Beer Can: Open your can of beer and either enjoy or pour out half. Then, stand the beer can upright and insert it into the cavity of the chicken for stability and steaming effect.
-
Preheat the Grill: Set your grill to medium-low heat, allowing it to preheat for about 10 minutes. This creates the perfect environment for evenly cooking your chicken.
-
Grill the Chicken: Place your beer can chicken on the cooler side of the grill, cover it, and let it cook for approximately 40 minutes. Keep the grilling temperature around 350°F for optimal results.
-
Rotate and Finish Cooking: After 40 minutes, gently rotate the chicken 180° using tongs. Continue cooking for an additional 20 minutes or until the internal temperature reaches 165°F in the breast area.
-
Rest and Serve: Remove the chicken from the grill, being cautious of the hot beer can, and let it rest for at least 10 minutes. This allows the juices to redistribute before carving and serving.
Optional: Pair with a side of grilled vegetables for a complete meal.
Exact quantities are listed in the recipe card below.
What to Serve with Beer Can Chicken?
As you gather around the grill, the savory aroma of Beer Can Chicken fills the air, beckoning hearty sides to complete your feast.
-
Creamy Coleslaw: The crisp, refreshing crunch of coleslaw adds a cool balance to the hot, smoky flavors of the chicken.
-
Grilled Corn on the Cob: Sweet, charred corn enhances the summer vibes of your meal, making it an irresistible accompaniment.
-
Garlic Roasted Potatoes: These golden bites are fluffy on the inside with a crispy exterior, perfect for soaking up any delicious juices.
-
Caesar Salad: A crisp Caesar brings a classic touch; its creamy dressing and crunchy croutons contrast beautifully with the juicy chicken.
-
Baked Beans: Rich and sweet, baked beans provide warmth and depth, making your meal hearty and satisfying.
-
Crisp White Wine: A chilled Sauvignon Blanc complements the chicken’s flavor and ties together the meal with a refreshing sip.
Let these delightful pairings enhance your Beer Can Chicken experience, creating memories that linger long after the last bite!
Beer Can Chicken Variations
Feel free to explore these delicious twists to make your Beer Can Chicken even more delightful!
-
Spicy Twist: Add 1-2 tablespoons of your favorite hot sauce to the spice rub for an extra kick. This subtle heat will elevate the overall flavor profile.
-
Herbaceous Delight: Substitute dried thyme with fresh rosemary or oregano for an aromatic twist. These fresh herbs lend a lively scent and flavor to your chicken, making it irresistible.
-
Citrus Infusion: Squeeze the juice of a lemon or lime into the beer can before grilling. The citrus juice adds a refreshing tang that beautifully complements the savory spices.
-
Beer Alternatives: Use a 12-oz can of apple cider or fruit-flavored beer for a sweet twist. The fruity notes will infuse your chicken, creating a unique and joyful flavor experience.
-
Smoky Flavor: Incorporate smoked paprika in place of regular paprika for a deeper, more robust taste. This smokiness mimics the flavors of traditional BBQ, making your chicken even more comforting.
-
Sweet and Savory: Mix in a touch of honey or maple syrup to the spice rub for an appealing glaze. The sugar caramelizes while cooking, creating a crispy, sweet coating that everyone will love.
-
Vegetarian Version: For a veggie-friendly option, use a whole cauliflower instead of chicken. Ensure you steam the cauliflower halfway to achieve that tender texture bursting with flavor.
-
Accent the Grain: Add a tablespoon of white wine or soy sauce to the beer before grilling for an umami boost. A touch of these liquids will deepen the flavor and create a succulent outcome.
Expert Tips for Beer Can Chicken
- Grill Temperature: Ensure your grill maintains a steady temperature of 350°F. Too high or too low can lead to uneven cooking.
- Proper Handling: Use tongs and kitchen towels when working with the hot chicken to prevent burns. Safety first!
- Limit Openings: Avoid frequently lifting the grill lid; doing so lets heat escape and prolongs cooking time.
- Rest Time is Key: Always let the chicken rest for at least 10 minutes after grilling. This crucial step keeps the meat juicy and delicious.
- Experiment with Flavors: Don’t hesitate to try different spices in the rub, or even use flavored beers for an exciting twist in your Beer Can Chicken.
Storage Tips for Beer Can Chicken
Fridge: Store leftover Beer Can Chicken in an airtight container in the refrigerator for up to 3 days. This helps maintain its juicy texture and flavor.
Freezer: If you want to keep it longer, wrap the chicken tightly in plastic wrap and foil or place it in a freezer-safe bag to freeze for up to 4 months.
Reheating: To reheat, place the chicken in a preheated oven at 350°F for about 20-30 minutes, ensuring it is warmed through without drying out.
Shredding Tip: For easy snacking, consider shredding leftover chicken and storing it in portions for quick meal prep or sandwiches.
Make Ahead Options
These Juicy Grilled Beer Can Chicken preparations are perfect for busy home cooks! You can season the chicken with the spice rub and then refrigerate it for up to 24 hours in advance, allowing the flavors to penetrate deeply and enhance taste. Additionally, you can prepare the beer can by filling it half-full with beer and leaving it covered in the fridge until you are ready to cook. When you’re ready to grill, simply pull the chicken from the fridge, insert the beer can, and put it on the grill. This way, you’ll have a delicious meal with minimal last-minute efforts, ensuring that your family enjoys a savory, homemade dinner without fuss!
Beer Can Chicken Recipe FAQs
How do I select the best chicken for grilling?
Absolutely! When choosing your whole chicken, look for one that is fresh with a bright skin, avoiding any signs of dark spots or discoloration. A weight of 3 1/2 to 4 lbs is ideal, as it cooks evenly and stays juicy. It’s also a good idea to check for a sell-by date to ensure freshness.
How do I store leftover Beer Can Chicken?
No worries! After enjoying your Beer Can Chicken, let any leftovers cool down before storing them in an airtight container in the fridge. They will stay fresh for up to 3 days. For longer storage, you can freeze the chicken by wrapping it tightly in plastic wrap and then in foil, or placing it in a freezer-safe bag. It can be frozen for up to 4 months without losing too much quality.
Can I freeze Beer Can Chicken?
Very! Freezing is a great option for preserving the leftovers. After cooking and cooling the chicken, wrap it tightly in plastic wrap followed by aluminum foil or place it in a freezer-safe bag. Make sure to label it with the date. When you’re ready to enjoy it again, thaw it in the refrigerator overnight and reheat it gently in an oven at 350°F for about 20-30 minutes.
What if my Beer Can Chicken is undercooked?
Don’t fret! If your chicken comes out undercooked, simply return it to the grill. Use a meat thermometer to check the internal temperature; it should read at least 165°F in the breast. If it’s not there yet, cover the grill and continue cooking while checking every 5 minutes until it’s fully cooked. Remember to maintain the grill temperature at around 350°F for even cooking.
Can my dog eat leftover Beer Can Chicken?
While your pup might love the taste, it’s essential to avoid giving them chicken skin due to its richness and potential seasoning, which can be harmful. If you want to share the meat, ensure it’s unseasoned and free of bones. Always consult your vet for the best dietary advice for your pet.
What can I serve with Beer Can Chicken?
The more, the merrier! Beer Can Chicken pairs beautifully with grilled veggies like zucchini, bell peppers, or a fresh garden salad. You could also serve it alongside creamy coleslaw or loaded baked potatoes for a complete and satisfying meal that everyone will enjoy.

Unleash Flavor with Juicy Beer Can Chicken on the Grill
Ingredients
Equipment
Method
- Remove the neck and giblets from the chicken, then rinse it under cold water. Pat the chicken dry with paper towels to ensure the skin crisps up beautifully.
- In a mixing bowl, combine dark brown sugar, kosher salt, dried thyme, paprika, freshly ground black pepper, garlic powder, and cayenne pepper. Mix everything well, creating a fragrant spice blend.
- Generously apply the spice rub all over the chicken, ensuring to massage it carefully under the skin.
- Open your can of beer and either enjoy or pour out half. Stand the beer can upright and insert it into the cavity of the chicken.
- Set your grill to medium-low heat, allowing it to preheat for about 10 minutes.
- Place your beer can chicken on the cooler side of the grill, cover it, and let it cook for approximately 40 minutes.
- After 40 minutes, gently rotate the chicken 180° using tongs. Continue cooking for an additional 20 minutes or until the internal temperature reaches 165°F in the breast area.
- Remove the chicken from the grill, and let it rest for at least 10 minutes.


