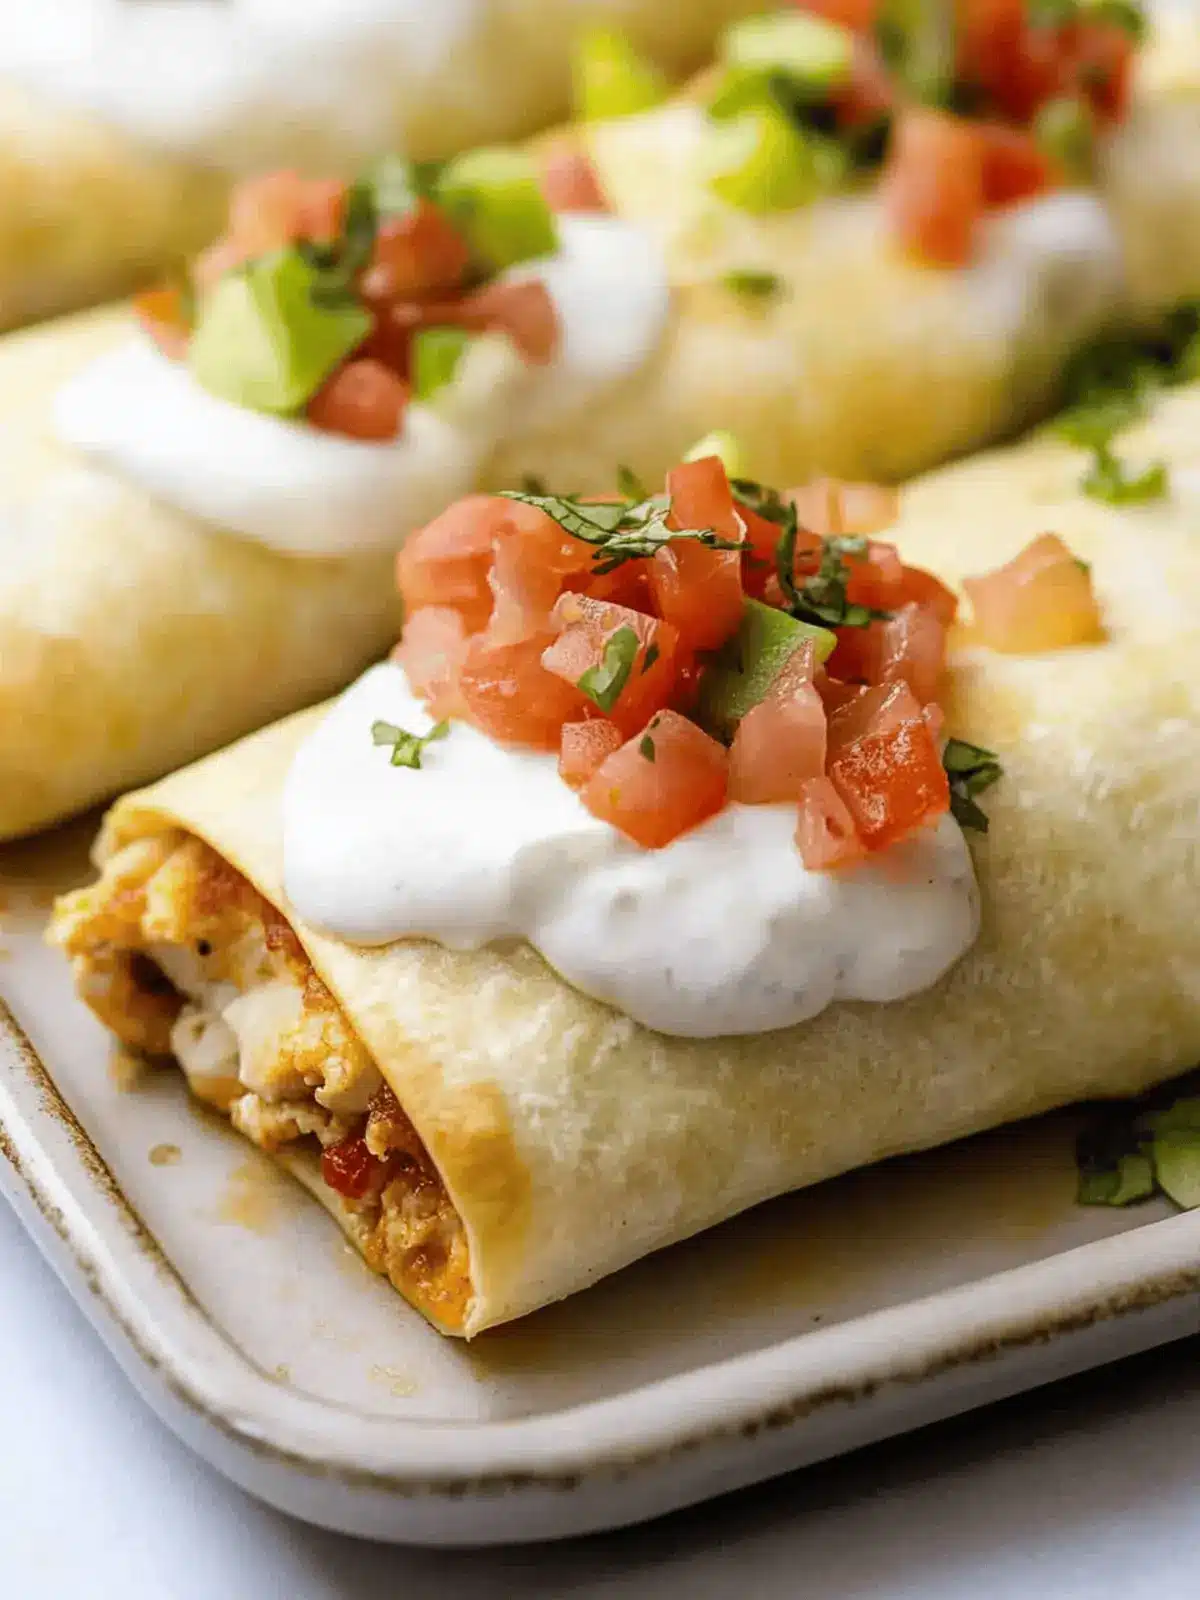
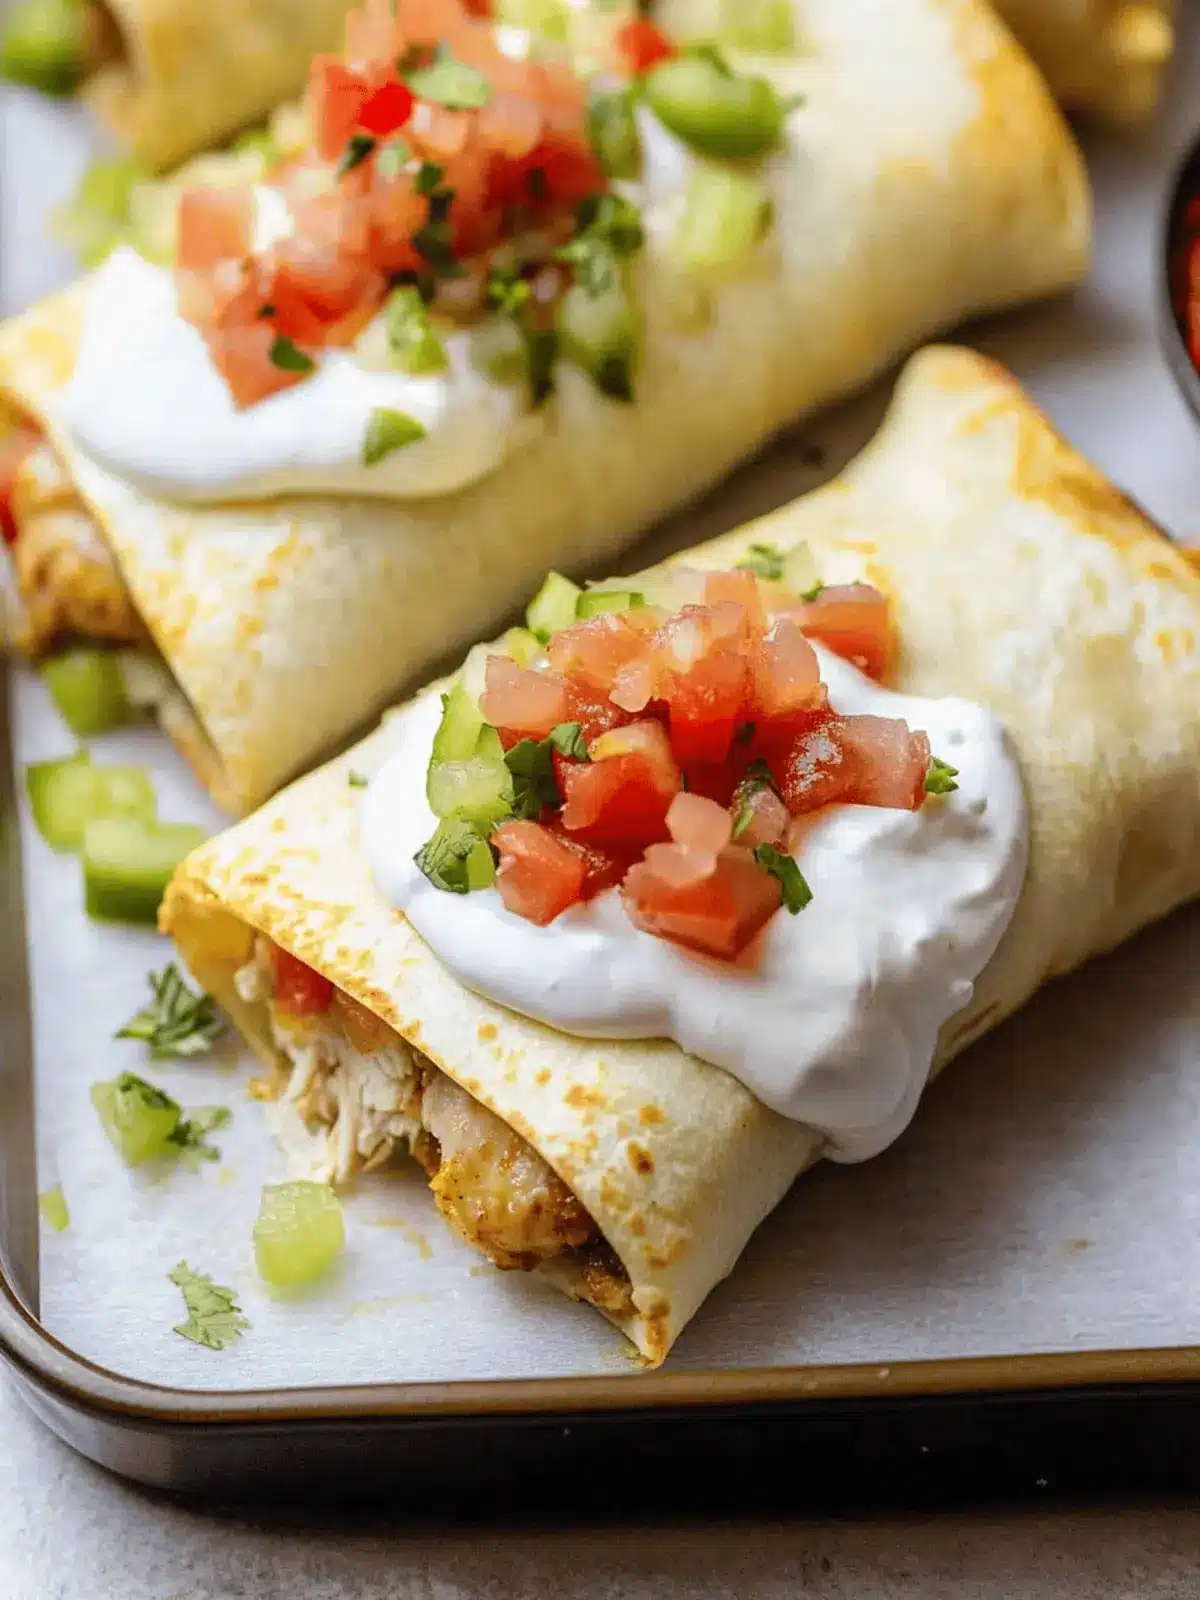
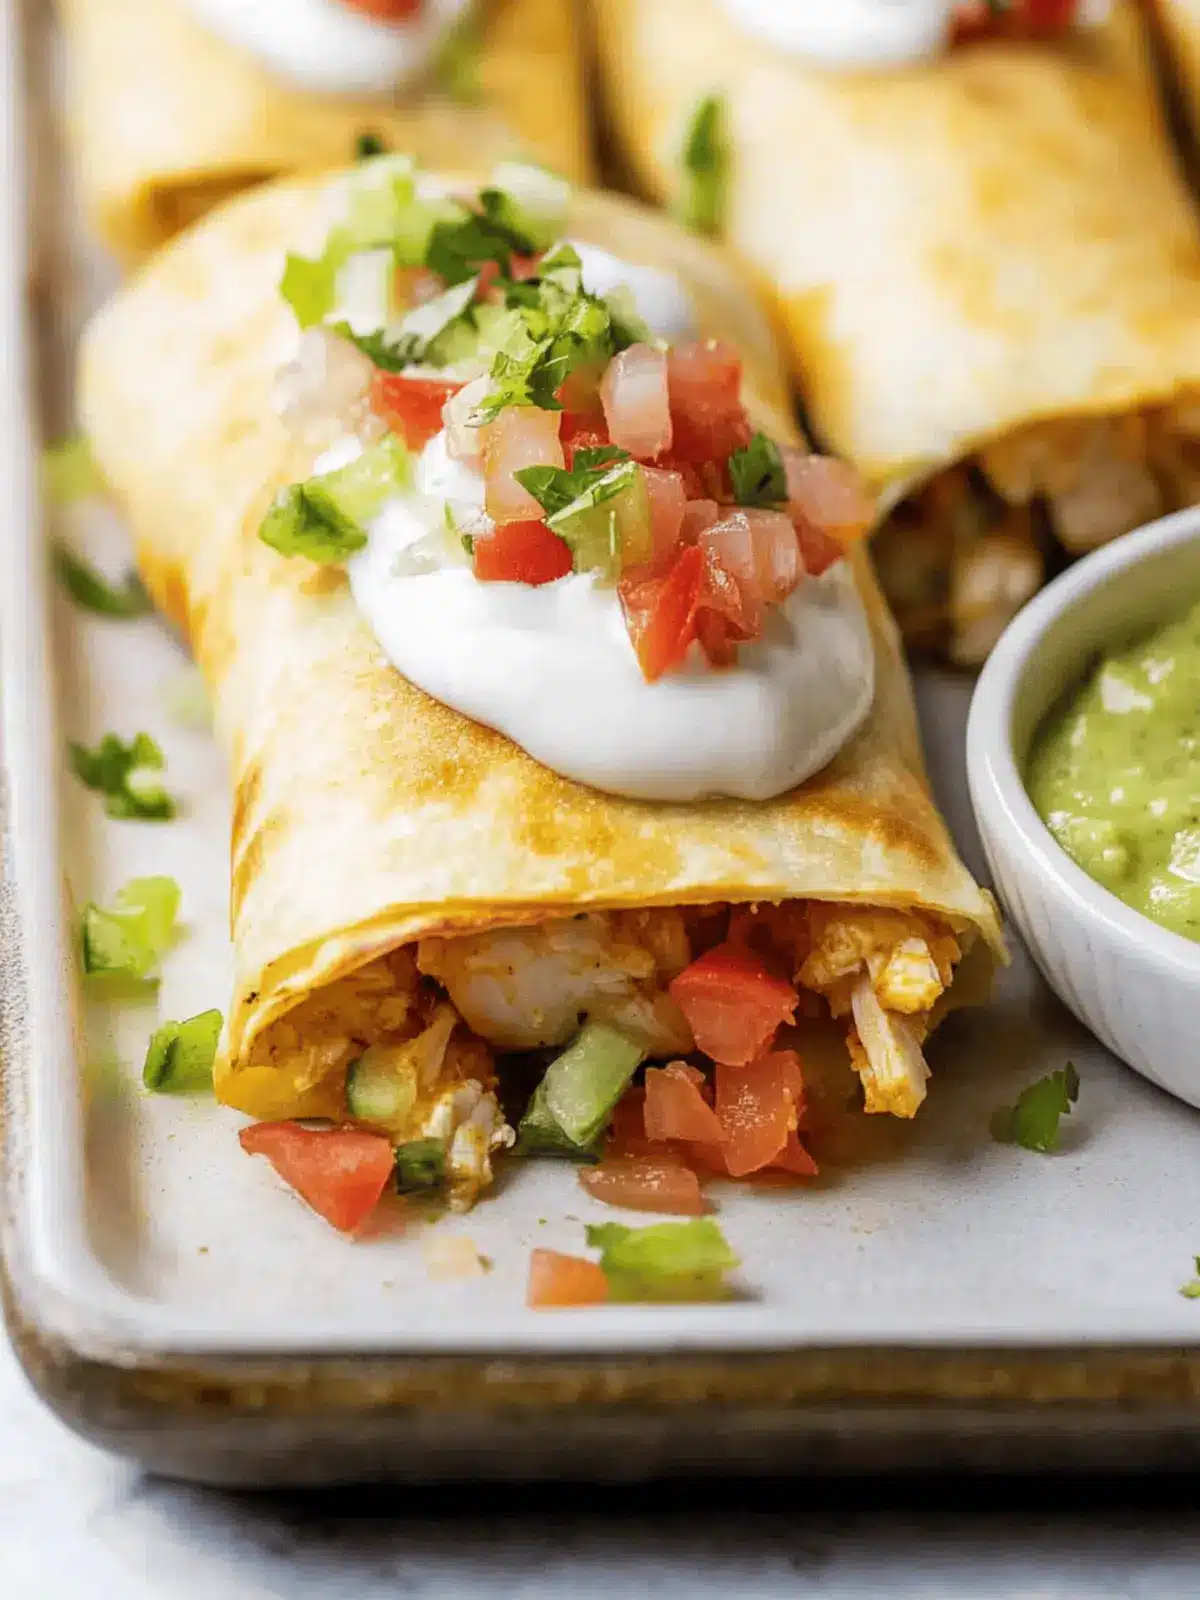
When the craving for a satisfying, comforting meal strikes, there’s nothing quite like a crispy baked chicken chimichanga to save the day. Imagine the warm aroma of melting cheese mingling with the spices of chili powder and savory chicken wafting through your kitchen as these Tex-Mex delights bake to golden perfection. In just 30 minutes, you can transform simple ingredients into a family favorite that’s not only loaded with flavor but also guilt-free compared to traditional fried versions.
After a long week of fast food, I found myself yearning for something more wholesome yet indulgent. That’s when I whipped up these chubby little parcels, stuffed with a creamy blend of refried beans, juicy chicken, and a touch of spice. Best of all, the versatility of this recipe allows you to switch up the fillings based on what’s in your fridge—perfect for using leftovers or catering to picky eaters. With each bite, you’ll experience that perfect crunch followed by a warm, flavorful surprise, making them an instant hit at the dinner table. Ready to elevate your weeknight dinner? Let’s dive in!
Why Love Baked Chicken Chimichangas?
Easy to Prepare: With just a few steps, you can create a delicious dish that requires minimal effort—perfect for busy weeknights!
Customizable Flavors: Feel free to switch up the protein or add your favorite vegetables for a unique twist each time you make them.
Family-Friendly Fun: Kids and adults alike will adore these crispy parcels, making them an instant family favorite.
30-Minute Meal: This speedy recipe ensures you can enjoy a wholesome dinner without spending hours in the kitchen.
Guilt-Free Indulgence: Baking instead of frying means you get all the crunchy goodness without the extra calories.
Each bite brings satisfying crunch and rich flavor, making these chimichangas a staple in your dinner rotation. Enjoy serving them alongside your favorite sides like Mexican rice or a fresh salad!
Baked Chicken Chimichanga Ingredients
For the Filling
- Cooked Shredded Chicken – Provides protein and moisture; substitute with shredded rotisserie chicken for ease.
- Refried Beans – Adds creaminess and binds the filling together; consider making your own or use a favorite brand.
- Salsa – Brings flavor and juiciness; any variety you love will work beautifully.
- Coriander (optional) – Adds a warm, nutty flavor; cumin can be used instead if desired.
- Chili Powder – Enhances the spice level of the filling; taco seasoning can be used for an easy swap.
- Shredded Cheese – Melts and enriches each chimichanga; try a Mexican cheese blend or Pepper Jack for extra kick.
- Green Onions – Provides a mild onion flavor; diced yellow onion can be used for a stronger taste.
- Jalapeños – Adds heat, adjust for your preferred spice level; remove seeds to lessen the heat if desired.
For Assembling
- Butter – Ensures a crispy texture when baked; olive or canola oil can serve as a substitute.
- Flour Tortillas – Encloses the filling; opt for large taco-sized tortillas, or choose whole wheat for a healthier version.
With these essential ingredients, you’re set to create authentic baked chicken chimichangas that are not only family-friendly but also packed with flavors that will delight everyone!
How to Make Baked Chicken Chimichangas
-
Preheat the oven to 400°F (200°C). This ensures your chimichangas bake evenly and achieve that perfect golden brown color.
-
Combine the filling in a large bowl by adding the shredded chicken, refried beans, salsa, coriander, chili powder, shredded cheese, green onions, and jalapeños. Stir until everything is well mixed and flavor-packed.
-
Fill each tortilla by placing a generous portion of the filling in the center. Roll them tightly into a burrito shape, making sure to tuck in the sides to keep the delicious goodness inside.
-
Arrange the chimichangas seam-side down on a baking sheet lined with parchment paper. Brush the tops lightly with melted butter to achieve a crispy texture as they bake.
-
Bake in the preheated oven for 15 minutes, then flip each chimichanga over and bake for an additional 10 minutes until they are perfectly golden brown and crispy.
-
Cool for 5-10 minutes before serving. This helps them set and makes them easier to handle. Serve with toppings like sour cream, guacamole, or pico de gallo for an extra flavor boost!
Optional: Garnish with fresh cilantro for added brightness and flavor.
Exact quantities are listed in the recipe card below.
Make Ahead Options
These crispy baked chicken chimichangas are perfect for busy weeknights! You can prepare the filling—combining cooked shredded chicken, refried beans, salsa, cheese, and spices—up to 24 hours in advance. Simply refrigerate the mixture in an airtight container. When you’re ready to serve, fill the tortillas and roll them up as instructed, then bake them fresh. If you’d like to freeze them, assemble the chimichangas but do not bake; instead, wrap them tightly and freeze for up to 3 months. To cook from frozen, bake at 400°F (200°C) for 25-30 minutes or until heated through. These make-ahead steps ensure you enjoy delicious, homemade meals with minimal effort on busy days!
Expert Tips for Baked Chicken Chimichangas
-
Roll Tightly: Ensure each chimichanga is rolled securely to avoid leaks during baking, maintaining those delicious fillings intact.
-
Don’t Overfill: Avoid the temptation to pack too much filling; overstuffing can cause the tortillas to rip and the filling to escape.
-
Use Parchment Paper: Lining your baking sheet with parchment paper prevents sticking and makes cleanup a breeze, ensuring effortless enjoyment of your baked chicken chimichangas.
-
Try Different Fillings: Feel free to experiment with other proteins or vegetables, like ground beef or sautéed bell peppers, for exciting new flavor combinations.
-
Watch for Browning: Keep a close eye on them in the oven towards the end of baking; you want that perfect golden-brown appearance but not burnt edges.
-
Reheat to Crisp: For best results when reheating leftovers, bake at 350°F for 12-15 minutes or air fry for 5-8 minutes to restore crispiness without losing flavor.
Baked Chicken Chimichangas Variations
Feel free to make this recipe your own with these delightful twists and substitutions!
-
Protein Swap: Replace the shredded chicken with ground beef, turkey, or pulled pork for a hearty variation.
-
Vegetarian Delight: Substitute chicken with grilled zucchini, bell peppers, and black beans for a fresh veggie-packed option.
-
Spicy Kick: Add extra jalapeños or diced serrano peppers to the filling for a fiery flavor explosion that will excite your taste buds.
-
Cheesy Goodness: Mix in a blend of cream cheese and cheddar for a richer, creamier filling that melts beautifully.
-
Flavorful Add-in: Throw in a can of diced green chiles or fire-roasted tomatoes for an aromatic twist that enhances the overall taste.
-
Gluten-Free Choice: Use gluten-free tortillas to make this dish accessible for those with dietary restrictions—everyone can enjoy!
-
Sweet and Savory: Add a layer of sweet corn and diced red peppers for a touch of sweetness and color that complements the spice perfectly.
-
Herb Infusion: Blend in fresh herbs like cilantro or parsley into your filling for an added burst of flavor that brightens each bite.
Let your creativity flow and transform these chimichangas into delicious creations the whole family will love!
How to Store and Freeze Baked Chicken Chimichangas
Fridge: Store leftover baked chicken chimichangas in an airtight container for up to 3 days. This keeps them fresh and flavorful for your next meal.
Freezer: After assembling (before baking), wrap each chimichanga tightly in plastic wrap and store in a freezer bag for up to 3 months. Enjoy them whenever you’re craving a quick treat!
Reheating: For optimal crispiness, reheat in the oven at 350°F for 12-15 minutes or in an air fryer for 5-8 minutes until heated through. Perfect for enjoying your baked chicken chimichangas again!
What to Serve with Baked Chicken Chimichangas?
Elevate your family fiesta with these delectable pairings that will make your meal an unforgettable experience.
-
Refried Beans: Their creamy texture complements the crunch of the chimichangas, creating a satisfying contrast on your plate.
-
Mexican Rice: Flavored with spices and tomatoes, this side dish adds a hearty element that rounds out the meal beautifully.
-
Guacamole: The cool, creamy avocado dip balances the spices in the chimichangas, offering a refreshing taste sensation with every bite.
-
Pico de Gallo: With its vibrant mix of tomatoes, onions, and cilantro, this fresh salsa brings an invigorating crunch to your meal.
Experiment with serving suggestions as each creates a unique dining experience.
-
Corn Salad: Sweet and zesty, this salad provides a crunchy, colorful side that elevates your Tex-Mex spread.
-
Chips and Salsa: A classic starter that invites everyone to dig in while waiting for the main event.
-
Margaritas or Horchata: Pair your meal with a refreshing beverage that enhances the festive atmosphere of your dining experience.
Make your mealtime memorable and enjoy the delightful combinations!
Baked Chicken Chimichangas Recipe FAQs
What type of chicken should I use for the filling?
I recommend using cooked shredded chicken for the filling as it provides the best moisture and flavor. Rotisserie chicken is a convenient option that works wonderfully, saving you time in the kitchen!
How should I store leftover baked chicken chimichangas?
Store your leftover chimichangas in an airtight container in the refrigerator for up to 3 days. This ensures they stay fresh and delicious for your next meal!
Can I freeze baked chicken chimichangas?
Absolutely! After assembling the chimichangas (but before baking), tightly wrap each one in plastic wrap and place them in a freezer bag. They will keep well in the freezer for up to 3 months. When you’re ready to enjoy them, bake from frozen at 400°F (200°C) for 25-30 minutes until heated through.
What can I do if my chimichangas are falling apart?
To prevent falling apart, ensure you roll the tortillas tightly and avoid overfilling them. If you notice they are leaking, consider using a heavier tortilla or one specifically meant for frying an extra layer of security.
Are there any dietary considerations for making baked chicken chimichangas for pets or allergies?
It’s important to note that while the ingredients in this recipe are typically safe for humans, some flavors (like onion and garlic) can be harmful to pets. Additionally, always check for allergens, especially if you’re serving to guests, as you might have people with dairy or gluten intolerances. You can easily substitute with gluten-free tortillas and dairy-free cheese alternatives if needed!
What is the best way to reheat leftover chimichangas?
For glorious, crisp results, reheat your leftover chimichangas in the oven at 350°F (175°C) for about 12-15 minutes. Alternatively, you can use an air fryer for about 5-8 minutes to restore that crunchy exterior. Enjoy them just as crispy as they were fresh!
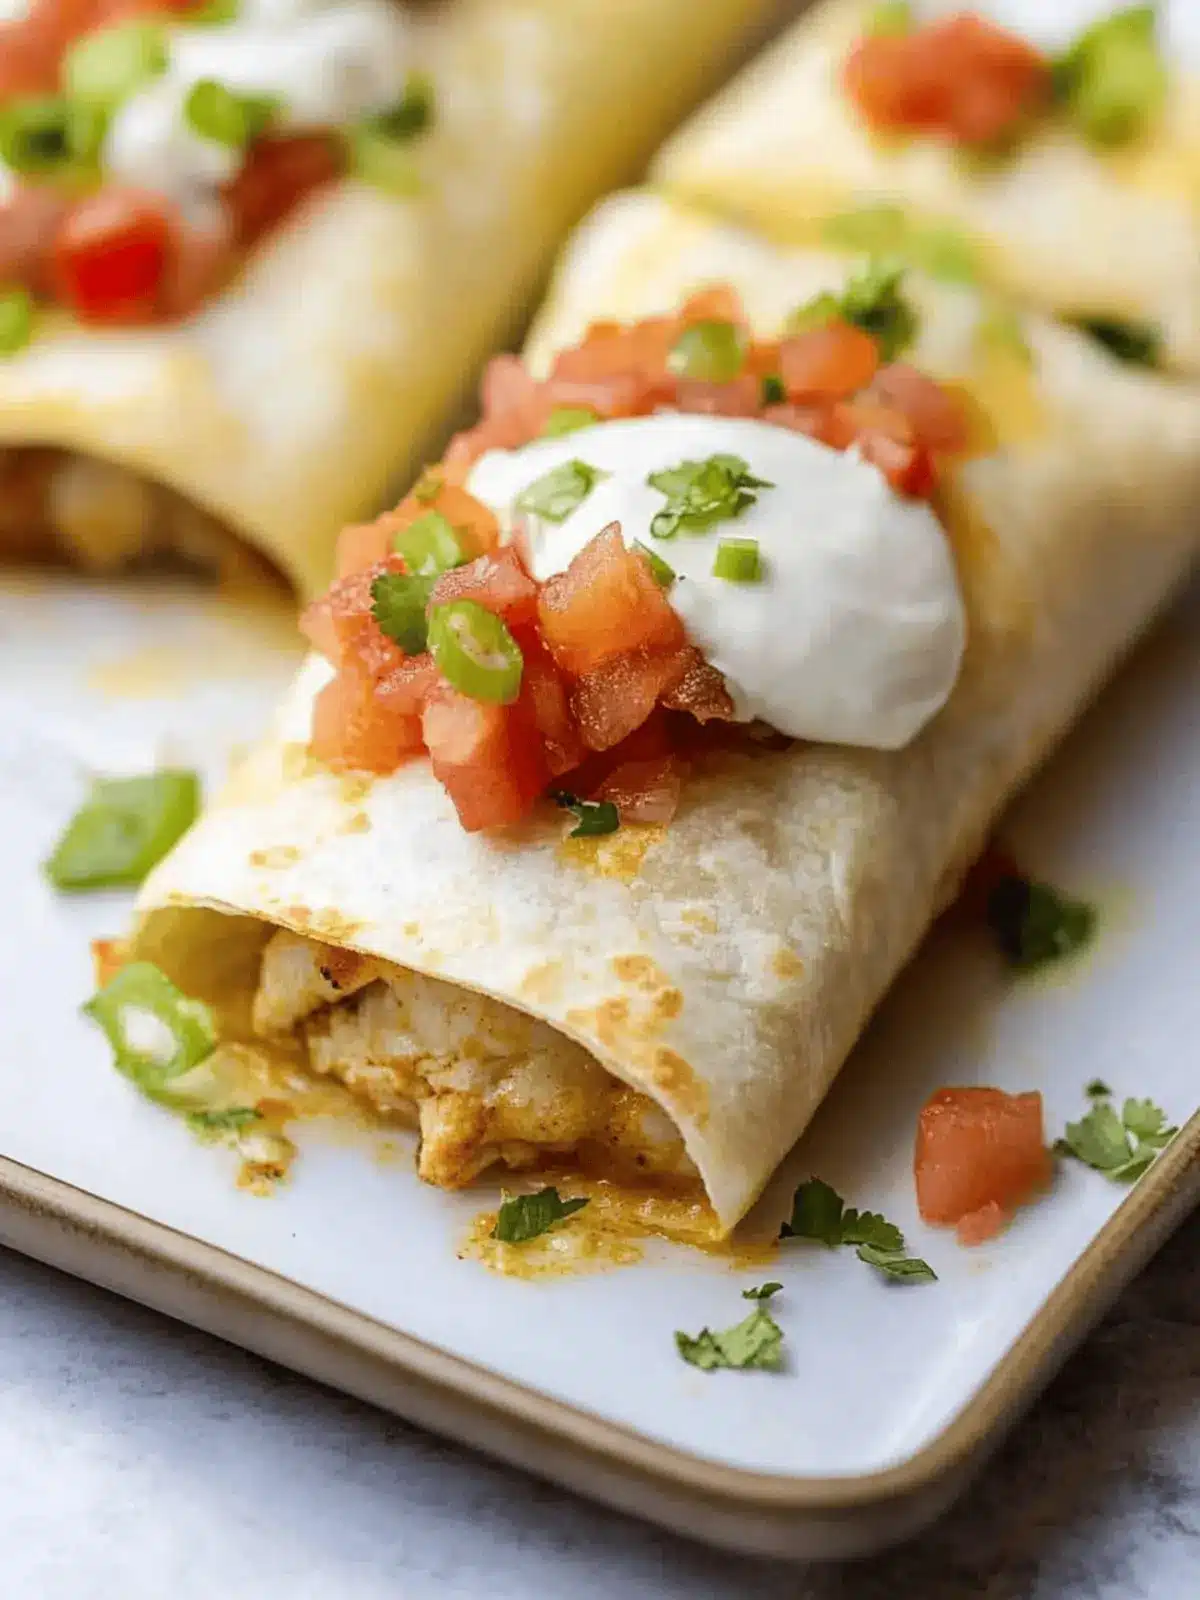
Easy Baked Chicken Chimichangas for a Family Fiesta
Ingredients
Equipment
Method
- Preheat the oven to 400°F (200°C).
- Combine the filling in a large bowl by adding the shredded chicken, refried beans, salsa, coriander, chili powder, shredded cheese, green onions, and jalapeños.
- Fill each tortilla by placing a generous portion of the filling in the center and roll them tightly into a burrito shape.
- Arrange the chimichangas seam-side down on a baking sheet lined with parchment paper and brush the tops lightly with melted butter.
- Bake in the preheated oven for 15 minutes, then flip each chimichanga and bake for an additional 10 minutes.
- Cool for 5-10 minutes before serving.

